
Keep Improving, Keep Driving
GTA was a whirlwind for me, and for the most part, a total success. I had dropped nearly 5 seconds off my previous PR, and the car was now starting to set its sights on legitimate supercar lap times.
GTA had also shown where the car was severely lacking in modification and setup. My previous personal best was a 1:57, and now I was at a 1:52. When lapping at a 1:55 pace or so, things were hunky dory. Once I was consistently pushing sub 1:55 laps, my braking and suspension were really starting to show their weakness.
My brakes definitely robbed me of some time. The Wilhelm BBK has been fantastic, easily one of the best mods I’ve ever done to this car. The pads, however, were pushing 4 yers old, and jsut not a very aggressive compound for track use. They still had life in them (about 40% left), so I ran them for that weekend. But the decreased pad thickness, and street/track compound (BP-20 pads) just couldn’t handle the aggressive braking needed to churn out laps that fast. For 99% of track guys, they would be perfectly fine. But I was now addicted to seeing just how fast I could go with 309whp.
So, a brake overhaul was due!

A buddy kindly offered to give me his barely used Raybestos ST-43 pads. He has retired his MR2 from track use (it’s too nice now after a respray), so the squeaky pads had been sitting in his garage since. Thanks David! (they’re in the Wilwood boxes…)
I’ve been running ATE typ200 brake fluid for years with great success, but Motul RBF600 is only slightly more expensive with a higher boiling point. I didn’t want to go to the next track day and have my pads killing it, only to boil my fluid (these pads will operate at a much higher temp than the Wilwoods). So it was time for a fluid flush while we were in there.
Since we’re changing the fluid, might as well go whole-hog and install the Wilhelm brake bias kit (he provides the lines, Wilwood provides the adjustment valve), and the upgraded 4runner master cylinder.
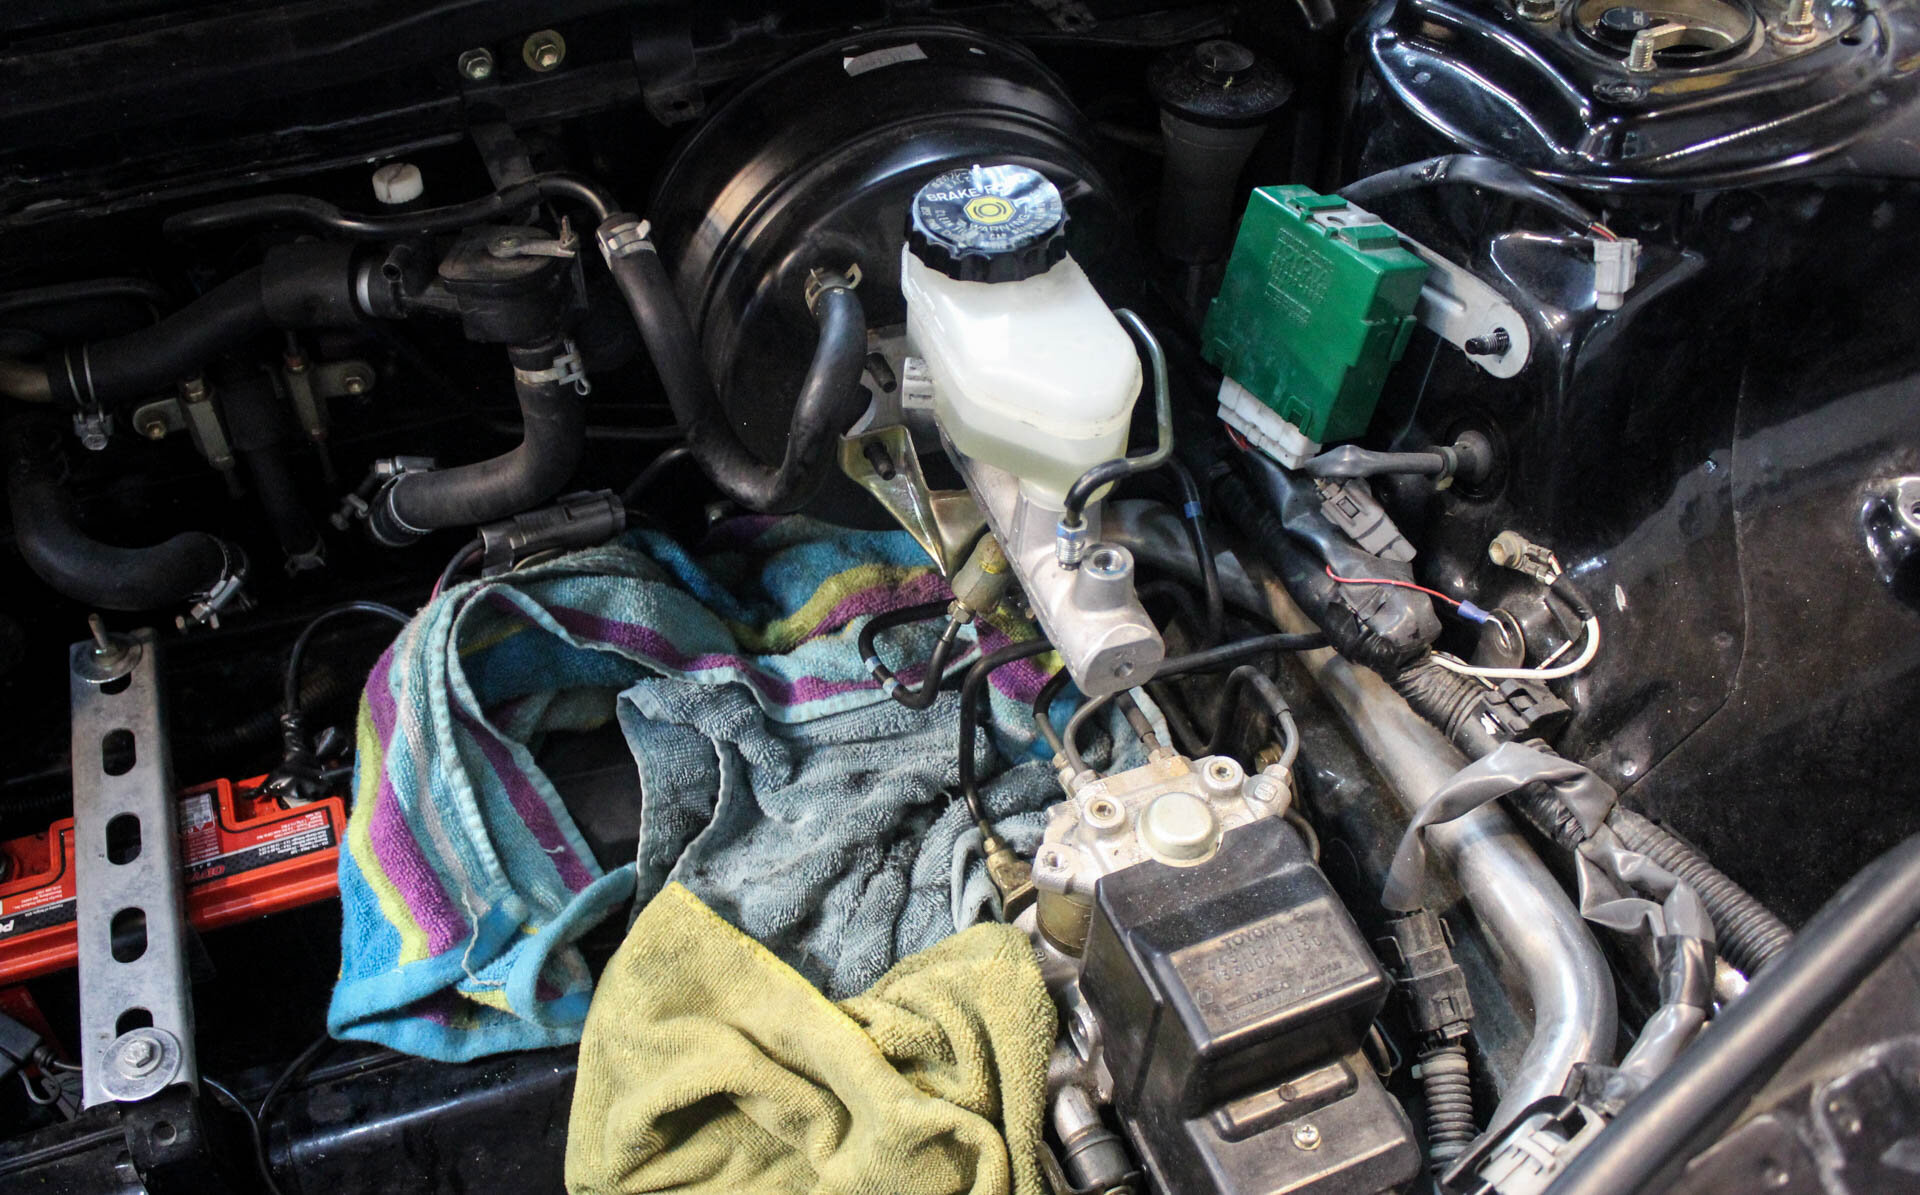
Put down a lot of rags, brake fluid is caustic to paint! Removing the OEM MC is pretty easy. Try to suck as much brake fluid out of the reservoir, take off the hardlines, and unbolt from the firewall.

The OEM turbo MC is 7/8” piston, the 4runner is 15/16”. This means the MC will apply more force for less pedal effort, making it feel like a more modern braking system. When threshold braking sometimes it felt like I was pushing my foot through the floor. This made heel-toe revs difficult, you have a brake pedal needing lots of effort, and a throttle pedal that’s super sensitive to revving the motor.

I put the MR2 reservoir on the new MC, and installed it. I also installed the Wilhelm bias valve to give myself more adjustment than the OEM proportioning valve. Since I’ve dropped a lot of weight on the car and messed with things like tire width, this will help me really dial it in to get the best braking possible over the non-adjustable OEM proportioning valve.

Catching the old fluid as I pushed out the pistons for new pad install. The FSL calipers make pad swaps so easy. You could do all four in 15 minutes if the wheels were off.
I swapped the pads, and my gracious wife helped me bleed the brakes, even though I was met with a very large eye roll when I asked. The new fluid was in, pads were in, MC in, and bias installed.
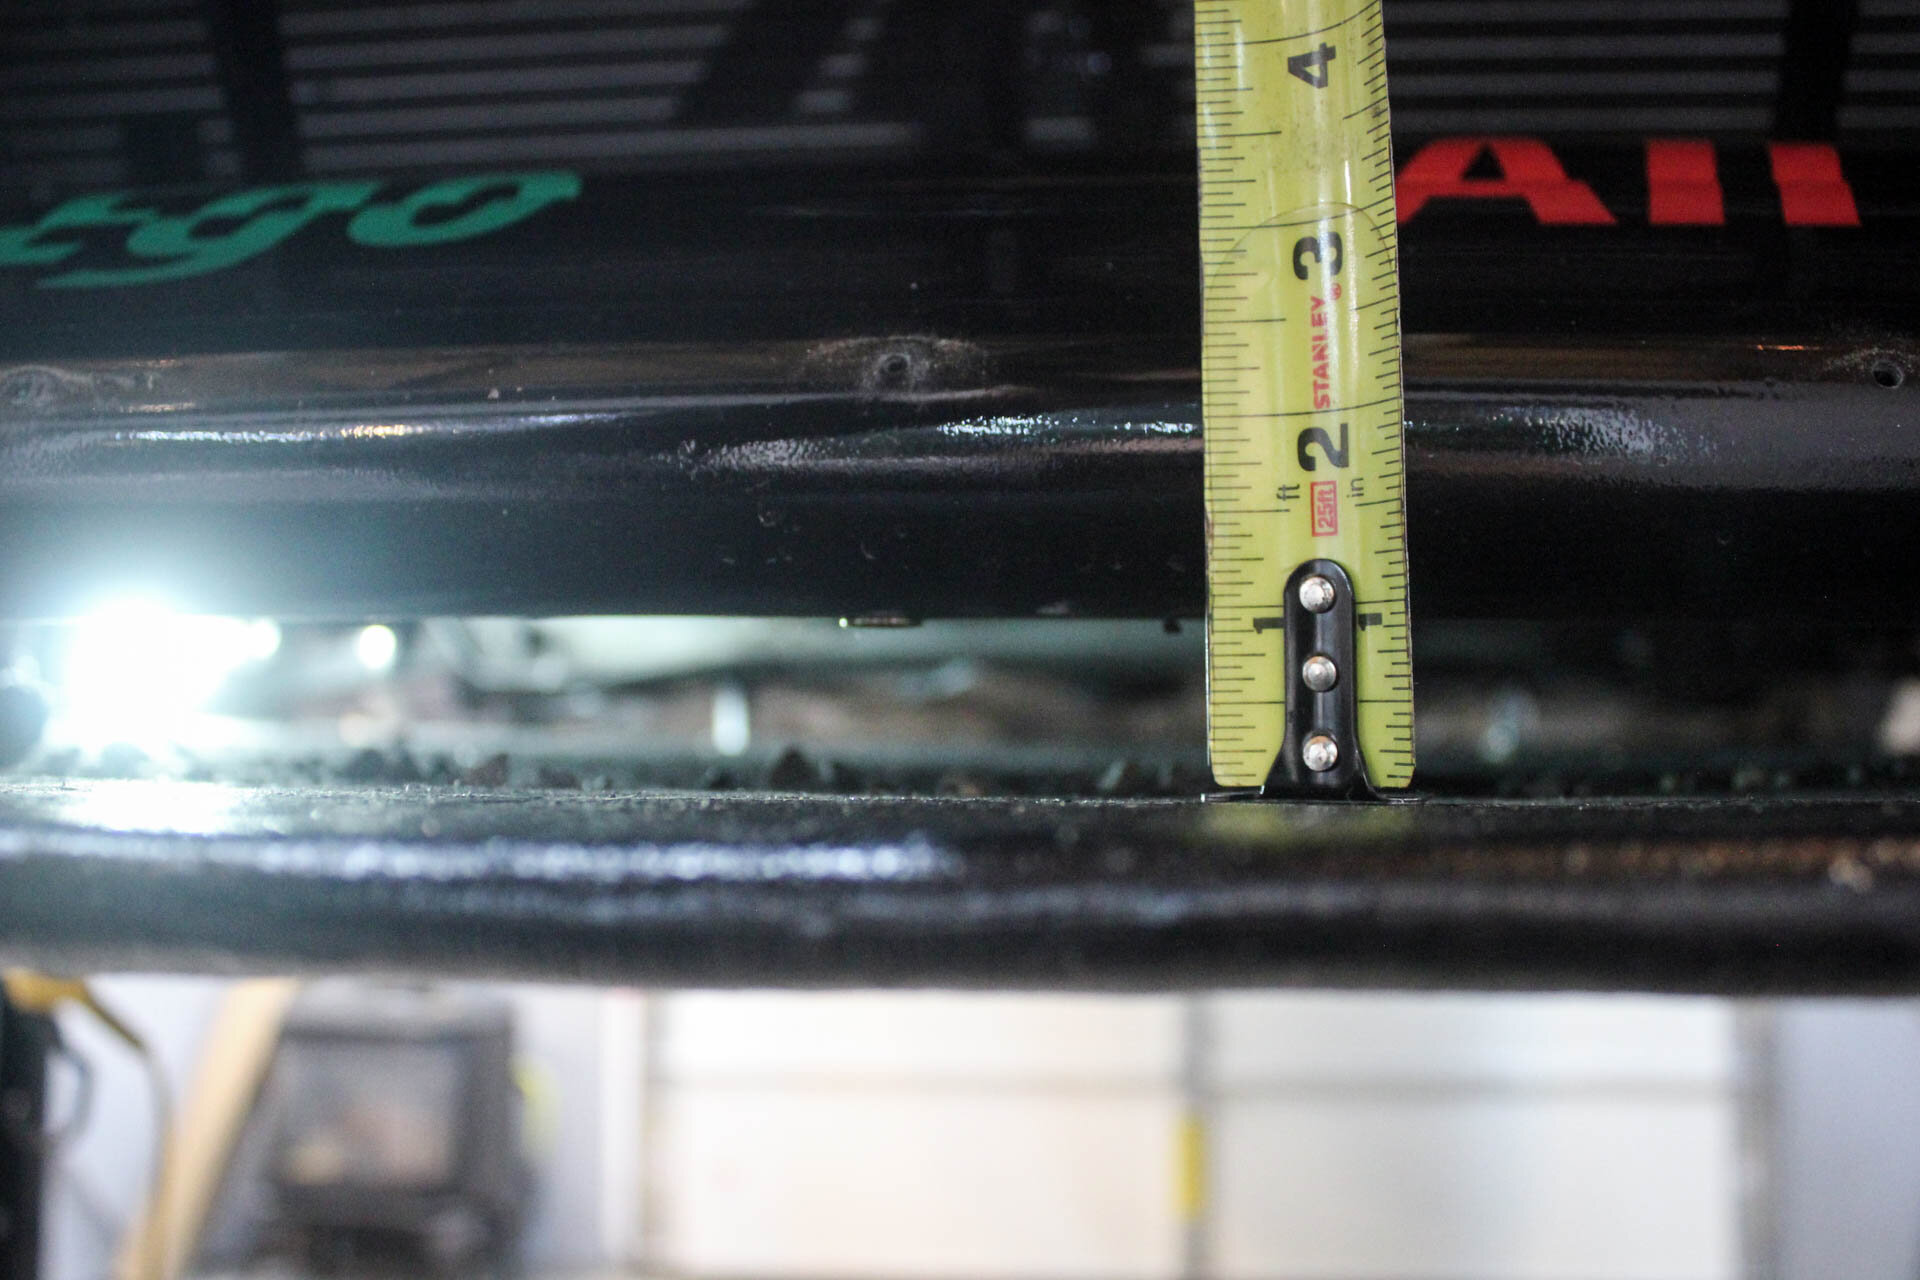
Next, I wanted to tweak some of my aero. The splitter. I noticed in some of the GTA pics that my car had a reverse rake look going on. After a lot of measuring I realized it was mostly because my splitter was mounted tight to the my lip, which is in fact reverse raked and not level to the ground. This is a big no-no with splitters. They need to be totally flat, or at most 3 degrees raked to be the most effective. After measuring more, I realized I wanted to lower the front of it 1”.

But, I would need to extend my cheapo eBay splitter rods. A trip to ACE (The Friendly Place) hardware and I had what I needed, some all-thread, nuts and a coupler nut. I drilled a hole in the coupler nut so I could attach to the splitter mount, then locked it with a jam nut.

I needed to shim the main supports as well. Some washers worked here in a pinch.
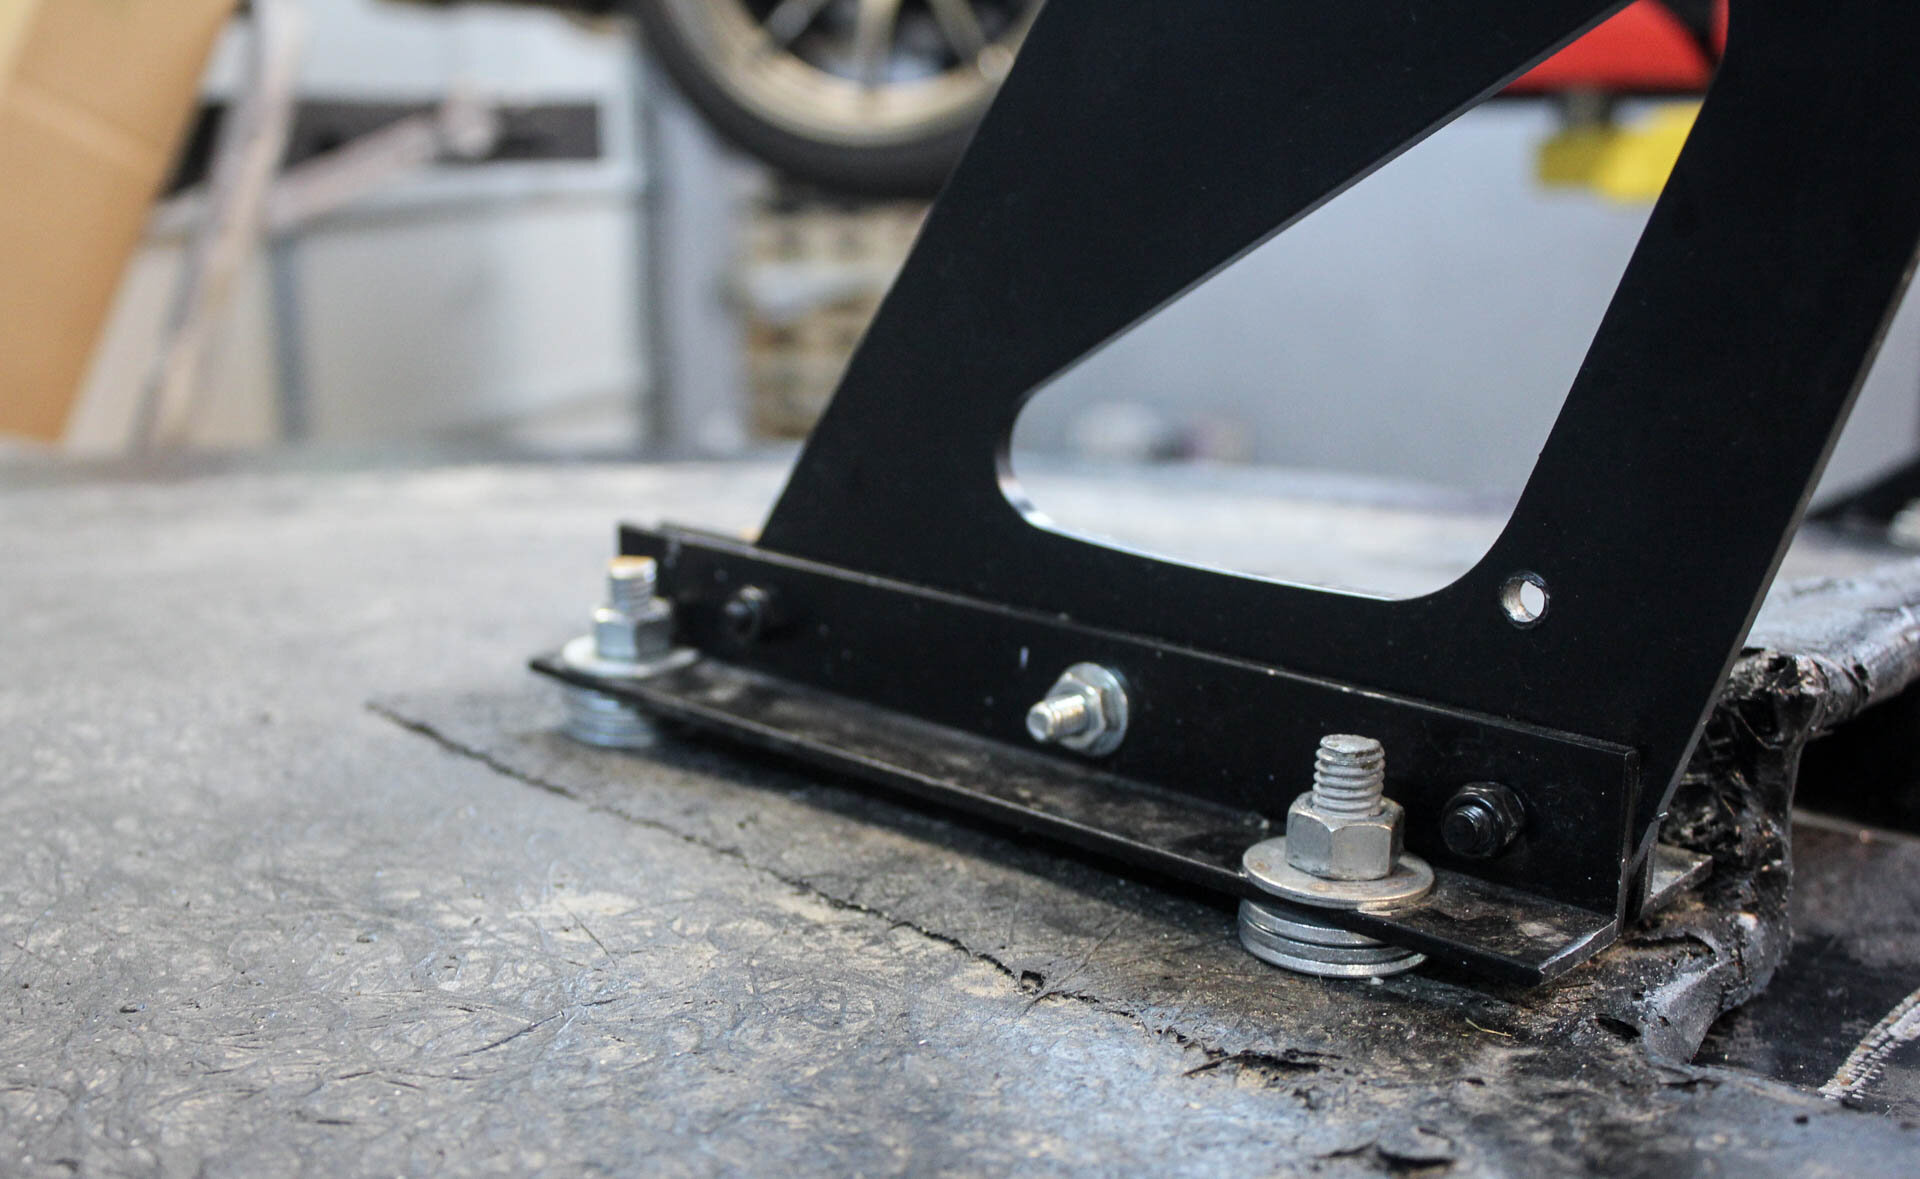

Along the front lip mounts, I cut up some more larger coupler nuts to act as bushings. No we need to block that gap off with an air dam.

Summit racing sells these large rolls of plastic in multiple colors for just this kind of purpose. It works really well. It’s not show quality, but it’s race car quality. As you can see, cutting it with tin snips works pretty well.

All installed. Looks…about the same as before. Except now we know the splitter should be more effective, and looks cooler. Having the right angle should make it more effective, hopefully more front grip.

I also bought a cheap mailing scale. So, I started to weigh everything. Turns out my made-in-a-pinch battery tie down was heavier than it needed to be, so I made this one out of aluminum. Expect a VERY detailed weight reduction post this winter. I will go into detail and give weights of everything I’ve weighed so far (basically any part I pull off the car).

I’m trying my best to get my daughter hooked, so far she really loves destroying the Lego F40. And she gets scared and cries whenever I start the MR2.
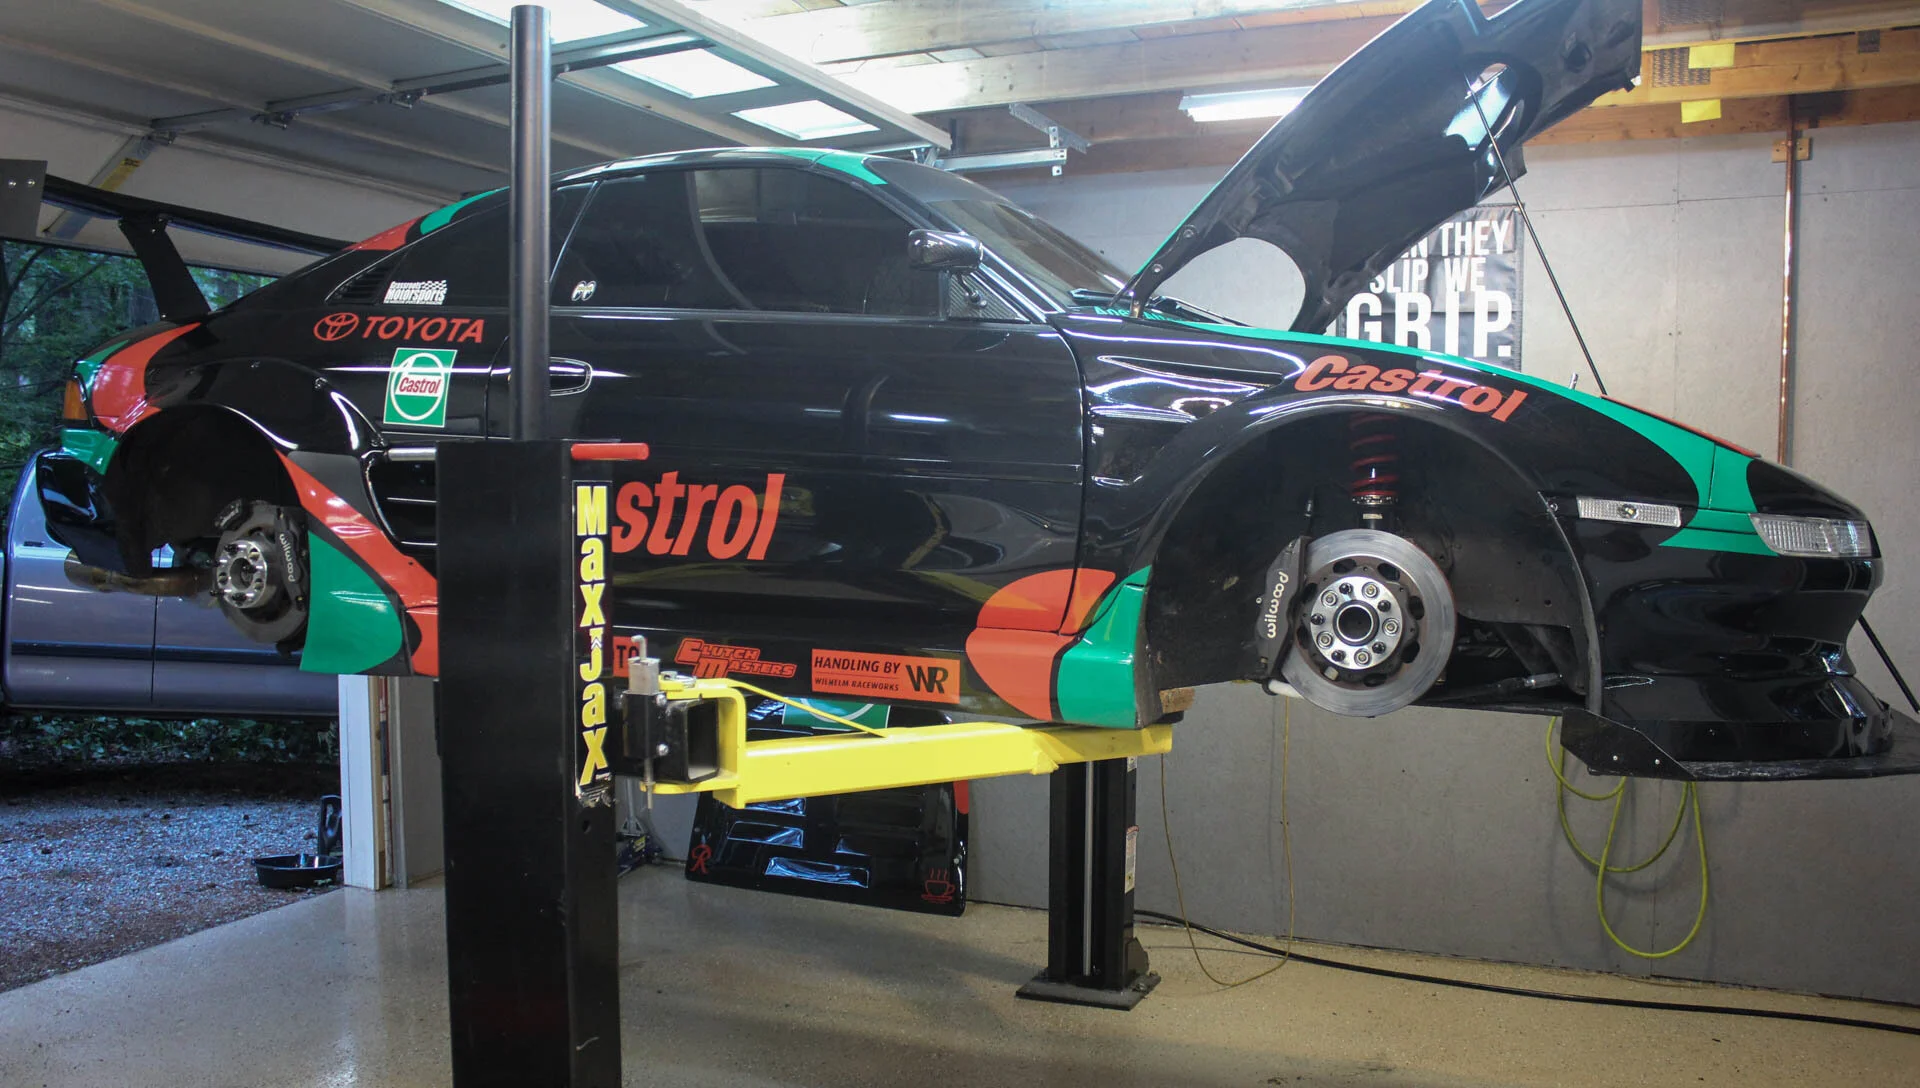
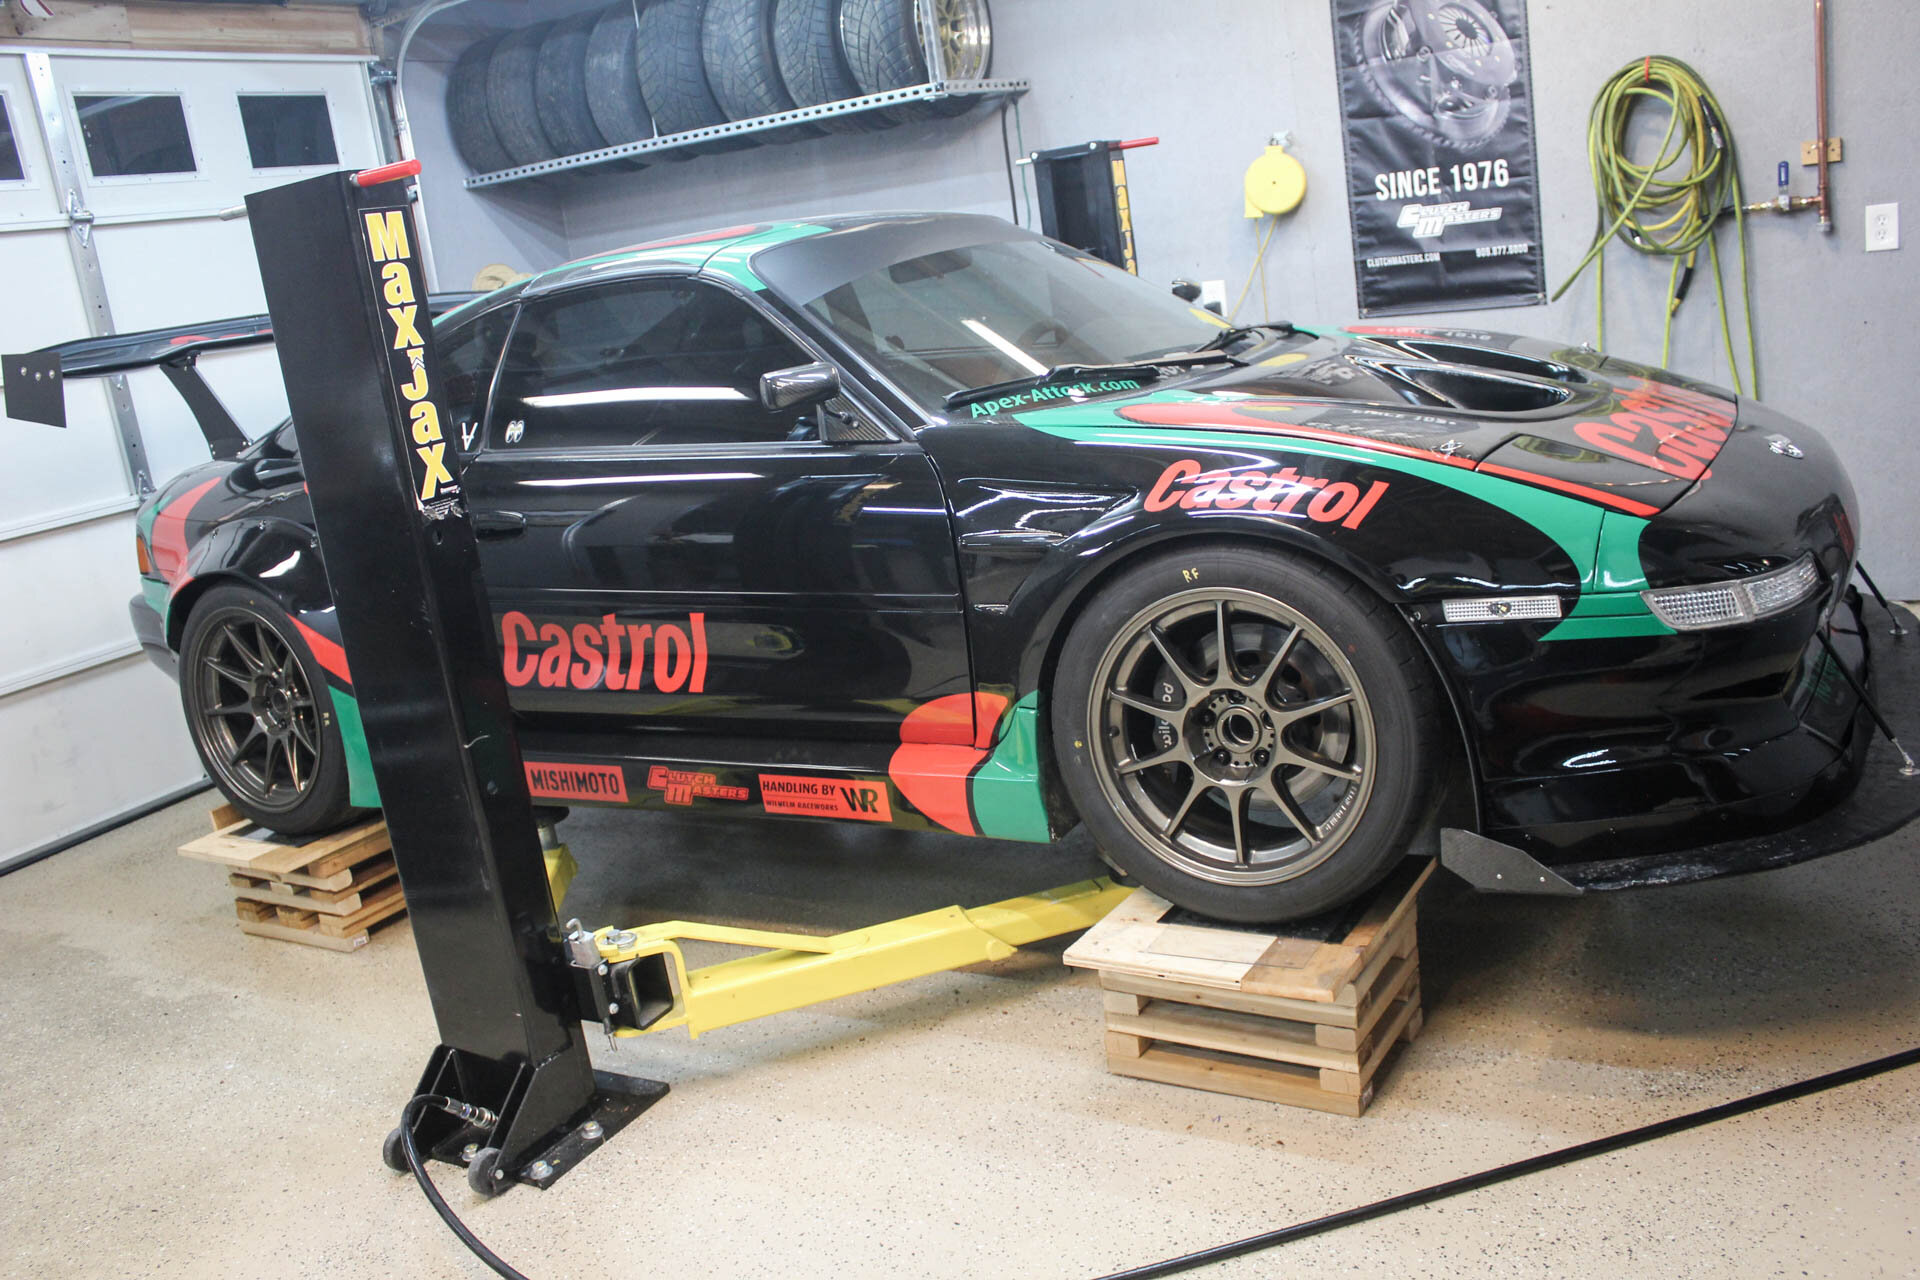
So, we were ready for another track outing. I signed up with a local organization Turn2 for their weekday lapping sessions. For $250 you get 5 sessions on a weekday. A good value in the PNW at The Ridge. Armed with new brakes, and slightly better aero, I was aiming to drop more time.

What I forgot about normal track days… is traffic. With Turn2 I had to run in the intermediate grouping. They have an instructor sign you off for advanced…except all the instructors were busy the day I was there… so I was in intermediate all day, which had a slower pace than my GTA run groups.
Throughout the day, I was constantly in traffic… so I made lemonade! It allowed me to really focus on a specific part of the track at a time. The new brakes were… insane. So much braking force that I had to totally re-set my brain to braking points and pressure needed. It was a total paradigm shift. SUCH an improvement.
Here’s my fastest lap of the day:
Although I only got about 2-3 clean laps the entire night, I was able to drop another half a second on my previous best and score a 1:51.6!
Overall, it was a great day. I ran the car HARD all night, and through 5 sessions it didn’t skip a beat. I really felt like I improved as a driver and had a few AH-HA! moments on some tricky parts of the track.

But, if you watch the video… you can see my car bouncing all over the place in some turns. Even with the gopro stabilization, it’s noticeable. In the car, it was downright scary. My trusty BC coilovers just couldn’t keep up with the high spring rates I’m running (550# front, 700# rear). It got to the point on some turns I could hear the tires squealing with every hop, which meant I was on the limit of grip in spots you really don’t want to spin.
So, the next improvement needed to be made to the car. I knew I really couldn’t go any faster safely without upgrading the suspension. I always wondered how long my BCs would hold up, and have been really impressed with their durability… I bought these originally for my first SW20 like 8 years ago! They’re definitely a good value for all the street and occasional track driven MR2s.
It was time to get serious about my damping. So I turned to the SW20 suspension guru, Wilhelm Raceworks. For a bunch of my credit card limit, I was able to order the best available coilover system for our old and somewhat dated chassis. Utilizing Koni 8611 race dampers (not your everyday sport shocks), HyperCo springs, heim joint construction, and handbuilt housings… these are truly one of the coolest things out there for the MR2.

I chose to keep my same springrates at 550 pound/inch front, 700 rear. Any stiffer would potentially hurt traction on bumpy road courses (it still sees the street, and even hillclimbs now!) Alex is a sponsor of mine, but I really believe his stuff is the best. He does a fantastic job building his parts, and really stands by his products. His customer service is also second to none, responding to my badgering emails all too often.
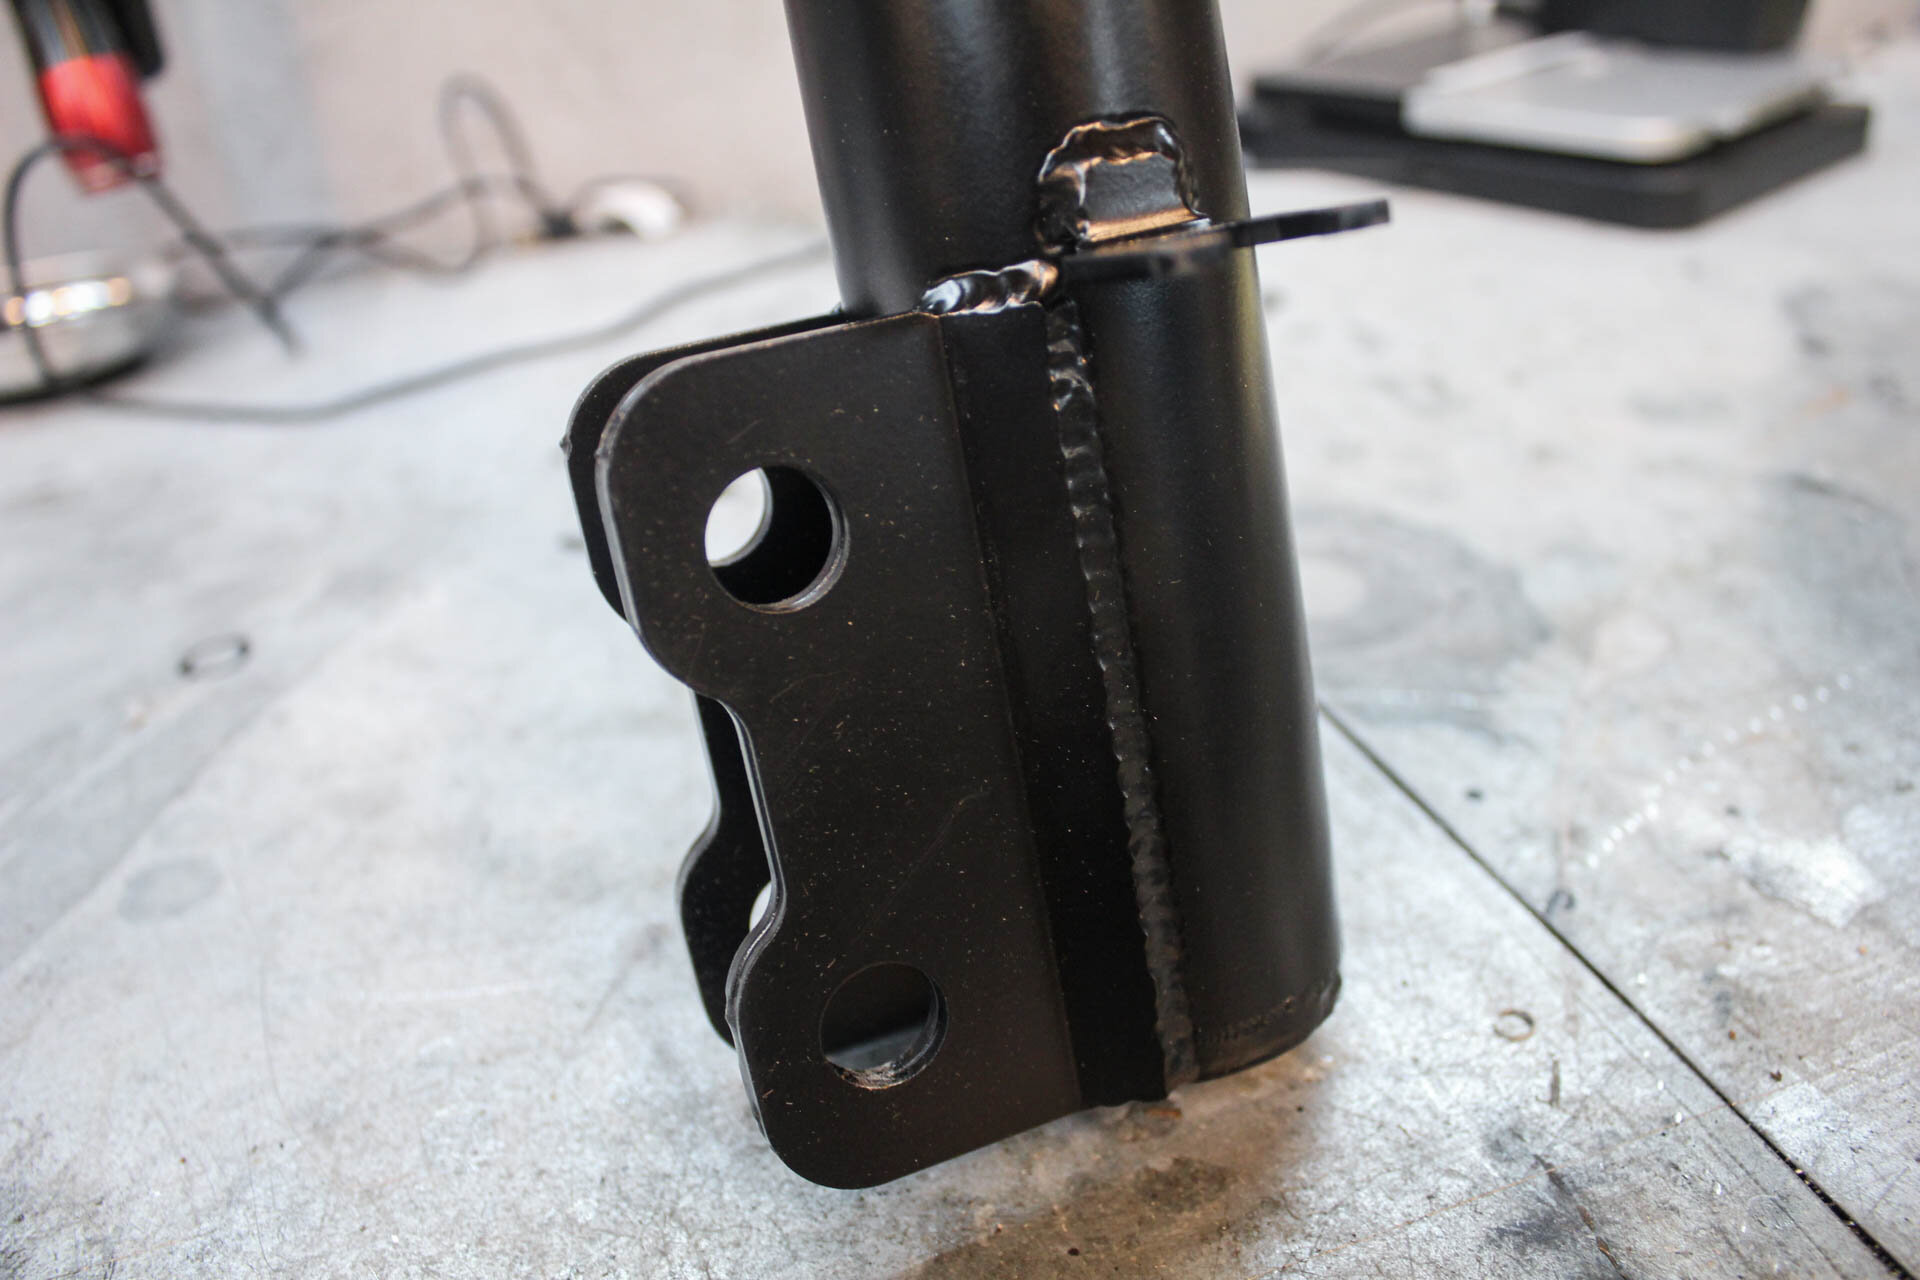
Some great TIG welds making the housing. He builds these in his shop, no outsourcing.

Alex talked me into the extreme top hats. These add a great deal of camber to the coilover helping wheel camber curves, and caster on the front.
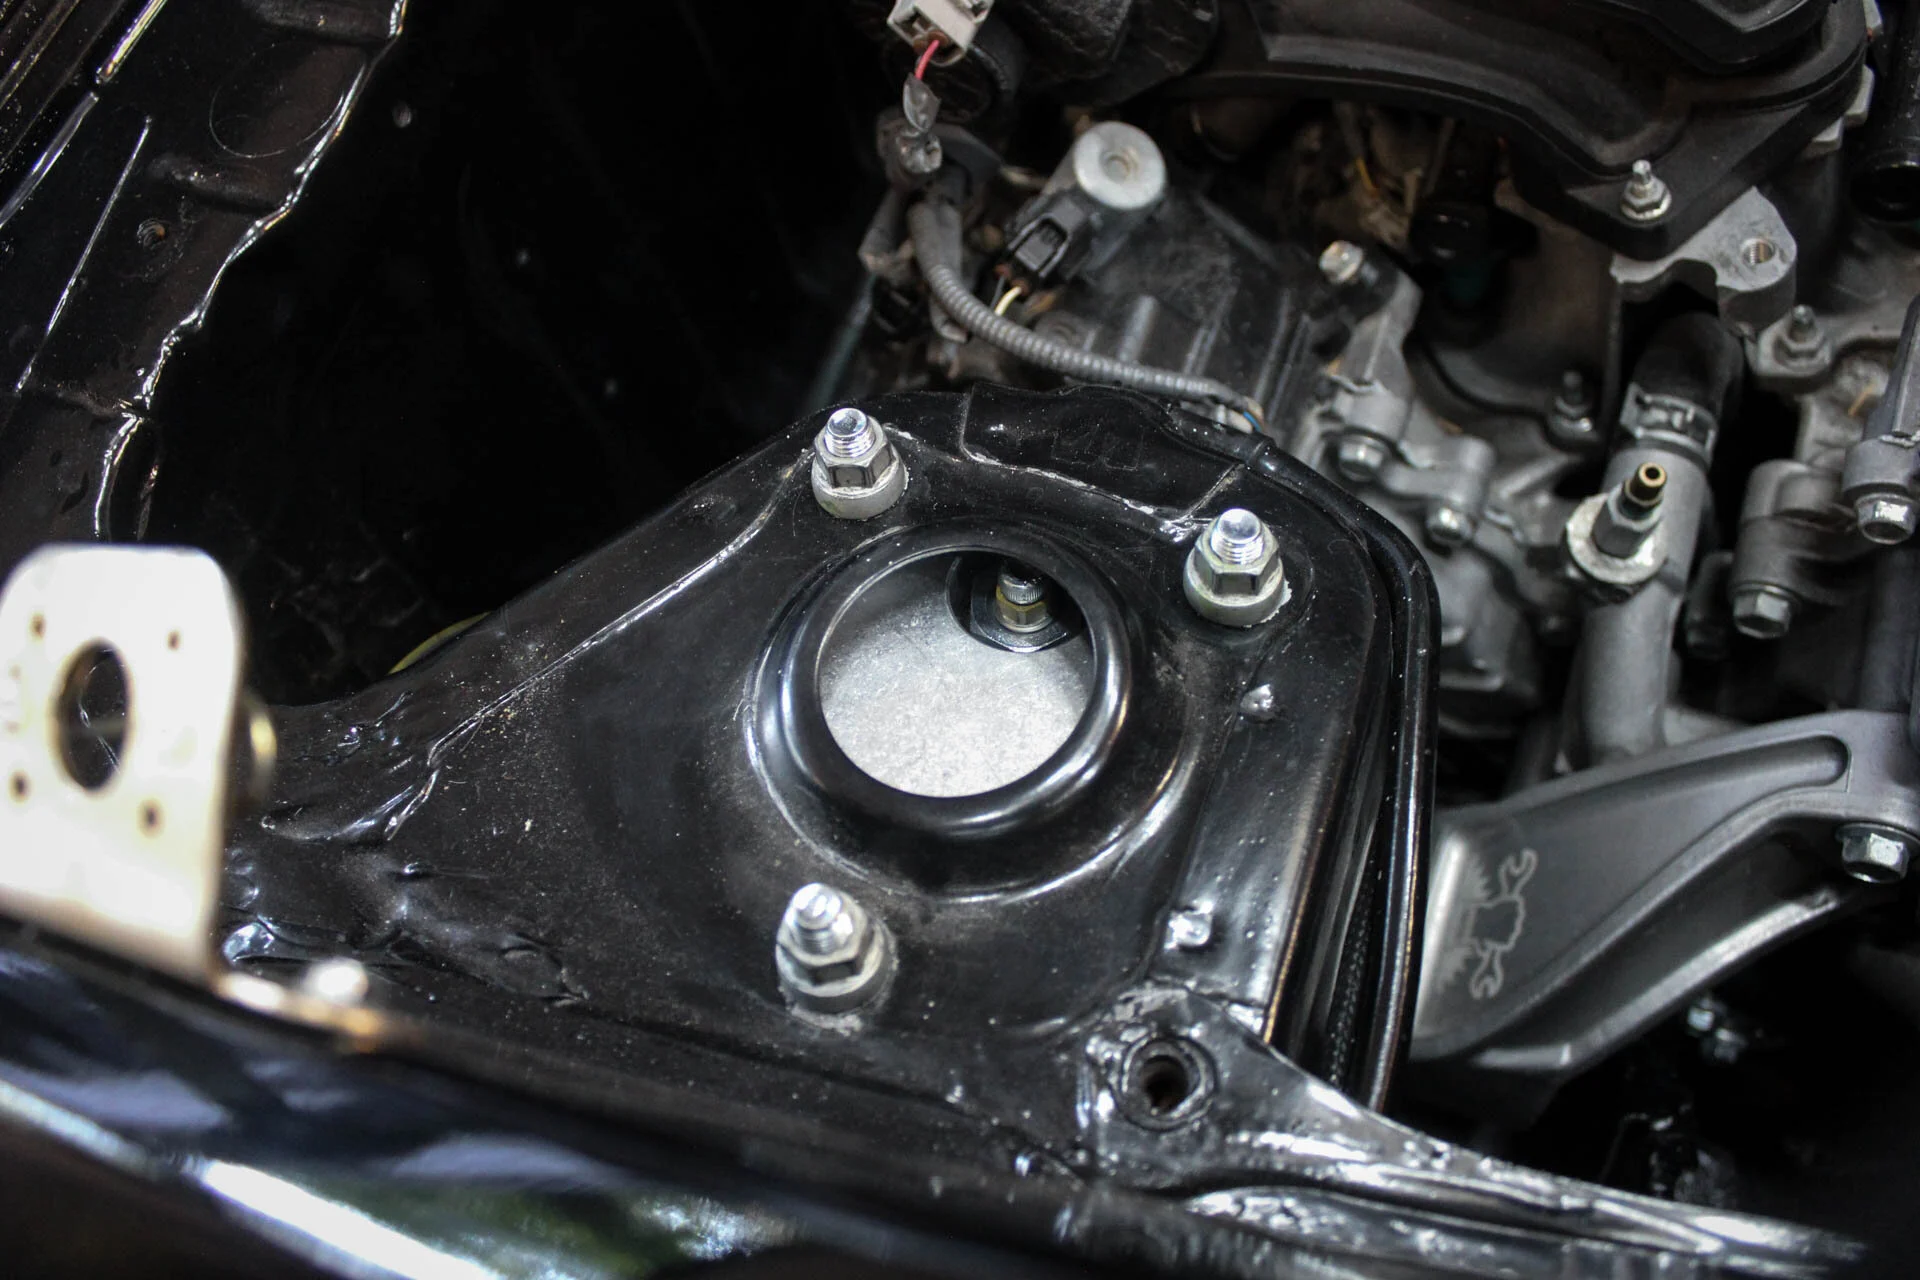
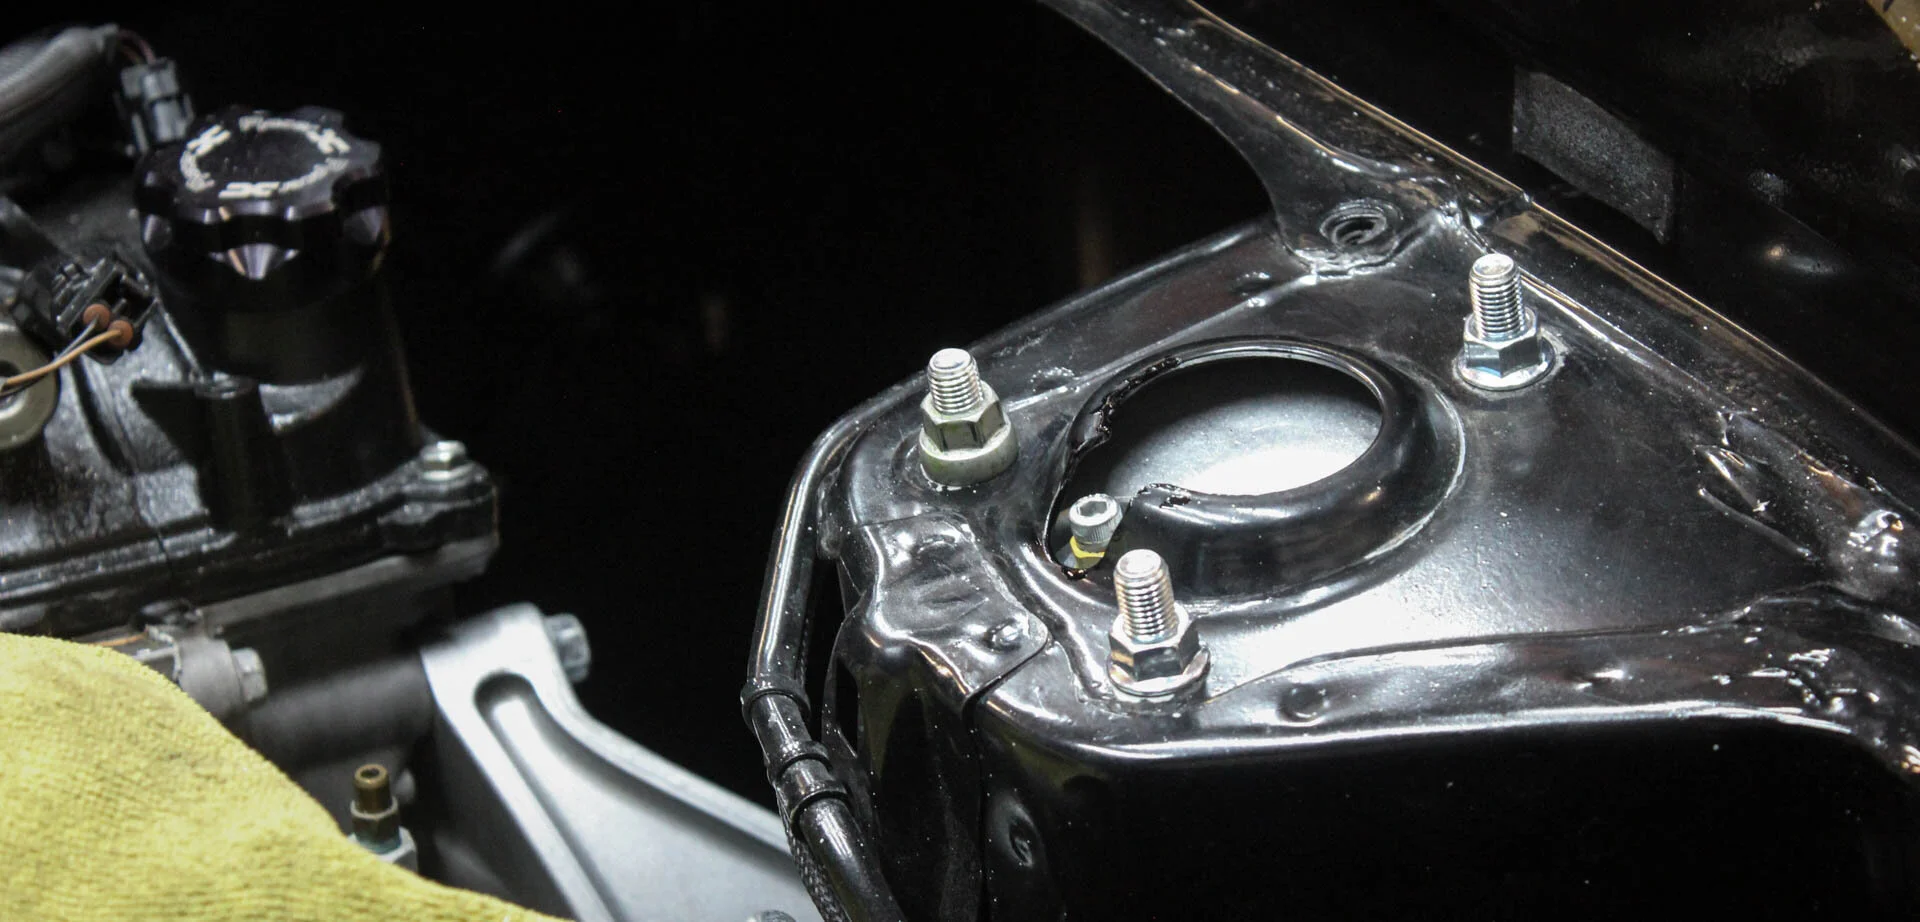
As you can see, the lay the strut so far inbard that you have to modify the chassis to mount them and still adjust the damper. Since you KNOW I don’t mind cutting my car up, I went at it with a small step-bit and eventually cleaned it up with a file.
Add a little touch up paint and the rears are in.

I’ve been hunting a low speed clunk in my front end for years now. After the last track day I noticed a new clunk in the rear. Upon tweaking the suspensions with a long crowbar, I found some of my ball joints were the culprit. Since I have no idea how old they all were, I replaced all four. Fronts are OEM, rears are Moog. Make sure you torque them to spec!

My right rear wheel has also been making some weird noises when I come off the track into the pits I thought it was possibly the bearing, so I replaced that. I also cleaned up the spindle while it was out. These things are becoming routine maintenance as the car becomes more and more of a race car rather than street car. We do not want these things failing at 100+mph speeds or in high G turns.
Come to find out at the next track day, the noises I was hearing are the brake pads slightly dragging the rotors at pit speeds… but we’ll be replacing the pads/rotors this winter to remedy that, and possible rebuild the calipers.

Time to install the fronts! Alex sent me these handy templates for drilling. Tape them up the underside of the wheel well so you know where to drill up.

Front in! The swaybar is not connected yet… because we’re going to attempt corner balancing this rig.
Corner balancing is a very critical part of car setup. I’ve never done it before, but was able to borrow some really cool wireless scales to give it a try. But first you need to mimic your body in the car. So I filled a few buckets with rocks and used my truck snow chains.


Looks like the distribution of a driver. Next we set up my alignment stands as level as possible using my laser level and lots of shims. This is a time intsnive thing, you’ll get much better results with a near perfect setup.

I also built some simple slip plates. When you raise and lower the car a bunch making adjustments, the suspension will bind giving you very inaccurate readings. My total car weight was off by over 70 pounds before using the slip plates. These are just pieces of HDPE plastic with a little oil sandwiched between them.


Here’s the front wheel on one of the scales. I asked some friends and forums, and read a few online articles on corner weighting to try to do it correctly. Basically you try to get the cross weights as close as possible, that being LF+RR = RF+LR. You do this by changing the ride height slightly on each corner. If you raise a corner, it will carry more weight. If you lower it, it will typically carry less weight.
A very good article on corner balancing can be found here, I used it as my guide with a couple other sites I found via google: https://www.elephantracing.com/tech-topics/corner-balance/
You cannot move the weight left/right or front/rear without actually moving components. Moving components in the car is a big chore, like relocating the gas tank or battery. I was just trying to get my cross balances as close as possible… and see what this car REALLY weighs. Before this, I had only weighed it on the junkyard scale near my house. With me in it, they told me it was about 2700 pounds.
After a night of messing around with the suspension, we get to here.

2663 with me in it, so 2500 dry is pretty good! Also, I got the cross weights to 50.1% : 49.9%. Overall I’m happy with that. I was able to lift the car a few times and set it back down and things were with a couple pounds, so we know it’s fairly accurate.
After corner weighting, I hooked up the swaybar without tension on it, and did a thorough string alignment. This is again something I will cover in detail in another post this winter. It’s annoying, and time consuming, but worth it in the end if you have some real simple tools.
I went for a quick test drive, the suspension felt good! Pretty soft and compliant on the street in full soft settings. MUCH better ride than the BCs with these very high spring rates. Also, I had finally eliminated that pesky clunk in the front and rear.

In case you missed it, we’ve had some apocalyptic smoke here in the PNW. While grateful it wasn’t the actual fires we had to deal with, being outside at all was generally unsafe for a solid week.
Before my last track day… these are my alignment and corner weight notes for you to do what you want. I’ve since gone to 1/16” total front toe in, and might try 0 toe in the future.

After a final nut and bolt check, and test drive, we were ready for the final track day of the year, let’s go hunt some 1:50s!
I was getting a bit desperate and track season was winding down, which meant there were limited track events still on schedule.
I settled for a SCCA Track Night in America event. I’ve run many of these events, but over the last few years…they’ve gotten looser and looser. A lot of inexperienced drivers with no real vetting. The events seems to be filling (and I mean FULL run groups) up more and more, but I was hoping the wildfire smoke and covid issues might keep things mellow.
When I arrived to a full paddock, I knew it was going to be a full run group. The only real chance I would have at an open lap would be to line up first in my run group and go for it my first green lap. So, that’s what I did.
1:50.8 with a few mistakes! The new suspension felt very planted. No more bouncing, just lots and lots of grip. It was very compliant over the few big bumps at The Ridge, and helped me get everything I could out of my now worn A052s. So much so, I could now tell my OEM LSD was having a hell of a time keeping both wheels happy. Some one-tire-fires happening on high lateral load apexes one I got on throttle again. Nothing scary about it, as it was always the inside tire breaking free, but that also means I could be going faster!

After the first lap of the first session, the event was mostly a shitshow. We had black flags in every single session. Porsches dumping coolant, Lamborghinis on fire, you name it. In the advanced grouping I was getting point-bys in the middle of hairpin turns, and then cars would almost turn into me when I was passing. It was a stressful few sessions.
I can tell my tires have been steadily declining in grip over the summer, so I think with a fresh set much better times are possible. I know a sub 1:50 lap is in the car, I just need a few laps to try and get it.

So, that brings us to the end of my track day season here in the PNW. Despite being a terrible, shitty year for generally everything in life, I have had easily my most successful track season since I started. 6 track days, a new PR every time, dropped over 6 seconds(!), and most of all reliability has been amazing. Once you can actually focus on your driving instead of what might break, you can really improve. I feel I’ve come a long ways in pushing this 27 year old chassis, and feel theres more to get out of it.
But, racing season isn’t over! If you follow my IG (@apex.attack) you’ve seen I’ve entered my first hillclimb event! It was a crazy scary drive, but also my most rewarding. More on that very soon!