
Jesus take the (steering) wheel!
We had returned from the perils of a hill climb unscathed!

It has been an awesome year for this car. I had really pushed my comfort zone as a driver and learned a ton. For the most part, the car has performed flawlessly, enabling me to really focus on my driving.
But, there were some wear items we needed to address.
First, being the splitter. It’s done well this year, but needed some TLC, stiffening, and we’re gonna lower it (again).

She’s seen the road up close in a few spots. We were able to patch those up with fiberglas cloth and resin.
I also wanted to change the air dam attachment. Before I had it screwed to the bottom of my lip, now I wanted to fence it onto the splitter. I got creative with my bandsaw and some aluminum angle to create the curve. Yes, having a welder with the ability to tack aluminum would be super helpful here… you reading this Santa? This will also add some rigidity to the splitter without adding much weight.
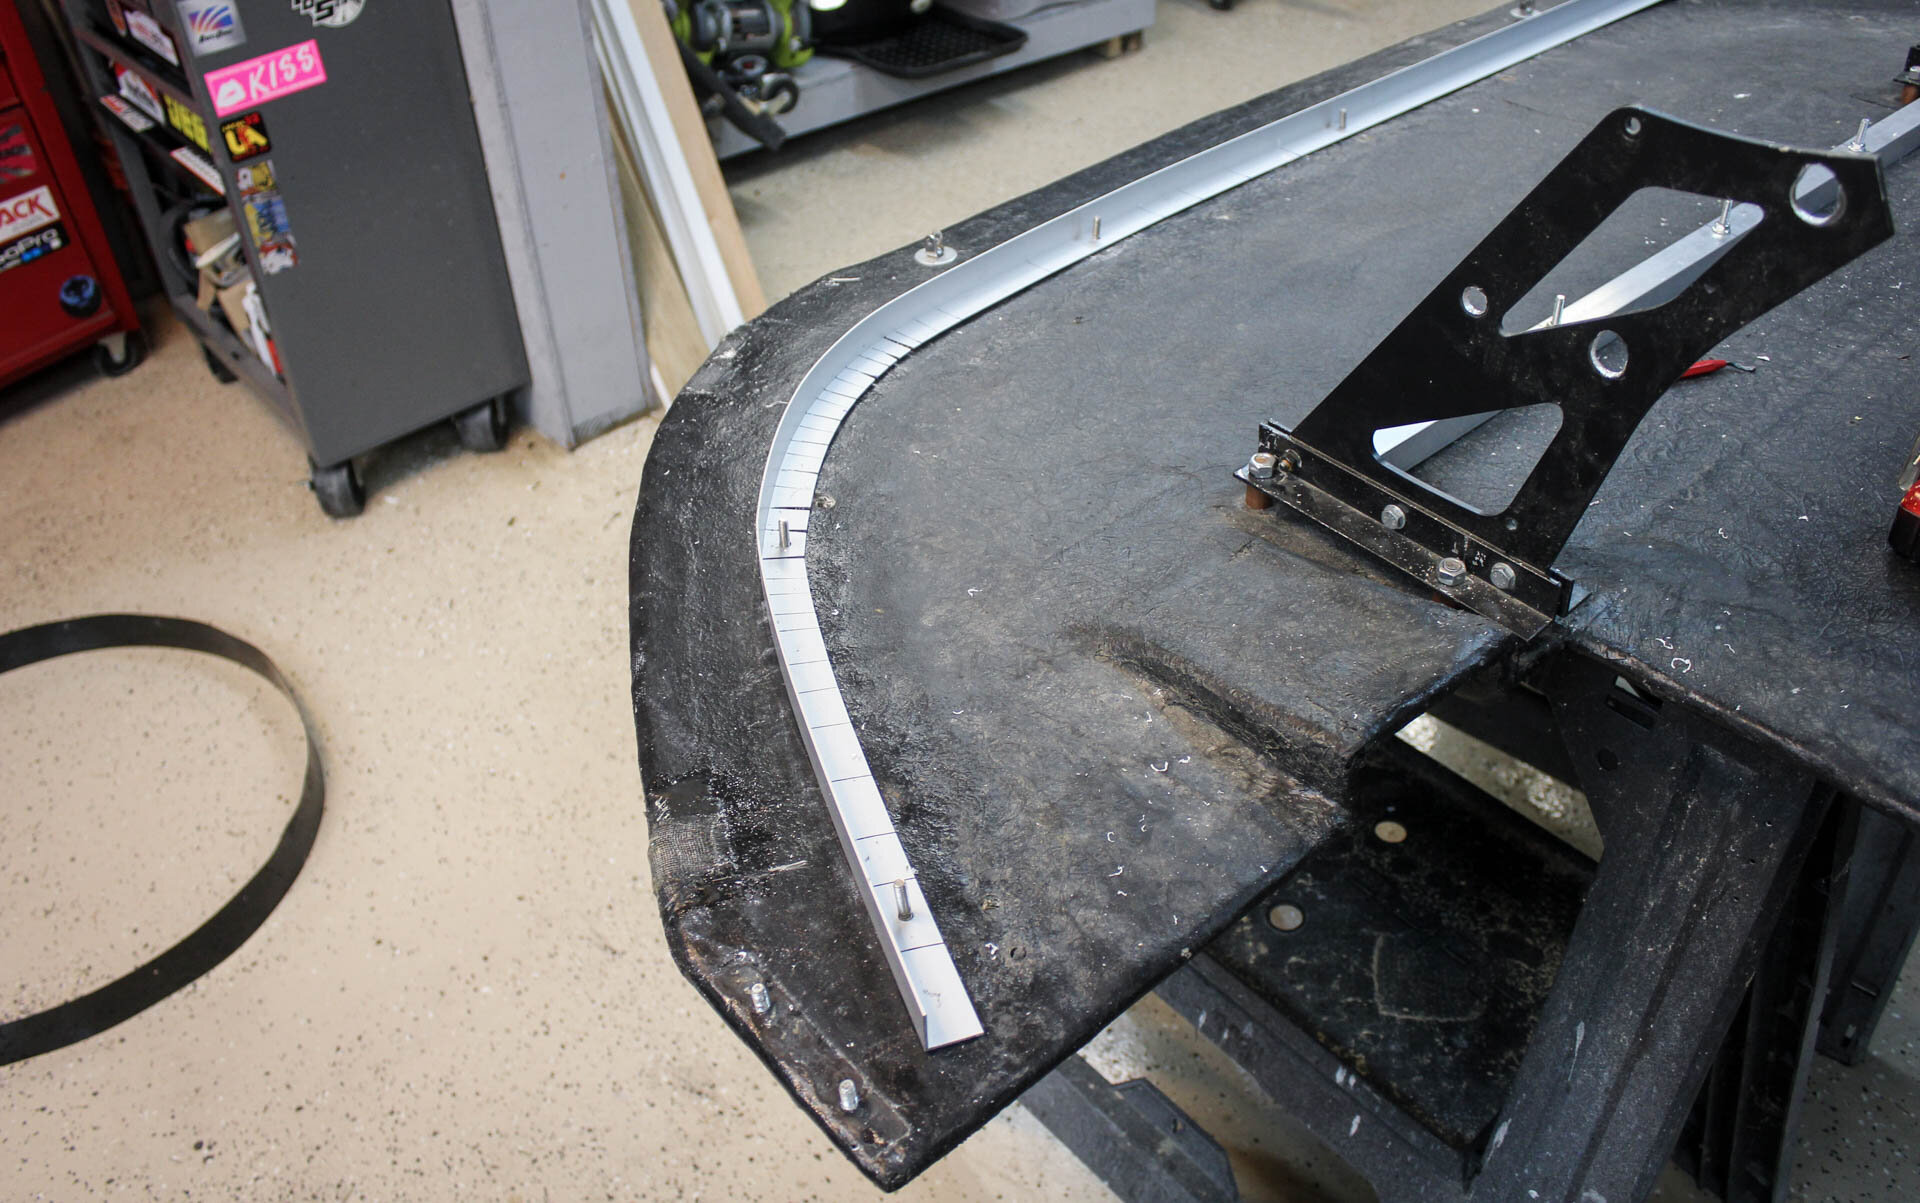
Between the chassis mounts I added some rigidity with more aluminum square stock bolted through the splitter.

While adding all this definitely stiffened up the splitter, it also did add some weight. I’ll say it again, my splitter is definitely a compromise in material vs weight. I weighed the entire assembly again and was surprised… 22 pounds. Ouch. A wood one would probably be just a tad heavier and far more durable. Oh well, that’s how we learn! Once this one puts in it’s last lap… maybe we’ll try building one out of carbon… or just go back to plywood.
Once I was happy with the splitter repairs, onto the next wear item. My front brake rotors have been developing small cracks all season. I’ve kept a very close eye on them, but they have been growing slowly with each track event. They were enough to catch a fingernail on, so that meant time to replace before they fail catastrophically when I need them most.


The reverse side was worse. Overall I’m extremely happy with 4 years of abuse on these rotors. They still have plenty of meat left, and the rears are still going strong. The cracking is just normal wear and tear on a car like mine.

Time to try something new! The slotted Wilwood rotors were on sale for the same price as the blanks, why not give them a shot. Slotted rotors typically offer slightly better performance over blanks, the slots give the brake pad off-gas somewhere to go instead of being trapped between the pad and rotor under heavy braking. You do lose a little bit of surface area, but the slot benefit is thought to outweigh that. Drilled rotors are usually a big no-no. They all crack between the holes, and wear out pads much faster.

Time to pull up Youtube and relearn how to wire-tie bolts again. Turns out it’s not that hard, just be sure to arrange the ties so that if one bolt backs out, it will tighten the one it’s tied to.

Brakes all put back together. Rotors do take some bedding in. I’m still using the Raybestos ST-43 pads, since they still have a solid 60% pad left. Bed in procedure is typical of pads, build heat into them gradually by braking harder and harder over 5-10 brakes.
Yes I use bolt on spacers to achieve my desired track width, no I haven’t had any issues doing so.
With the brakes and splitter all better, I decided to try one more thing this year, autocross. As a bit of a track snob, I was never too interested in standing around a hot parking lot chasing cones. But I knew there was a real benefit to learning to drive the car very hard at a slower pace. The local circle track hosts their own autocross every month or so. The cool part is no cone shagging, they do that for you! You also get a lot more seat time than a typical autocross, 12 runs throughout the day.
If you hit a cone, your entire run is DNF. Luckily you get 12 runs. They keep it very simple with classing, RWD, FWD, and AWD.
Being a first timer, I started the day by walking the course as much as possible. I was able to really see the “track line” through a lot of the turns. In some spots going wider will yield faster corner speed, in others, it wouldn’t. Sacrificing your speed in one turn to set up the following 2-3 can make a HUGE difference.
I was also very lucky to park next to the overall winner of the day in a VERY well prepped FR-S. Supercharged, Hoosiers, MCS suspension, it was a purpose built car with two very good drivers sharing it. They gave me a few ride alongs which helped me connect the dots and learn things pretty quickly.
Here’s my fastest run of the day.
Not the smoothest drive, but hey, my first time! My last run of the day was actually quite a bit faster… but I nipped the very last cone, resulting in a DNF on that run.
Still, a 1:02.6 netted me 4th place in RWD, behind the two drivers sharing the FR-S and a Porsche 911 GT3. I was 6th overall out of 84 entires (A Tesla Model 3 and Hoosier prepped STI had me beat as well). I think I turned a few heads as the new guy.
I also didn’t take too much content, as I was really there to just have fun and learn. Sorry for the lack of pictures… but you know what a car in an autocross course looks like.
When I returned, I took a week or so to plan my mods and goals for the car next season. I found out that GTA is coming our way VERY early into the track season next year, early April. I’ve never even gone to a track day before May before. I’m expecting rain, but still want to prep the car best I can.
So, let’s start with an easy one to get the ball rolling. I haven’t had a catch can since the 2gr went in. Doesn’t seem to be an issue, but most tracks run clockwise. Both tracks I run here in the PNW run CCW. If I get on a CW circuit (next year we will be!) I will likely have some smoking as the PCV can get overloaded. So I got some cool 8AN ORB adaptors for my RacerX catch can. These allowed my smaller 3/8” PCV hose to fit perfectly. I ran the outlet back to the intake. I will have to empty it every so often but it should help reduce the oil vapor back into the engine.

That was easy. Now onto a bigger mod. It was very apparent at my autocross that my steering system needed some love. I’ve never touched the steering system in my car, and at 170k miles I’m pretty sure even the fluid is original. I had a small leak, sometimes the steering was harder than it should be, and the ratio feels slow. I’ve always wanted to get the quicker ratio pinion installed, so now was the time.
In case you didn’t know, the steering pinion out of the MR-S Spyder is quicker than even the SW20 power steering pinion. The SW20 ratio is 3.2 turns lock to lock, the Spyder is 2.6, a significant improvement. What’s cool, is it’s a bolt in mod, just swap the pinions.

I pulled the rack, made a pretty big mess of power steering fluid on the shop floor, and set apart tearing it down. Follow your BGB here and it’s pretty simple.

That’s the bugger were trying to remove and modify.

Here’s the other side of it. Notice how bad the grease is looking. Likely original, 27ish years old, 170,000 miles.

Since I had a slow leak, I wanted to attempt rebuilding the whole rack. You can buy a seal kit for $40 for these, and it comes with pretty much every seal needed. I continued completely pulling the rack apart. The BGB calls for many times when a SST (special service tool) is needed, but you can get creative.

Like here, you need to spin out the rack bushing to release a lock wire. Turns out twisting an 8” crescent works great here.

My likely bad seal. And some nasty looking fluid with it.
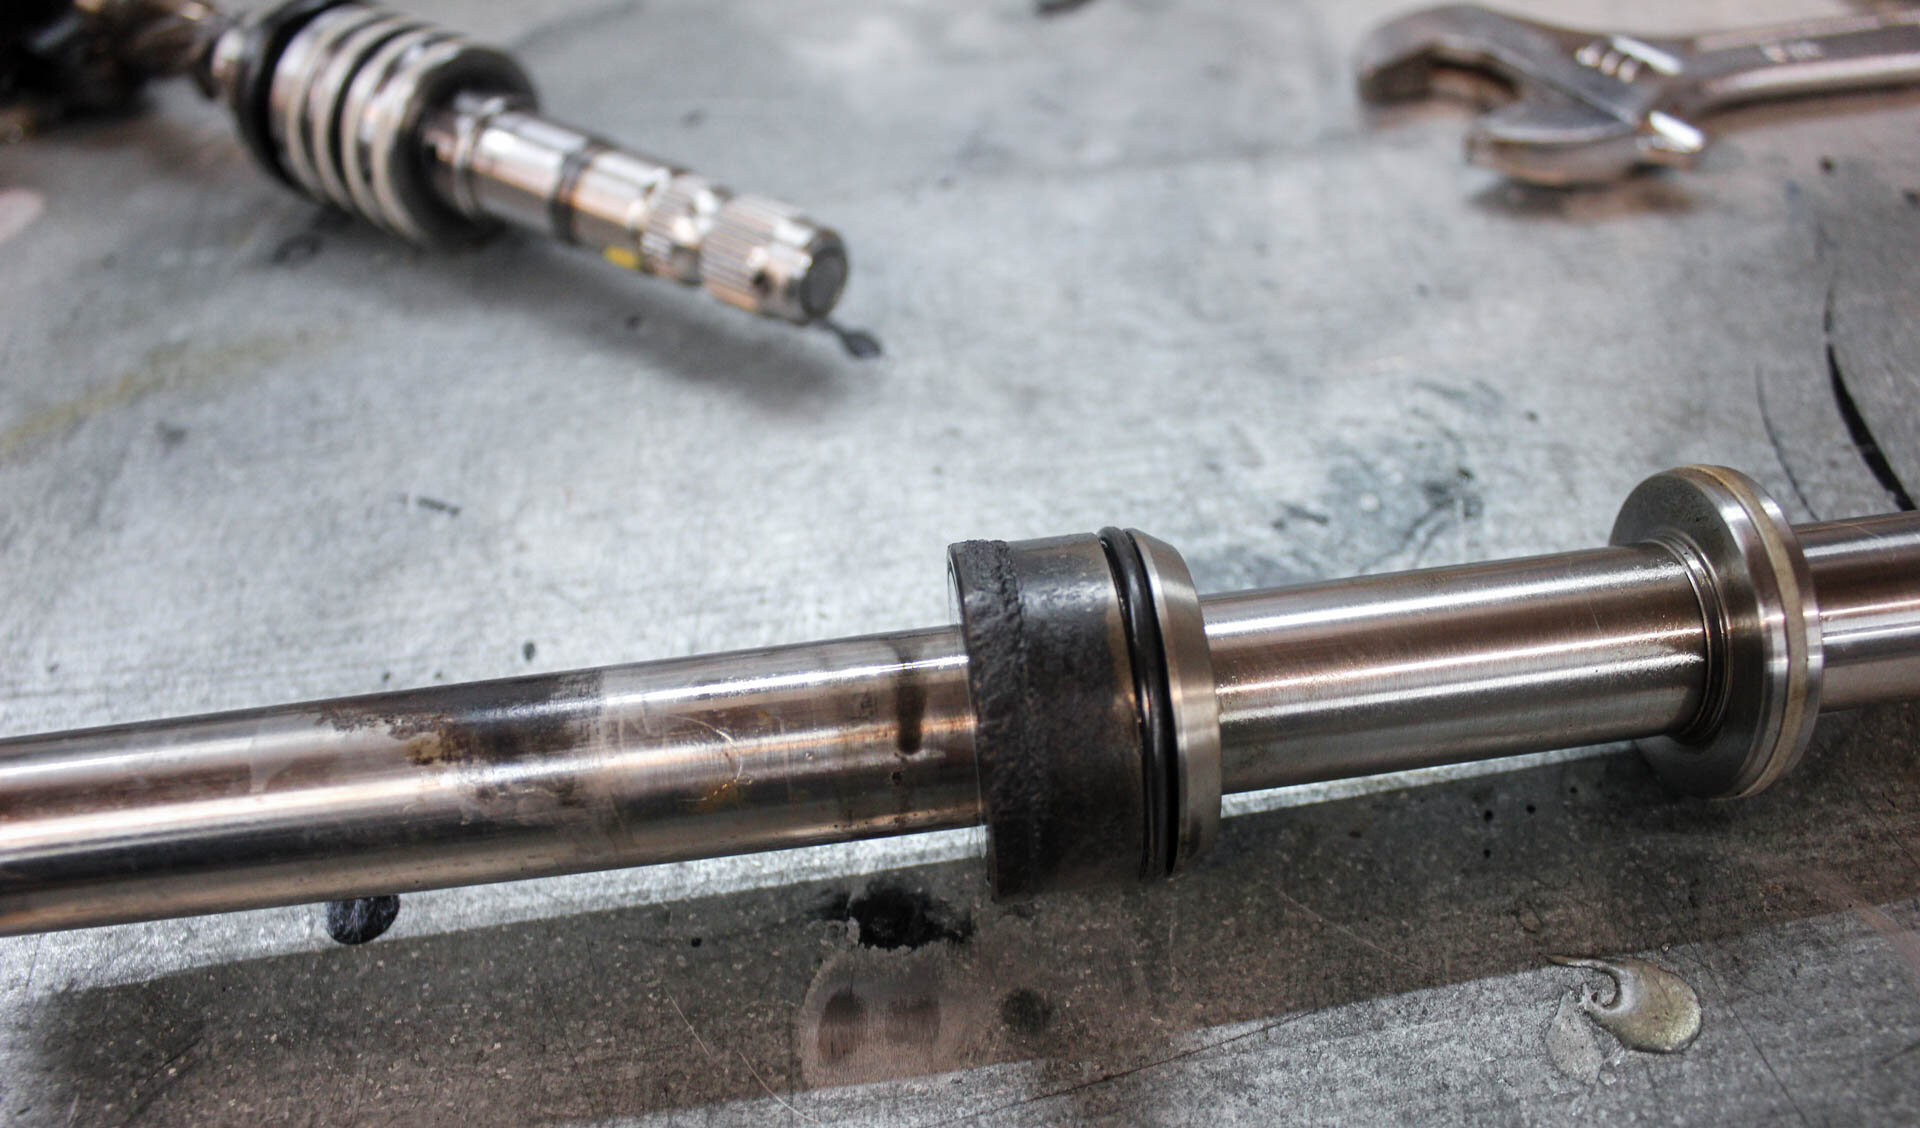
Need to replace this O-ring and clean up the bushing. Pretty obvious it has been seeping fluid awhile.

This quickly turns into a mess. It doesn’t help when each part you remove spills more old power steering fluid. Keep things as clean as possible! Lots of rags. Try to stay organized too. When I pulled off a seal, I immediately replaced it with the new one, and threw away the old one so I wouldn’t be confused later in assembly.

Here is our donor! You can get the pinion out of any power steering MR-S spyder and it will be quicker ratio. I called a few local junkyards, and eventually found it was a wash to order a reman rack off ebay.
I quickly took out the pinion, same style of build as the SW20 rack.

Old pinion on the left, new on the right. You can see the new one appears to have more teeth… because it does! 7 teeth vs 6. This moves the rack further for a given rotation of the pinion.
Following the BGB, I re-assembled the rack. I put in new seals where it was feasible. There’s a few seals you would have to press out a bearing and replace to get to the seal. Since those hadn’t leaked, and I didn’t want to mess with bearings that looked fine, I let them be. All in all, I replaced about 60% of the seals and o-rings on my rack. The most important one being the one that had a slow leak. I cleaned up the metal bushing with lots of degreaser, and a wire brush.

With the rack all put together I gave it a lick of paint. I also replaced one of the inner tie rods, the other one was fairly new.

Install was fairly simple, the most difficult part being attaching the U-joint coupling in the frunk to the rack.
Take your time bleeding the rack, and follow the BGB. Basically fill the reservoir, turn the key to acc, and turn the wheel lock to lock, holding it 2-3 seconds at each lock. Check the reservoir and top off if needed. I did all this with the front end still in the air. Then I gave the car another alignment (more on that I swear!) and got out for a test drive.

WOW. What a difference. The steering feel is MUCH better, and quicker. The car feels more modern, and will no doubt be easier to drive at the limit. It just feels more like a sports car, and less like a tractor. I also had an annoying vibration I could never sort, which must have been the inner tie rod, because things feel tight and smooth now, no vibrations. The new seals haven’t leaked yet, but I think all new fluid and rack grease helped a lot too.
I’m bummed I didn’t do this earlier. Definitely a great mod. Now to go buy all the spyder steering racks I can afford (cha-ching goes off in head). Will get you guys video on it soon.
Onto more mods! One thing I built in a rush without any research were my splitter end plates. Basically I cut a triangle shape for them out of some scrap carbon because it looked cool, riveted them to some aluminum angle, and bolted to the splitter. I’ve since done a little research and found out these aren’t ideal aerodynamically.
I messaged Amir at RS Future (IG:@rsfuture_amir) and asked him for a basic dimensions. He’s super helpful guy (and a VERY quick driver, see his NSX in action here) and basically said to go with a rectangle shape, no more than 5” tall to keep things effective and simple. So, off to Amazon I went and picked up some 2mm carbon sheet.
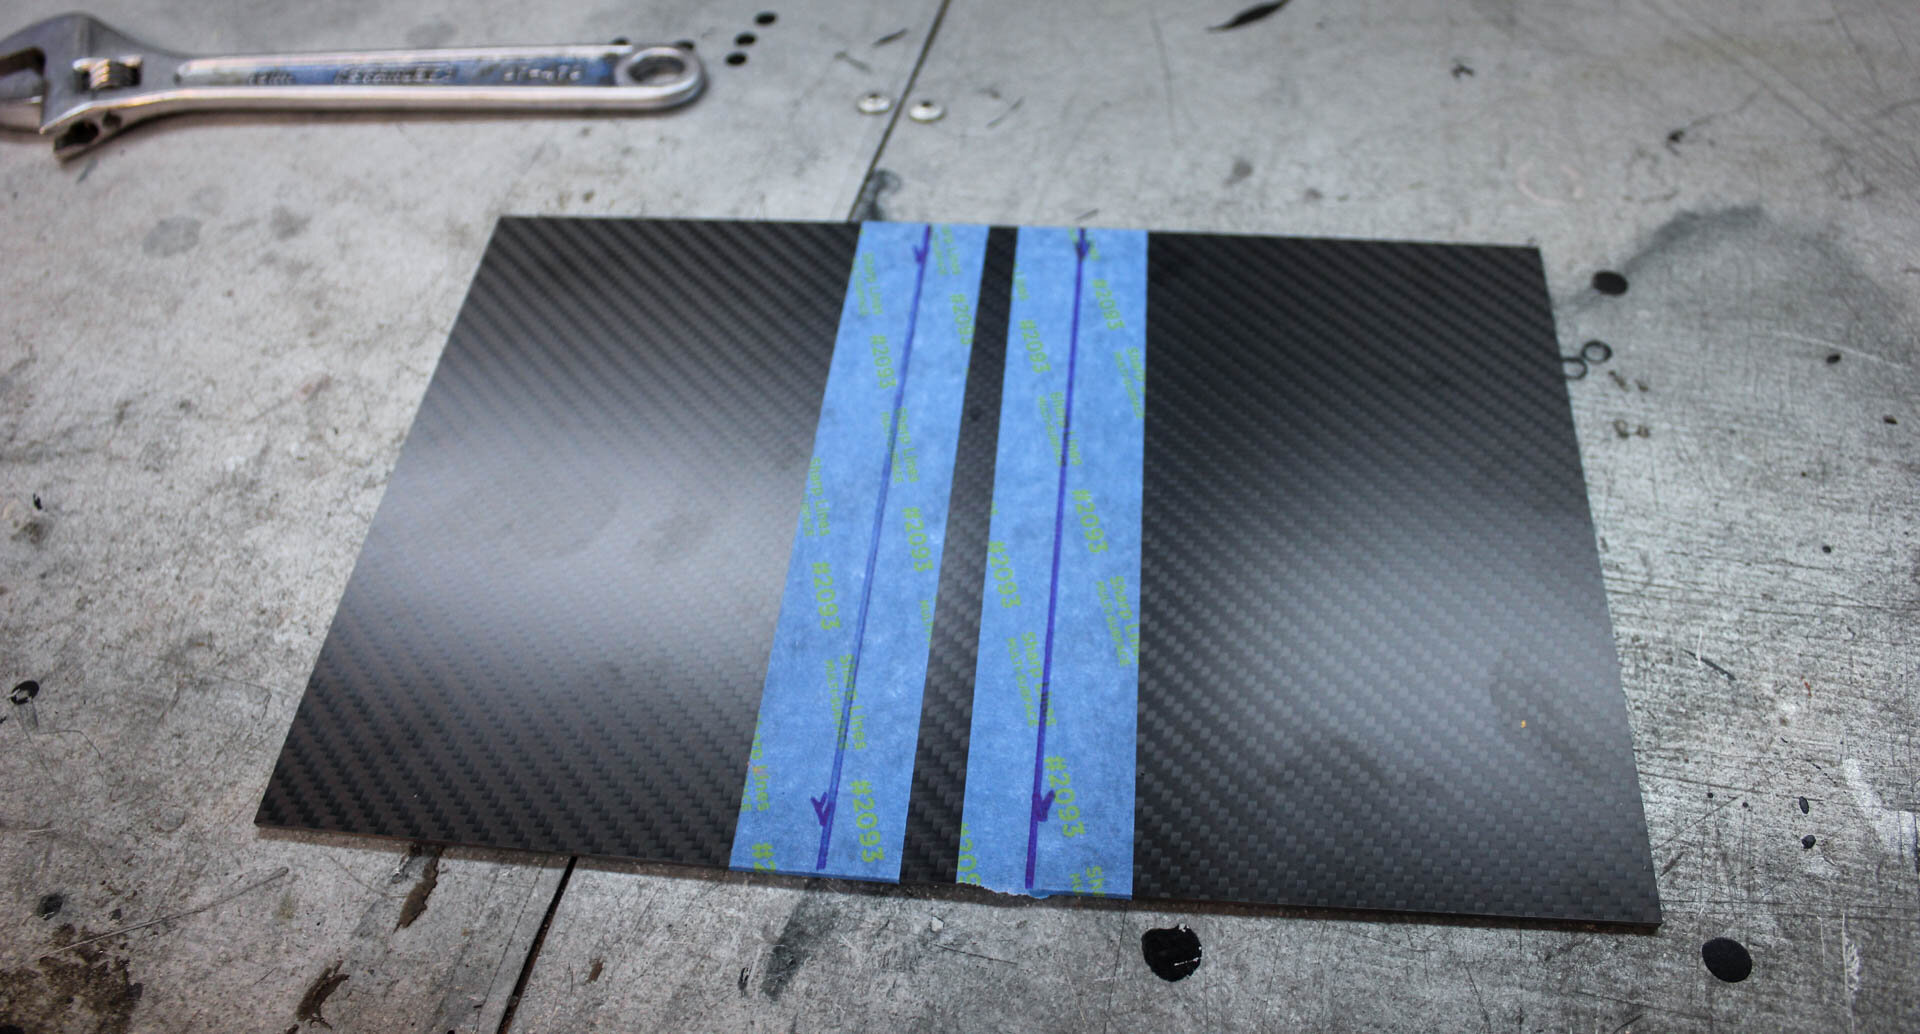
Cut it into some simple rectangles (WEAR A MASK) with a grinder cut off wheel.

Cut and debur some aluminum angle.

Paint the aluminum for extra Wekfest points, and rivet the plate on. Drill holes for bolting to the splitter.

Notice the slight damage on the splitter, that was from the cone I nipped at the autocross. Since been painted.
There you go, a simple but hopefully more effective splitter endplate. I can’t fully explain, but a dam of sorts is what is preferred to direct air from spilling underneath the splitter, and push it away from the wheel wells.

The plate is much larger and more noticeable now!
Speaking of turbulent wheel well air… let’s get onto the next aero refinement!

Fender vents! But Mike, your fenders are already vented. Well, yeah, but more is better! (cue xzibit meme) This is something I’ve wanted to do for awhile, and finally found some simple vents that fit the MadPSI fenders well. You want to relieve as much air as possible from the front fenders, as that turbulent air will spill out and disrupt flow over the rest of the car.
So, here we are, cutting holes in some valuable and rare car parts, again.
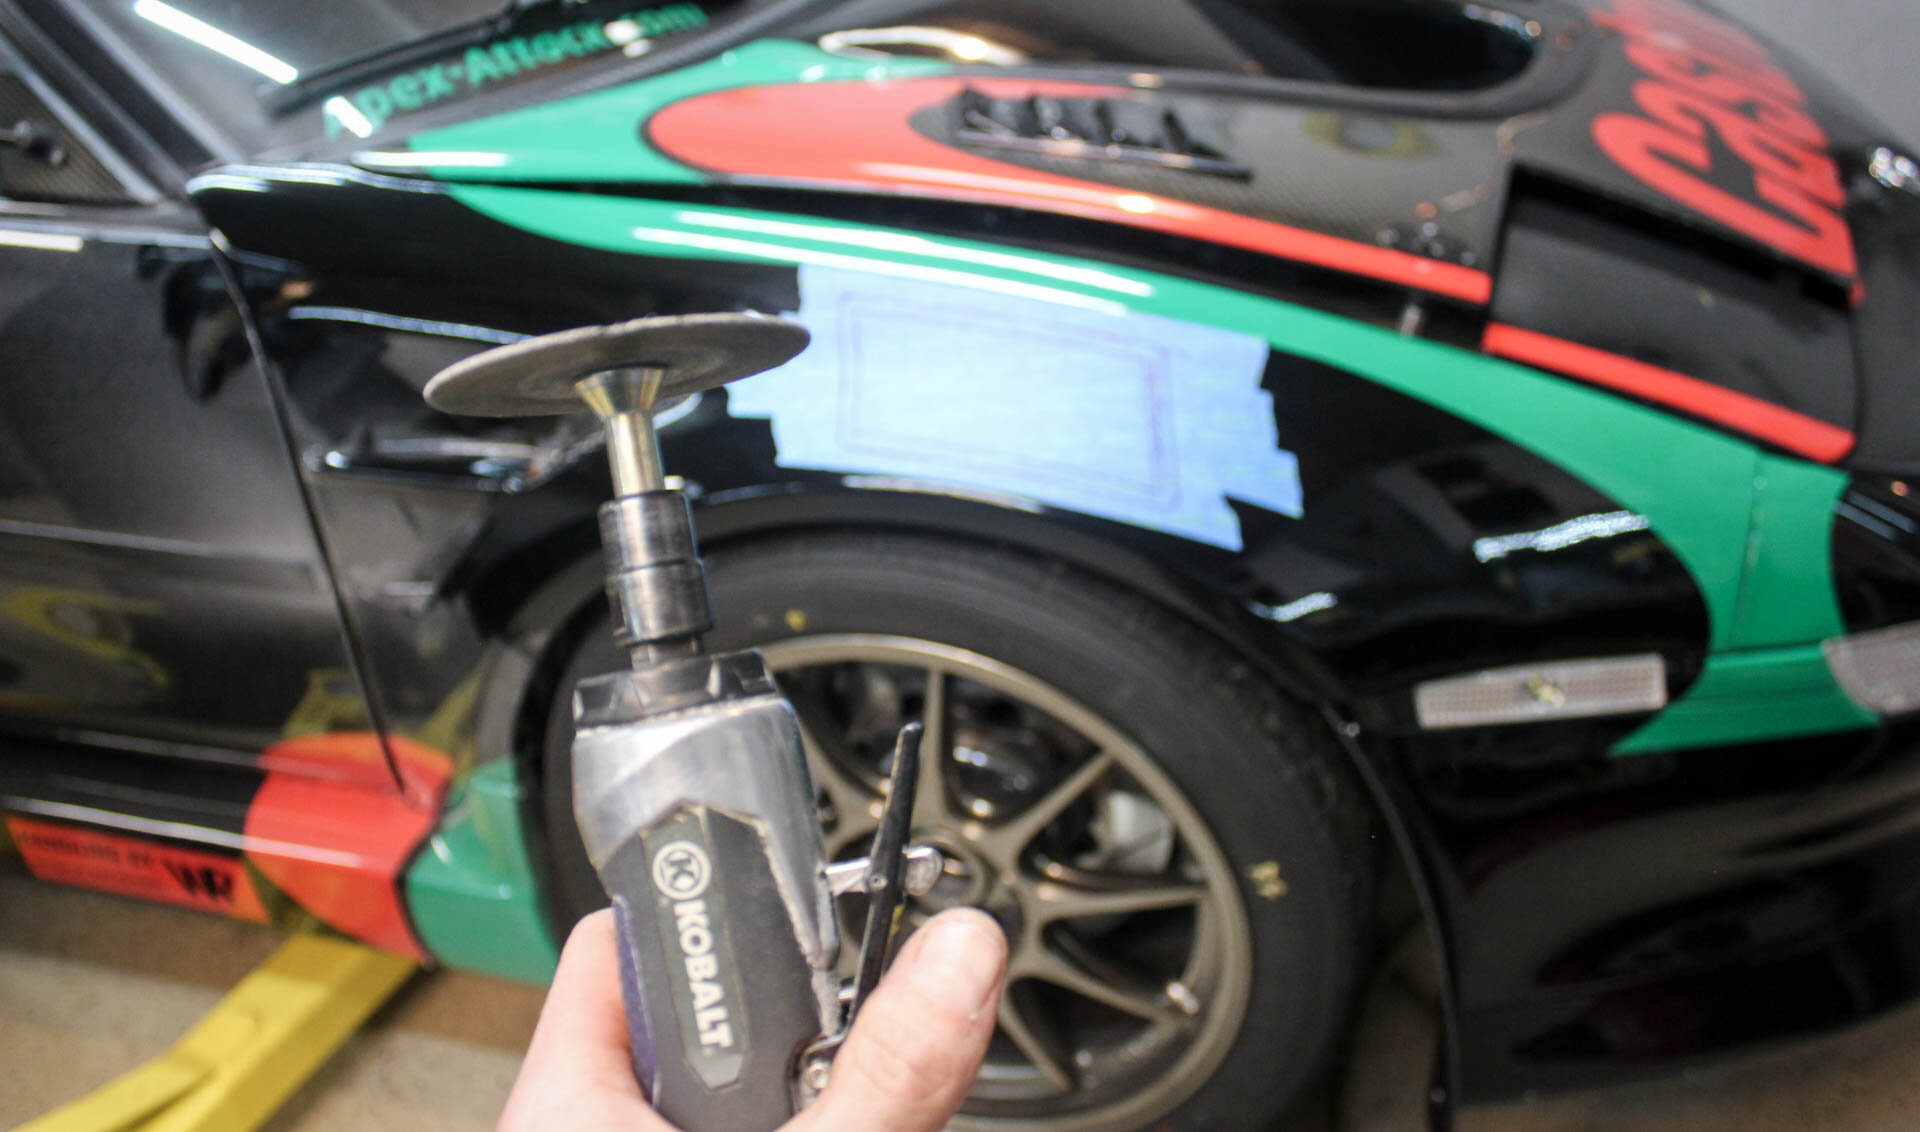

Peek-a-boo!

I was very deliberate and took my time lining everything up and drilling the holes for the rivets. If these are too small, I can always make the hole larger underneath and install a larger vent. Take your time riveting, I started in the front and worked back to make sure the vent sat flush.

All done! I love the look and functionality of it all. Am I crazy for cutting these up? You bet. But, it’s just a fender.

I really dig the finished look of the front wheel wells now with the splitter mods and fender vents. Function creates form.
We have lots more content coming this winter, stay frosty!
Huge weight reduction post
DIY alignments
More aero mods
Basic fabrication
Merchandise coming early 2021!