
Gutters and Strikes
Where we last left off, our embattled hero was towing the car back home from a successful track day (I count successful as not blowing up the engine or hitting things harder than the car). The car had survived, but we're still ironing out the kinks and working out the gremlins (did you just imagine gremlins lifting weights at the gym? I did).
Mostly, my turbo was shot. I was still waiting on parts from KO for their kit. After more research and soul searching of what exactly I wanted out of this car… I decided the turbo kit I bought in haste was just too big for my setup. Running a big turbo at 15-16 psi would probably be more powerful above 6500 rpm, but also laggy. In short, a big ol' 3082 turbo really shines at 20+psi, and if I wasn’t going to run it that high, it’s kind of a waste of efficiency. I want response. So, the turbo kit was sold to another enthusiast, and I turned to ATS Racing.

Boo yah. A freshly built CT21. It’s a bolt in affair, proven power, and proven spool. If I do want to go crazy, the turbo can be pushed 400ish whp as well. Why not stay with what we know? I have plans this winter for a different intercooler setup to really see what I can get out of it.
Let’s throw this bish in!

Mmmmm fresh. But I like my billet wastegate actuator. Less rubber nipples to fail.

There we go. I’ve had the block off rubber caps on the OEM actuators fail on me more than anything, leading to inconsistent boost control issues. Hence the Kinugawa actuator.
So, like I said last post, my old billet CT20b had a ported wastegate to help alleviate boost creep issues I’ve had. I figured with this turbo, let’s just go with what ATS says works great and kept the OEM exhaust housing on. I also didn’t want to repeat last months tragedy and break a basically brand new turbo trying to pull it apart.

Installed! I’m getting too good at swapping CT turbos.

How do you know you have a ATS turbo? They stamp it “ ATS 21” on the exhaust housing. Kinda cool.
New turbo in and good to go, what else would help? Well, looking at this pic from my last track day had me wondering if upping my springrates would help flatten the car better.

The car was leaning a bit more than I want, this was taken on the hardest corner of the track. Plus, my front tires and fenders were partying with each other on these hard turns. And since I refuse to raise the car any higher (stance, bro), let’s try a different solution.

First, pull the coilovers.

Swift spring upgrade. A local had a set of front 8k springs he sold me cheap, and I bought the 10k rears from BC directly. The original BC springrates were 6k front 8k rear, so this is a somewhat small step up in stiffness. For us 'MERICANs, I went from 350 lbs/in to 450 lbs/in in the front and from 450 lbs/in to 550 lbs/in in the rear.
After emailing back and forth with Alex at Wilhelm Raceworks, he approved of my upped stiffnesswil, they were similar to what he runs on his 2GR powered track car. He has super duper fancy custom Koni coilovers (which I will commission him to build for myself someday) on his rig compared to my tawainese, cheap, survived one crash already, coilovers.
As a small bonus, the Swifts are also substantially lighter than the regular BC springs? Is that unsprung or sprung weight though? Jokes. Let’s tear down the coils. Pretty simple with the power of Youtube, a 14mm and 17mm wrench, and allen set.


Once I had torn down one of the fronts, I had a little freakout thinking the new swifts were way too tall. BC runs a 6” front spring and 7” rear for the SW20. Then I realized I had my old coils preloaded WAYYYY too much.

Rears rebuilt and ready to go. I like to paste some anti sieze on the coil body threads for future tear down and adjustments. I think it helps… or the anti-seize just attracts dirt and rocks into the threads…

Ready to go back in. I removed one collar on the fronts to see if I can go hella low again (stance, bro).

Amateur tip: Mark the coilover-to-knuckle mount points so you can get thing back to very close when putting the suspension back in. This will help match your camber as you had it before.

Doesn’t that front wheel well just look slick, minus my greasy prints all over the rotors? Nevermind where the tires rub at full lock.
Although I never took any pictures of it, Alex did send me slightly larger rear plugs for my rear tie rod brackets (part of his suspension geometry kit). He claimed he’s had a very low percentage of SW20s with that issue, but started making the larger plugs to go in for a more friction fit to prevent the slipping under load. I pressed those in and put the rear hubs back on. To get the car road worth before annoying my local Firestone, I busted out the ghetto string alignment again.

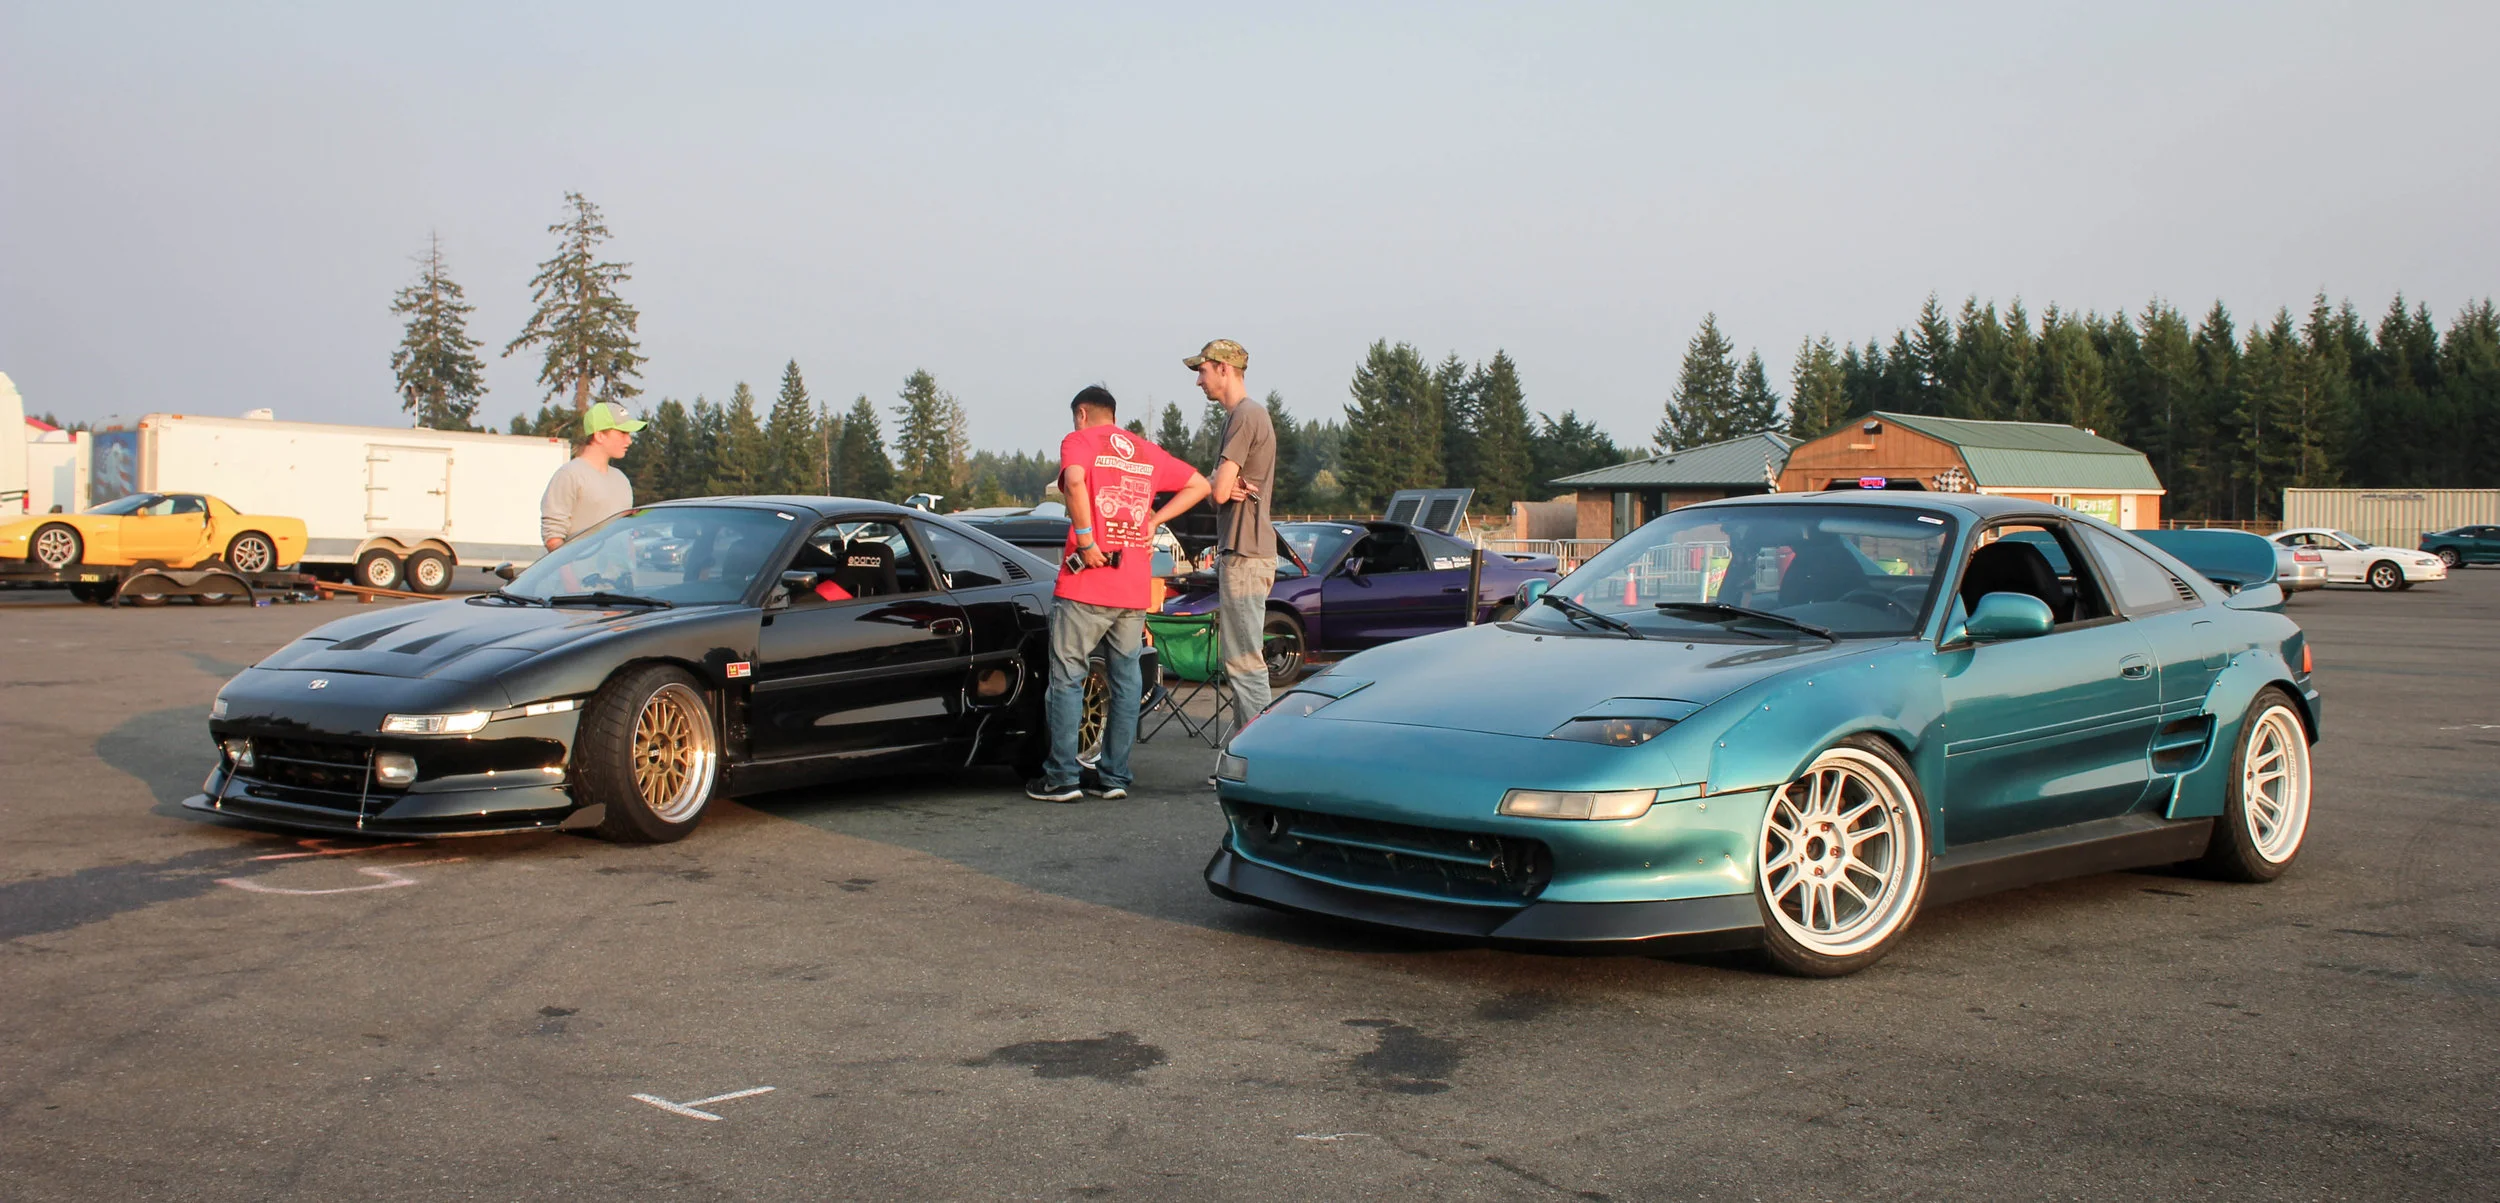
So, we were pretty well prepared for the next track day, but it was a little bit away. In the mean time, I wanted to get together with all the local MR2 boys since we hadn’t had any meets this summer. So I organized the first ever M-day meet. Basically just a small meet at a super popular spot in Seattle, Alki beach.

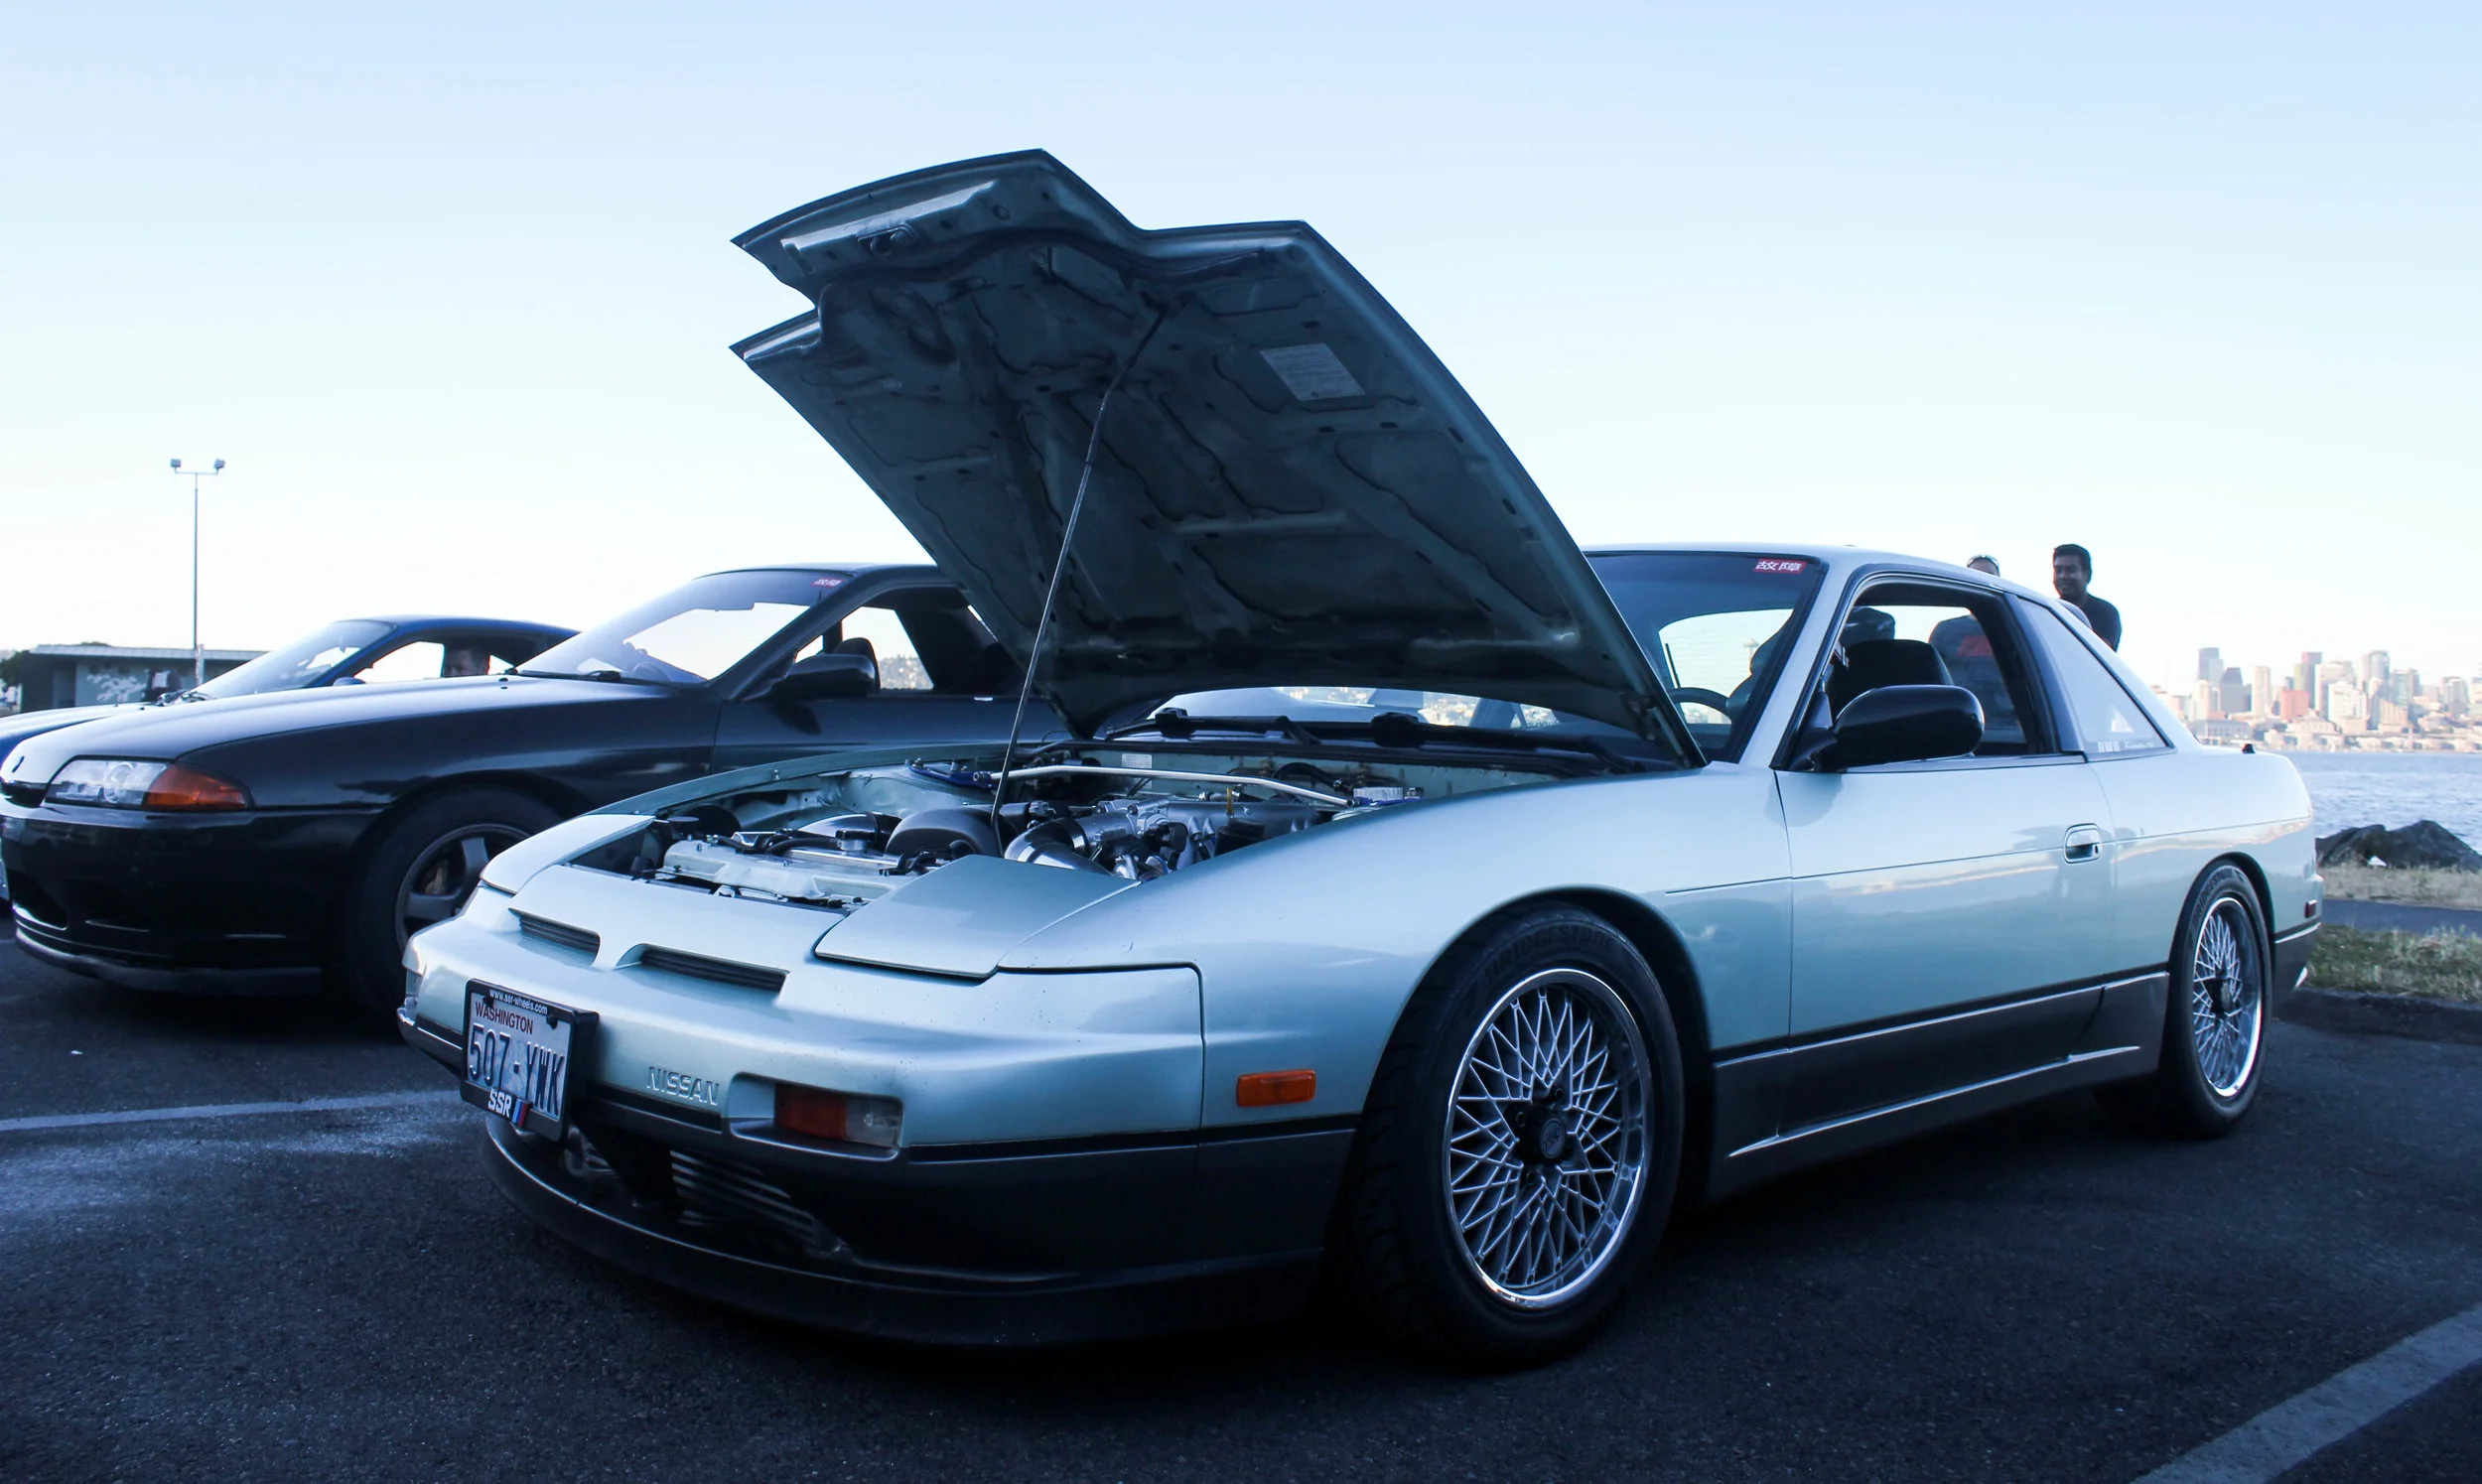
The only problem was… I was the only MR2 that showed up at first! Turns out a lot of locals have their MR2s down for big builds or swaps, or have moved onto different platforms. That’s ok though, I like seeing all the different stuff people showed up in rather than 20 SW20s.
David is starting a rather eclectic car collection. He has a well sorted gen3 mr2, WRX STI, EK track beater, and now a clean stock (which is as rare as it gets) 240sx. Or so it seems. Until he blipped the throttle.

LS engine in a car with 205 rear tires… why the hell not! The install looked almost OEM, nicely done.

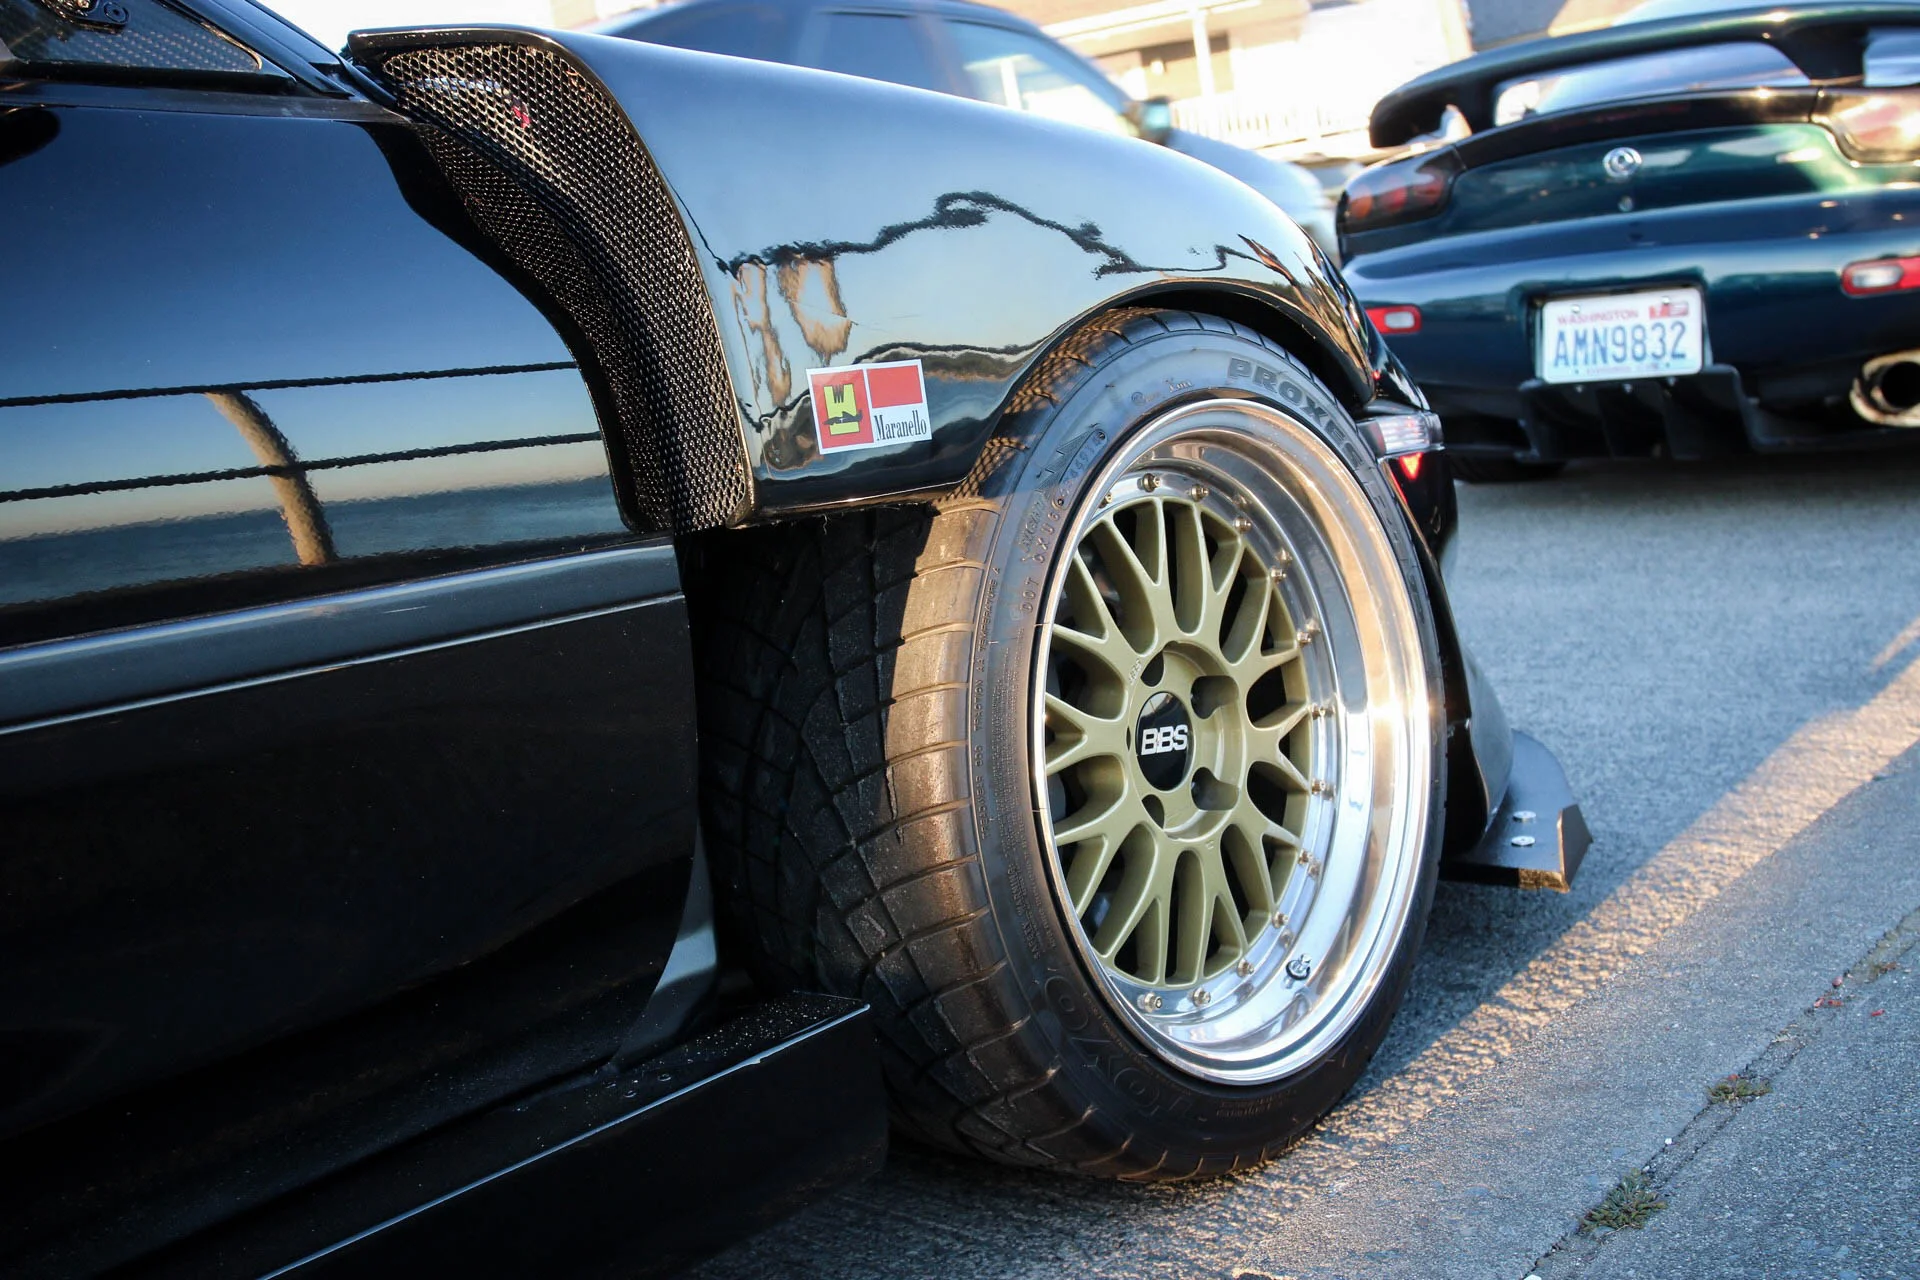
Johnny still has a SW20 (with piles of parts not installed), but recently bit the bullet on a FD. One of the all time beautiful chassis in my opinion. At least… if he ever paints the front end. This one sports a rebuilt, bridge ported, 400ish hp 13b. It sounded great.
Two other MR2 owners also showed up with a sportbike and daily STI. Cool to met them too.

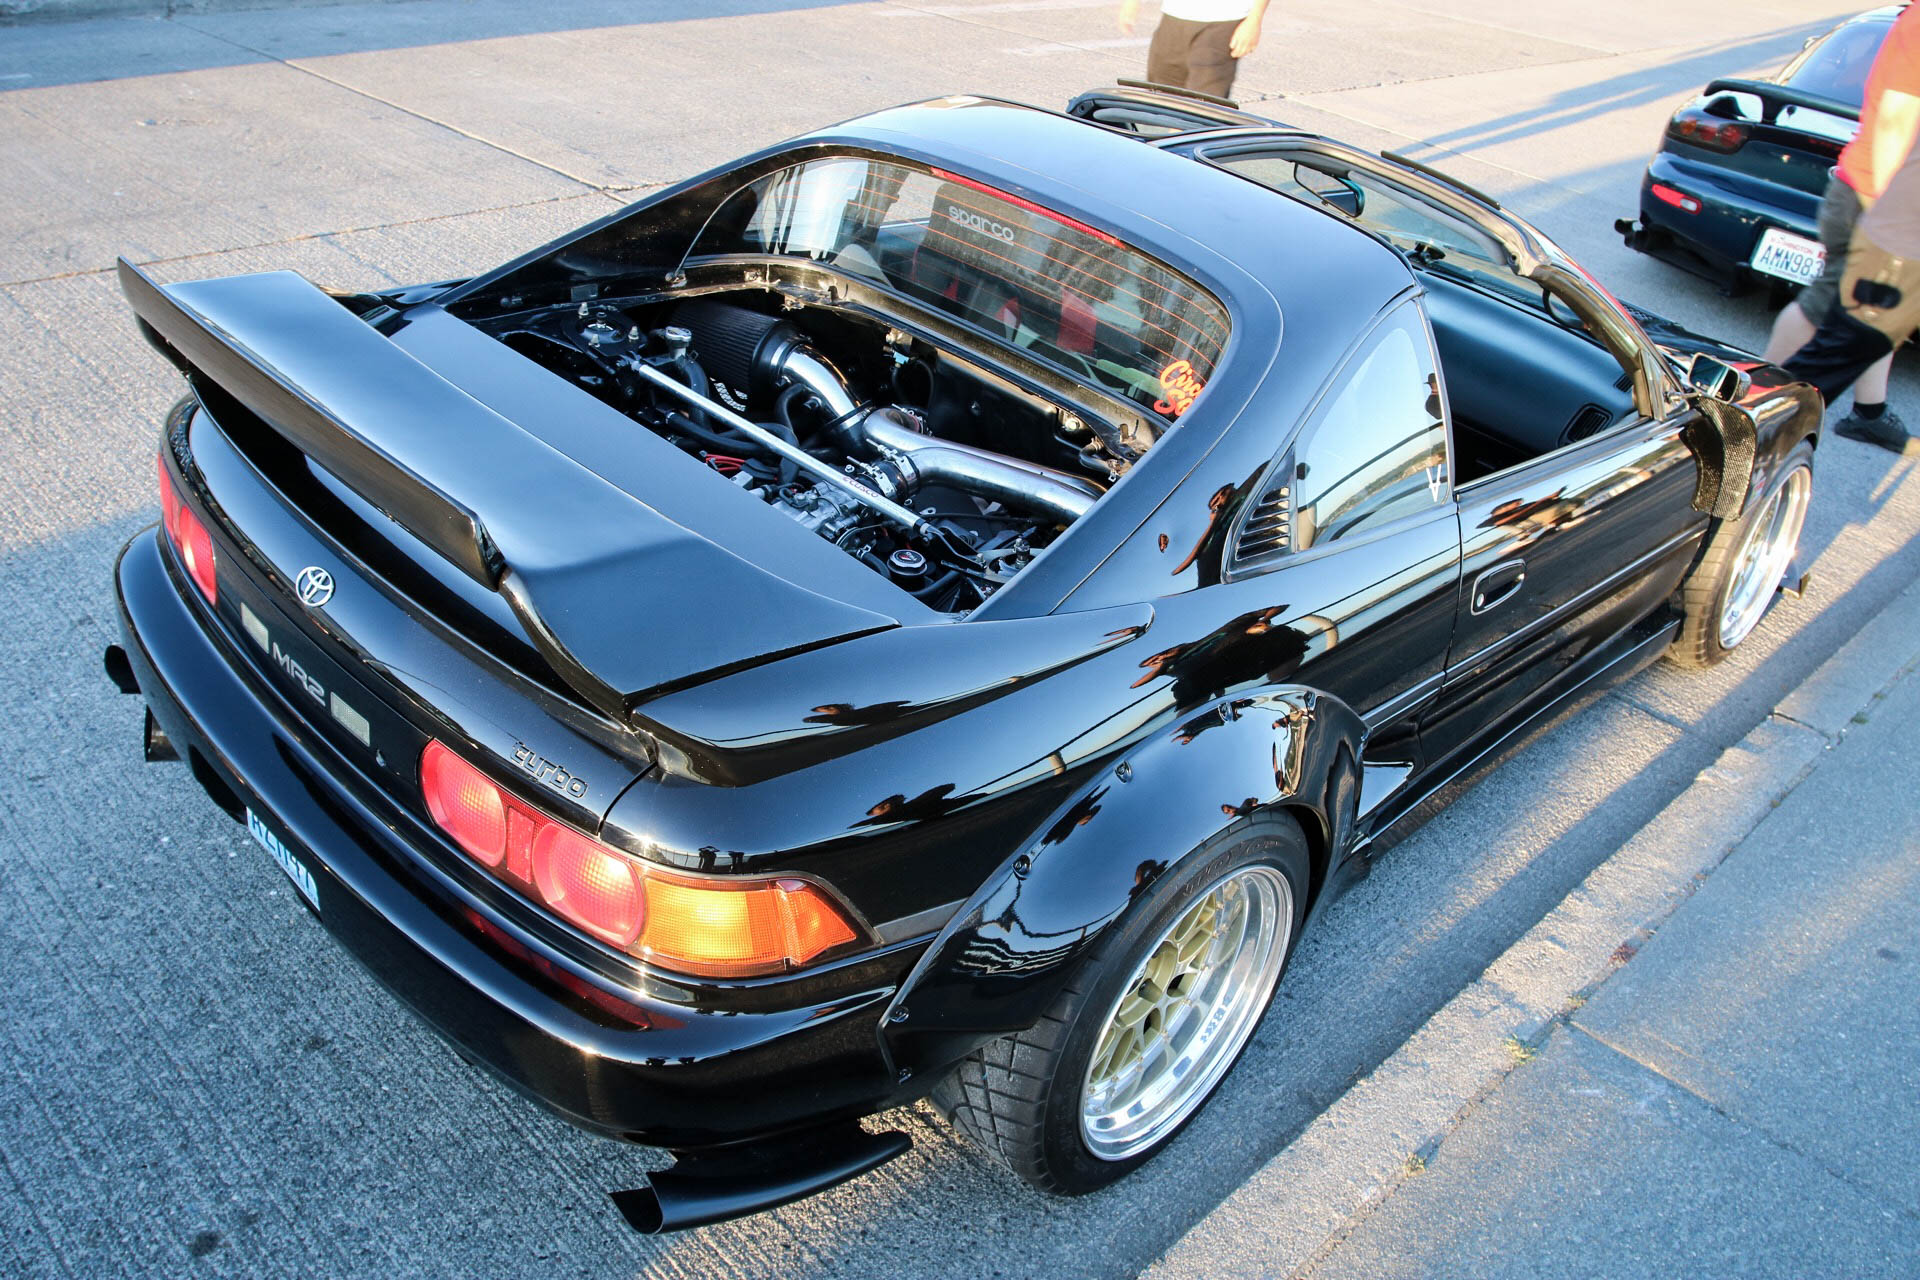
This 240 sports a 1jz swap. I think my car had the least HP at the meet! Allen also brought out his new-to-him R32. He also has a great Beams SW20. He’s got big plans for this car, cant wait to watch it transform.
Shortly after some of us met up, the passive-aggressive police asked us to leave via loudspeaker on their car… you could’ve just talked to us? So we moved on down the road, which was actually better.

This gorgeous GTR sported a big ol’ intercooler and upgraded Greddy turbos. He thought he was at about 400whp, which sounds almost too low, but I bet it’s responsive.


In our next update, we'll finally be "finishing" the lower front quarter panels.


I even waxed my car for the first time ever!
It was a good night, but I had a friend coming from out of town so had to call it early. Great to catch up with some friends, and give my car a little sun. Allen (R32 owner, and also my Firestone alignment guy, IG:zerospiritmr2) got most of these cool pics.
Now, it was time to get ready for the next track day. We were going back to The Ridge for another SCCA Tracknight In America event. When you can sniff out the coupon codes, they’re only $125!

If you're a busy guy in your garage, you should really have a whiteboard. I can jumble all my random thoughts and tasks and write them down in a real prioritized list to accomplish. Some jobs I'll never get to, and some get done right away. Your wife can also embarrass you with them.

Anyways, I had a bunch of track prep tasks, but they were mostly basic maintenance and packing. Speaking of packing for the track day... there's usually a big list of crap I bring with. To help not forget anything, I built my own checklist in excel. You can download it here! If you think of things I should add... please let me know.
Fast forward a few days, and I arrived at The Ridge. The main theme of the day was, heat. Ambient temps in the mid 90s made the 2 hour drive...miserable. I arrived early again, and got unpacked as friends and others showed up.

I actually got to relax even before the drivers meeting. You know I really only had one thing on my mind... a sub 2:00 lap. I geared up for my first session and hoped the first half the session would be traffic free before the tires succumbed to the heat. Four laps in, the now traditional intercooler-coupling-pop-off happened. Ugh. Especially after testing the piping to 25 psi the day before. When I pulled the pipe, there was definitely some oil in there. Also... my smoke issue was still here. Double ugh.
So I frantically spent the next 45 minutes pulling and cleaning both intercooler pipes. I did get it back together though just in time to get out for the next session. Things started out pretty well (except the white smoke still billowing out after every boost pull), and then boost creep started happening and every wide open throttle smash was greeted with the alarming sputter of the engine as fuel cut hit.
Basically, when the OEM ECU senses boost levels over 18psi, it cuts power to the injectors and the engine essentially misfires until the boost level lowers. So while you're shifting gears at redline, threshold braking, checking the mirrors, and steering the car, I also had to turn down the AEM TruBoost .
Eventually I had the boost controller totally turned off, where the engine should just be boosting to the wastegate spring pressure (15.5 lbs). But, as the RPMs climbed, so did the boost. By 6500ish RPM, fuel cut would still hit. And, with the boost controller off... the turbo was much less responsive to build boost. Basically, this is all one huge excuse as to the car being slow.
BUT! The rest of the chassis felt fantastic. The new spring rates were great, the car cornered much flatter, the brakes were still amazing, and the tires resisted the heat surprisingly well. I came in from the session annoyed, until I checked my lap timer.

Even with all the boost control and power issues, I had set a new PR! It was only by .04 seconds... but still, a pretty decent result. My old PR last track day was 2:02.75.
I do have video of that lap... but it's .04 seconds faster than my last one posted... and mostly me being pissed about boost creep... so it didn't make the content cut.
Even with all my excuses, it was a fantastic session. I had open track in front of me the entire time, and no one in my mirrors. It was a beautiful 20 minutes once I started shifting at 6300 rpm and just drove around the power issue.
After that session, I jumped in with my buddy Loyd to help him find the line I had been using around the track. He has a relatively newer build, gen4 motor and some universal flares he made fit pretty well. His 3rd gear was not cooperating though, and had trouble downshifting. I'm hoping he reads this and changed his transmission oil, and starts heel-toeing, it REALLY makes it possible to get on the throttle much sooner throughout the critical turns
I'm enjoying the "coaching" more and more, and I think the people I ride along with are actually scrubbing some time as a result. After his session we both jumped into my car and spun a few laps so I could show Loyd how I attacked the track. I think he was put back in his seat with my aggression and use of the entire track width. We got 6-7 laps in before traffic got bad and I brought it in as short shifting and driving around the boost problems felt like might be becoming a larger issue. Did I mention the white smoke?


Easily a crowd favorite that night, check out this badass race-van. Porsche components and a Subaru engine. The intercooler setup was awesome. It was built for Lemons and Chumpcar racing, and the owner was shaking it down. Radical. And yes, he towed it there with another VW Van built for off-roading.

Ben showed up in his Z06 too. Remember last post, he actually let me take it out and rip 'er? We were both running with the advanced group, and he had some big breakthroughs during the empty second session as well. He dropped over 2 seconds to hit a 1:57, nicely done Ben!
So, during the drive home my brain started developing some serious concerns about my engines' health. If the turbo was new (and very likely not the cause of the smoke), the only other way oil could burn like that would be through the engine. I ruled out valve stem seals, the smoke was always white, and never at idle, only after boost pulls. Could my rings be shot? I was half convinced that was it by the time I got home that evening and started eBaying gen4 engines. The next day I pulled a cold compression test.

Decent numbers for being a dead cold engine. Regardless, I decided to borrow a used-but-good-condition CT26 from Ian at Rat2Motorsports. It was worth the 4 hours of turbo swap time to completely rule out the turbo being the cause. While over there (I drove the SW20 there to show it off a bit, of course), Ian and I were chatting and I off-handedly mentioned how much I like the RacerX catchcan quality. He rose an eyebrow, and mentioned that they can actually do TOO good of a job filtering the crankcase fumes, causing...you guessed it... blow by. Hmmmmm indeed.
I grabbed the used turbo, thanked Ian for his idea, rushed home and pulled the hose from the valve cover to the catch can and just vented it to atmosphere. I went for a quick drive… no smoke after boost! I eventually pushed the car pretty hard… no smoke at all! So, let’s pull apart this catch can and see where it’s so restrictive.

Well designed, nicely thought out baffle system, all stainless steel inside. But where is the restriction?

Aha! RacerX uses a very fine 10 micron sintered filter on the inlet and an even smaller 5 micron filter on the outlet. Basically, this is just too restrictive for a turbo application. So, I removed the filters and reassembled the can.

I wasn’t sure if the catch can would still be effective with just the baffles, but it was good enough for now. I picked up some stainless steel wool to maybe put into the can and fired off an email to RacerX to see if that’s a solution they would recommend.
A few hours later I got a response saying they have since changed that from their design and now run a screen style filter that works much better for boosted applications. They would ship them out to me same day. Great service RacerX, I love when someone stands behind their products like that. If you have one of these catch cans on a turbo engine, get ahold of RacerX and they will make sure their parts work as best as possible for you.
Imagine my surprise the next day when I got another email from Jeff, RacerX owner, saying he had caught up on this blog and wanted to chat about helping him develop some parts for the SW20 chassis. Holy crap. I was thrilled! I’ve since had a great conversation with Jeff and we went over a few potential products for the community, I can't wait to share the development with you guys! If you haven't yet, check out the RacerX website, they'll have a big sale coming this fall.
These cars can be incredibly frustrating… and then the next day you find out it was a simple solution and your car is running great again. I still have to deal with the boost creep issue, but the fact that my engine is still healthy, is a huge relief moving forward.

But wait! Bonus mod time! Say your car has been shooting huge fireballs due to a very rich mixture of motor oil combusting in your exhaust all summer because you didn't know a simple part was causing blow by. You’ll probably start roasting your rear bumper paint.

So lets build a simple heat shield. Get yourself a thin sheet of carbon fiber, and make a simple template out of cardboard.

As you can see, this is stuff I had around the garage from my last SW20. I saved the shield off the old car to make it easy to duplicate. So I just copied my old shape and cut it out with a steady hand and box knife.
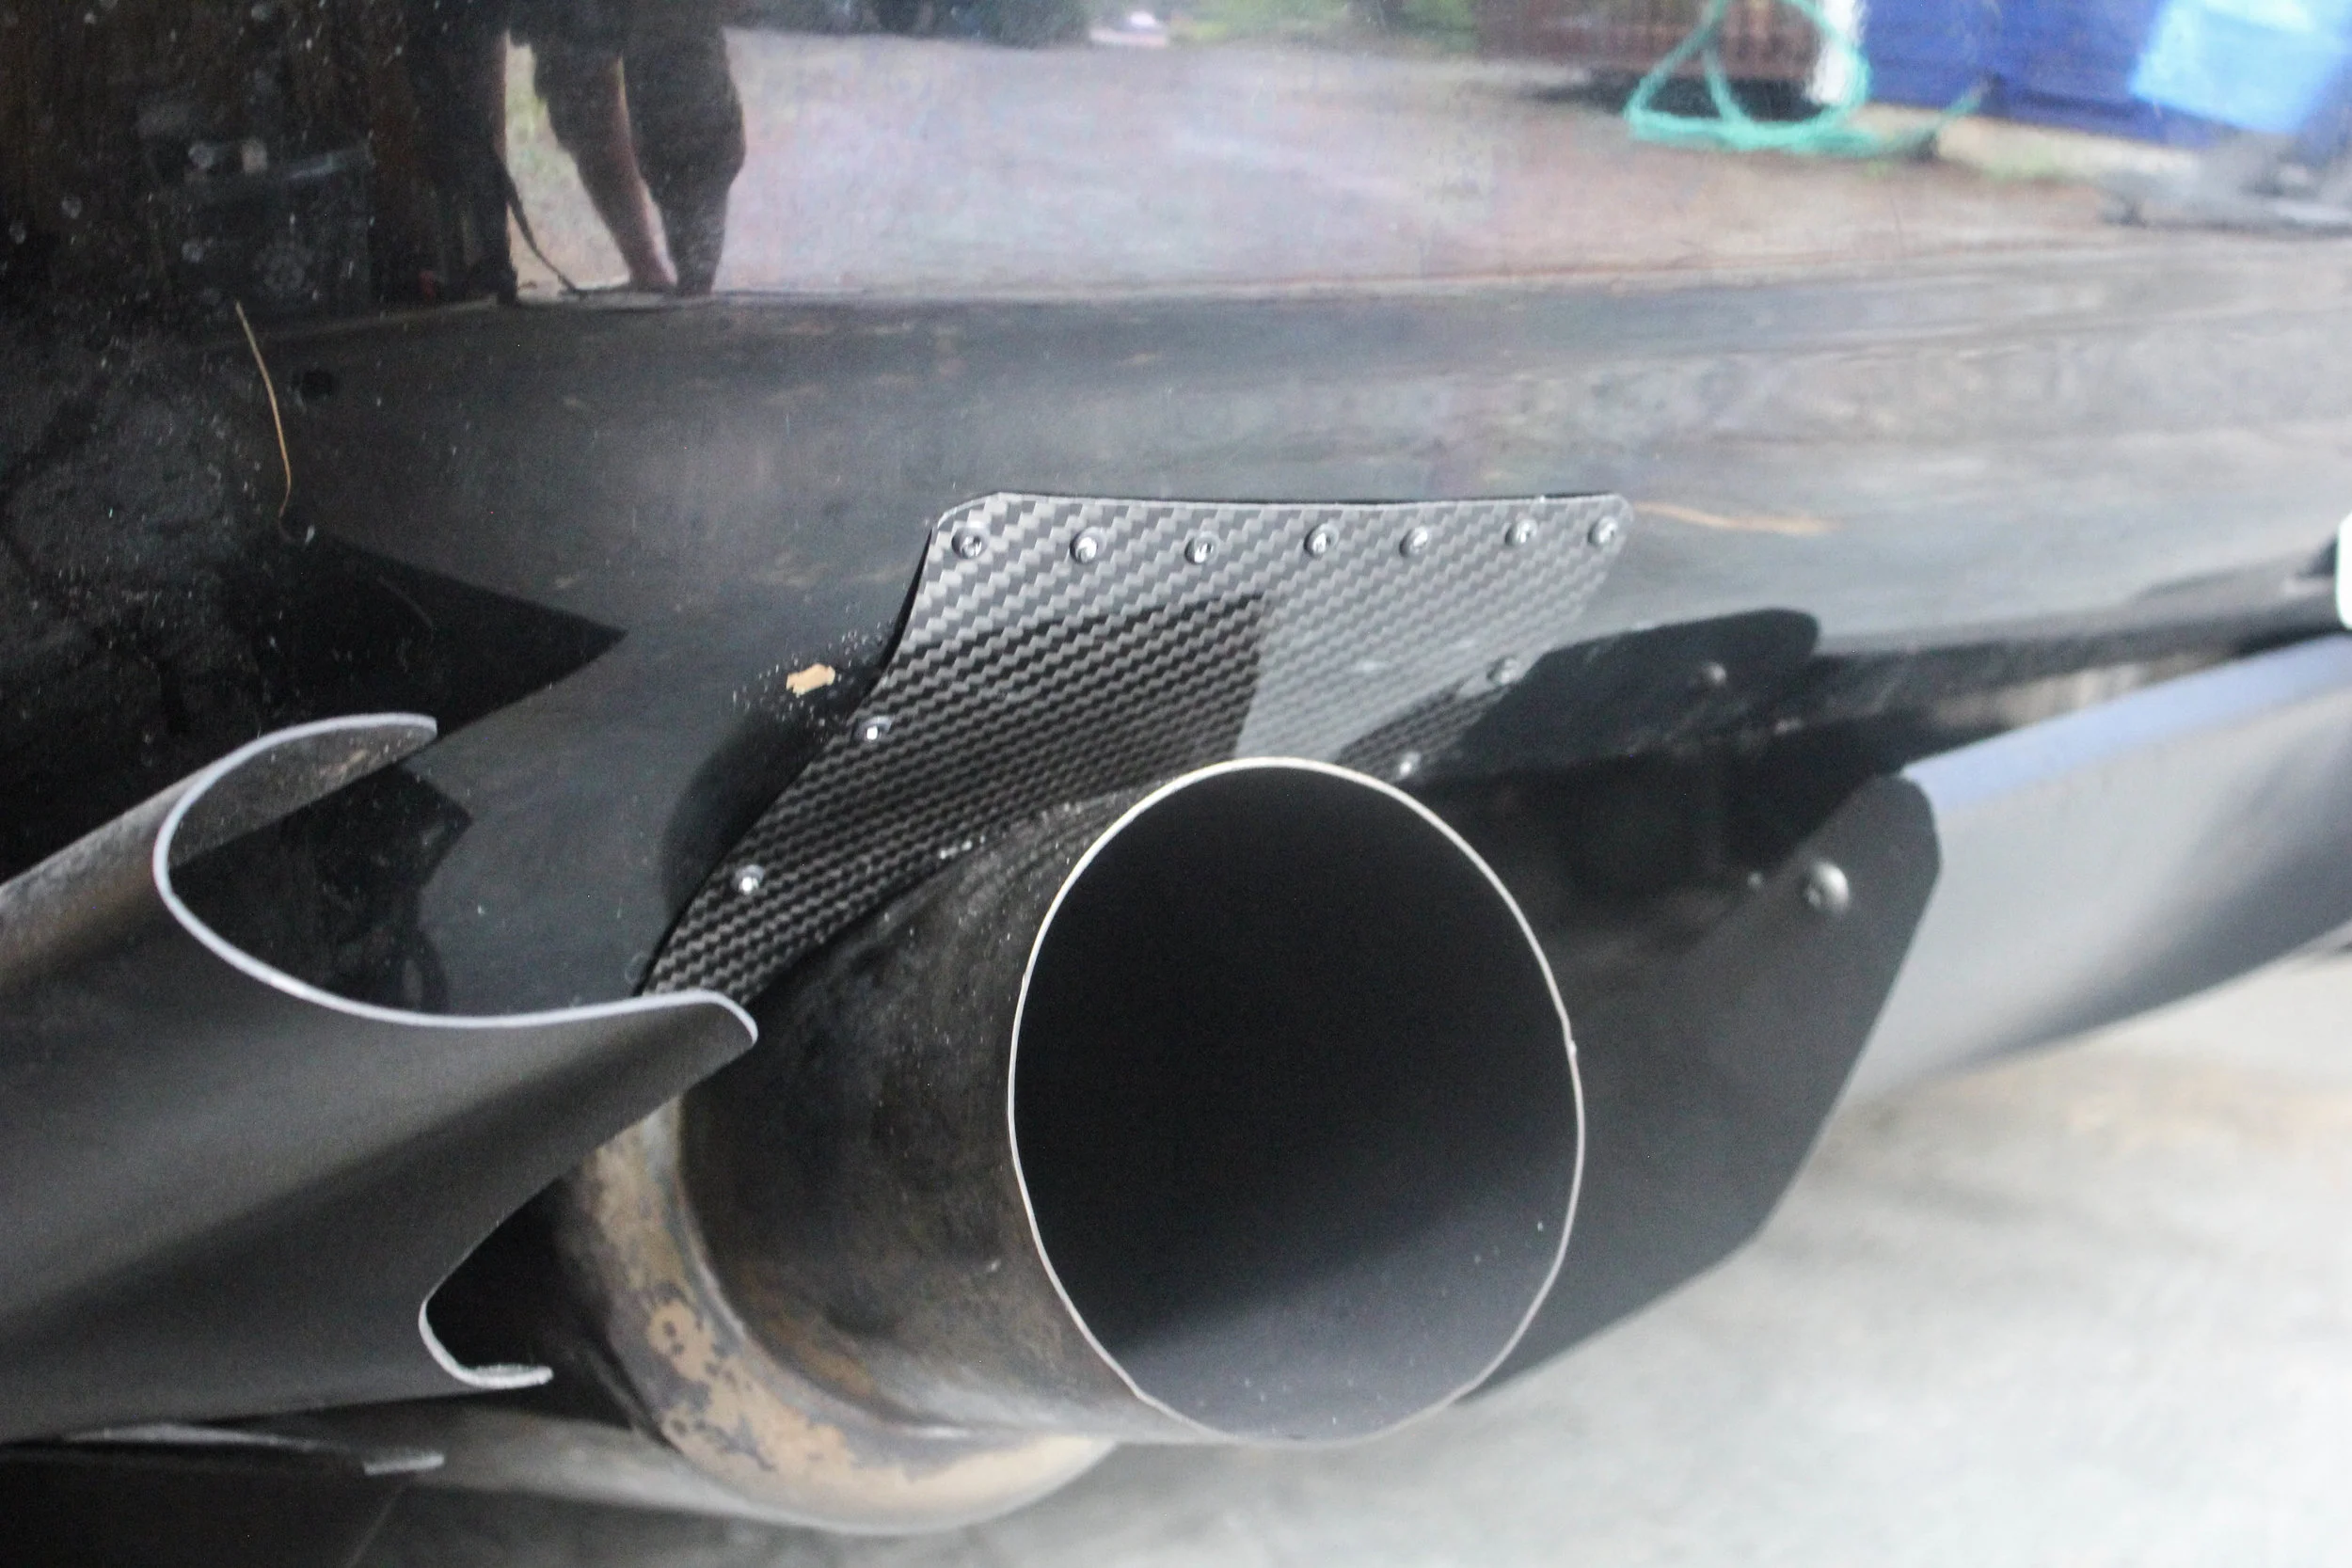
And then rivet the crap out of it. I know, there’s still some messed up paint there. Deal with it.
There you go, that was a rather large update, a rollercoaster ride of emotion. Gutters and strikes, dudes. Things are on the up and up though, prepare for another update soon!