
Rebuild for a Win
I’ve finally got some time to actually dedicate towards the website. My life has slowly ramped up in pace the last few years, and things can get left behind.
My family and career are obviously a priority in life, and while I’m very much still developing the car, the blog updates fell off. Sorry about that, we are back!
Where we left off, I was pretty bummed. But mostly, I was insanely busy. The fire happened a week before moving into our new home. Which meant I also had to sell our old home. And I had committed to remodel our kitchen in the old home prior to sale. You could say my plate was full.
Once I moved into the new shop I got my lift installed and started the autopsy.

It was pretty bad, but at the same time… not that bad. The engine was obviously gone. All associated wiring and hoses had perished. Some body work and very valuable tail lights had melted. BUT, the chassis was ok. Nothing seemed to have gotten too hot to the point of ruining the structural rigidity of the car.
I was likely seconds away from fuel lines rupturing which would’ve been MUCH hotter and been basically a game over for the car as a whole.

My fresh new flat floor panels saw some heat and some would need replacing. These did a great job of keeping me from oiling down the track, but at the same time contributed to pooling the oil which kept the fire burning so defiantly.
I’ve never posted on building the flat floor. I will in the future, it was a really great learning project. I am still refining and tweaking it to see if it will make a huge performance gain. So far it’s seemed somewhat negligible.

Once I got the engine out, I tried to find a smoking gun. The day of the fire coincidentally my oil pressure and temp logs stopped working. Since it had never been an issue I decided not to try and fix it in the pits and focus on driving.
Mostly rod 5 had disintegrated. It blew 4 holes in the block and oil pan as you see. The heads looked fine, all the damage seemed to be in the lower rotating assembly. There wasn’t any major signs of oil starvation, all the other bearings looked fine.

Cylinder 5 piston shown above. Cracked and destroyed. Maybe a lean condition caused it? I saved the injectors and will eventually send out for flow testing and cleaning as spares.
Without any answers, I moved forward. 2GRs aren’t as cheap as they used to be, but I picked up one with ~100k miles on it from eBay by the 4th of July. This was a big morale boost at the time. Let’s get it prepped!

I won’t go into the nitty gritty again as I covered it with my first 2GR build, but I was able to reuse the MWR stage 1 cams. They looked clean and fine. Minimal wear on the bearing surfaces to be expected from my use, so I just swapped them over. A week later, the engine was ready to mate to the trans.

While in there, I refreshed a number of things. I replaced the wear surface on my Fidanza flywheel, threw in a new Clutchmasters fx500 clutch (it’d been sitting on my shelf as a spare for years), and just cleaned A LOT. I bought a Harbor Freight parts cleaner, which saw a lot of use as I de-smoked every part I could.


The rear polycarbonate window also perished in the flames, which wasn’t a surprise. Luckily I still had enough on my scrap sheet to cut a replacement.
Inside the chassis, it was obviously time to add a fire suppression system. Due to my fire, Alex at Wilhelm Raceworks started carrying fire systems and even went as far to donate part of the proceeds toward my rebuild. He’s such a huge benefit to this community, these cars would be a lot slower and less fun without his skillset.
I HIGHLY recommend picking up an AFFF extinguisher at the bare minimum. These are formulated specifically to put out fires with gasoline or oil as the fuel. I now run both a fire suppression system and another extinguisher as a backup, or to help out another racer if they need it. Please support those who support us, and buy through Alex if you don’t have a legitimate extinguisher.
(Note: While absolutely better than nothing, I’m not the biggest fan of the Element fire extinguishers. If you watch demonstration videos they don’t give you much control in fighting the fire, as they act like a flare in how they expel the suppressant. In a fire like mine, I would’ve had to drop the Element into my engine bay and hope it worked.)

So, I went with the Lifeline 3L system. It includes 6 nozzles, a bunch of tubing, associated push to connect fittings, and two triggers for the system. I mounted my tank behind the passenger seat area. I had cut out the sub box metal long ago, so this worked well and the passenger seat still fits.
From the tank, I ran the extinguisher tubing up and through the engine firewall into the bay.


The tubing Lifeline uses is a soft aluminum with black coating. It’s actually very easy to bend and shape by hand, and I used a small piece of pipe to wrap the tubing around for tight bends. I used a bandsaw to cut it and was sure to ream the pipe when I did. We don’t want to disrupt the flow!
The push to connect fittings are easy to use. I made my own simple nozzle brackets mostly out of aluminum angle. If you need to pull anything apart it’s fairly easy to do and reassembly is a breeze.

I have four nozzles in the engine bay, one aimed at each header and two others aimed at the top of the engine. The kit comes with two more nozzles for the driver, which I will add when the car gets a full cage. (That’s some foreshadowing for you)
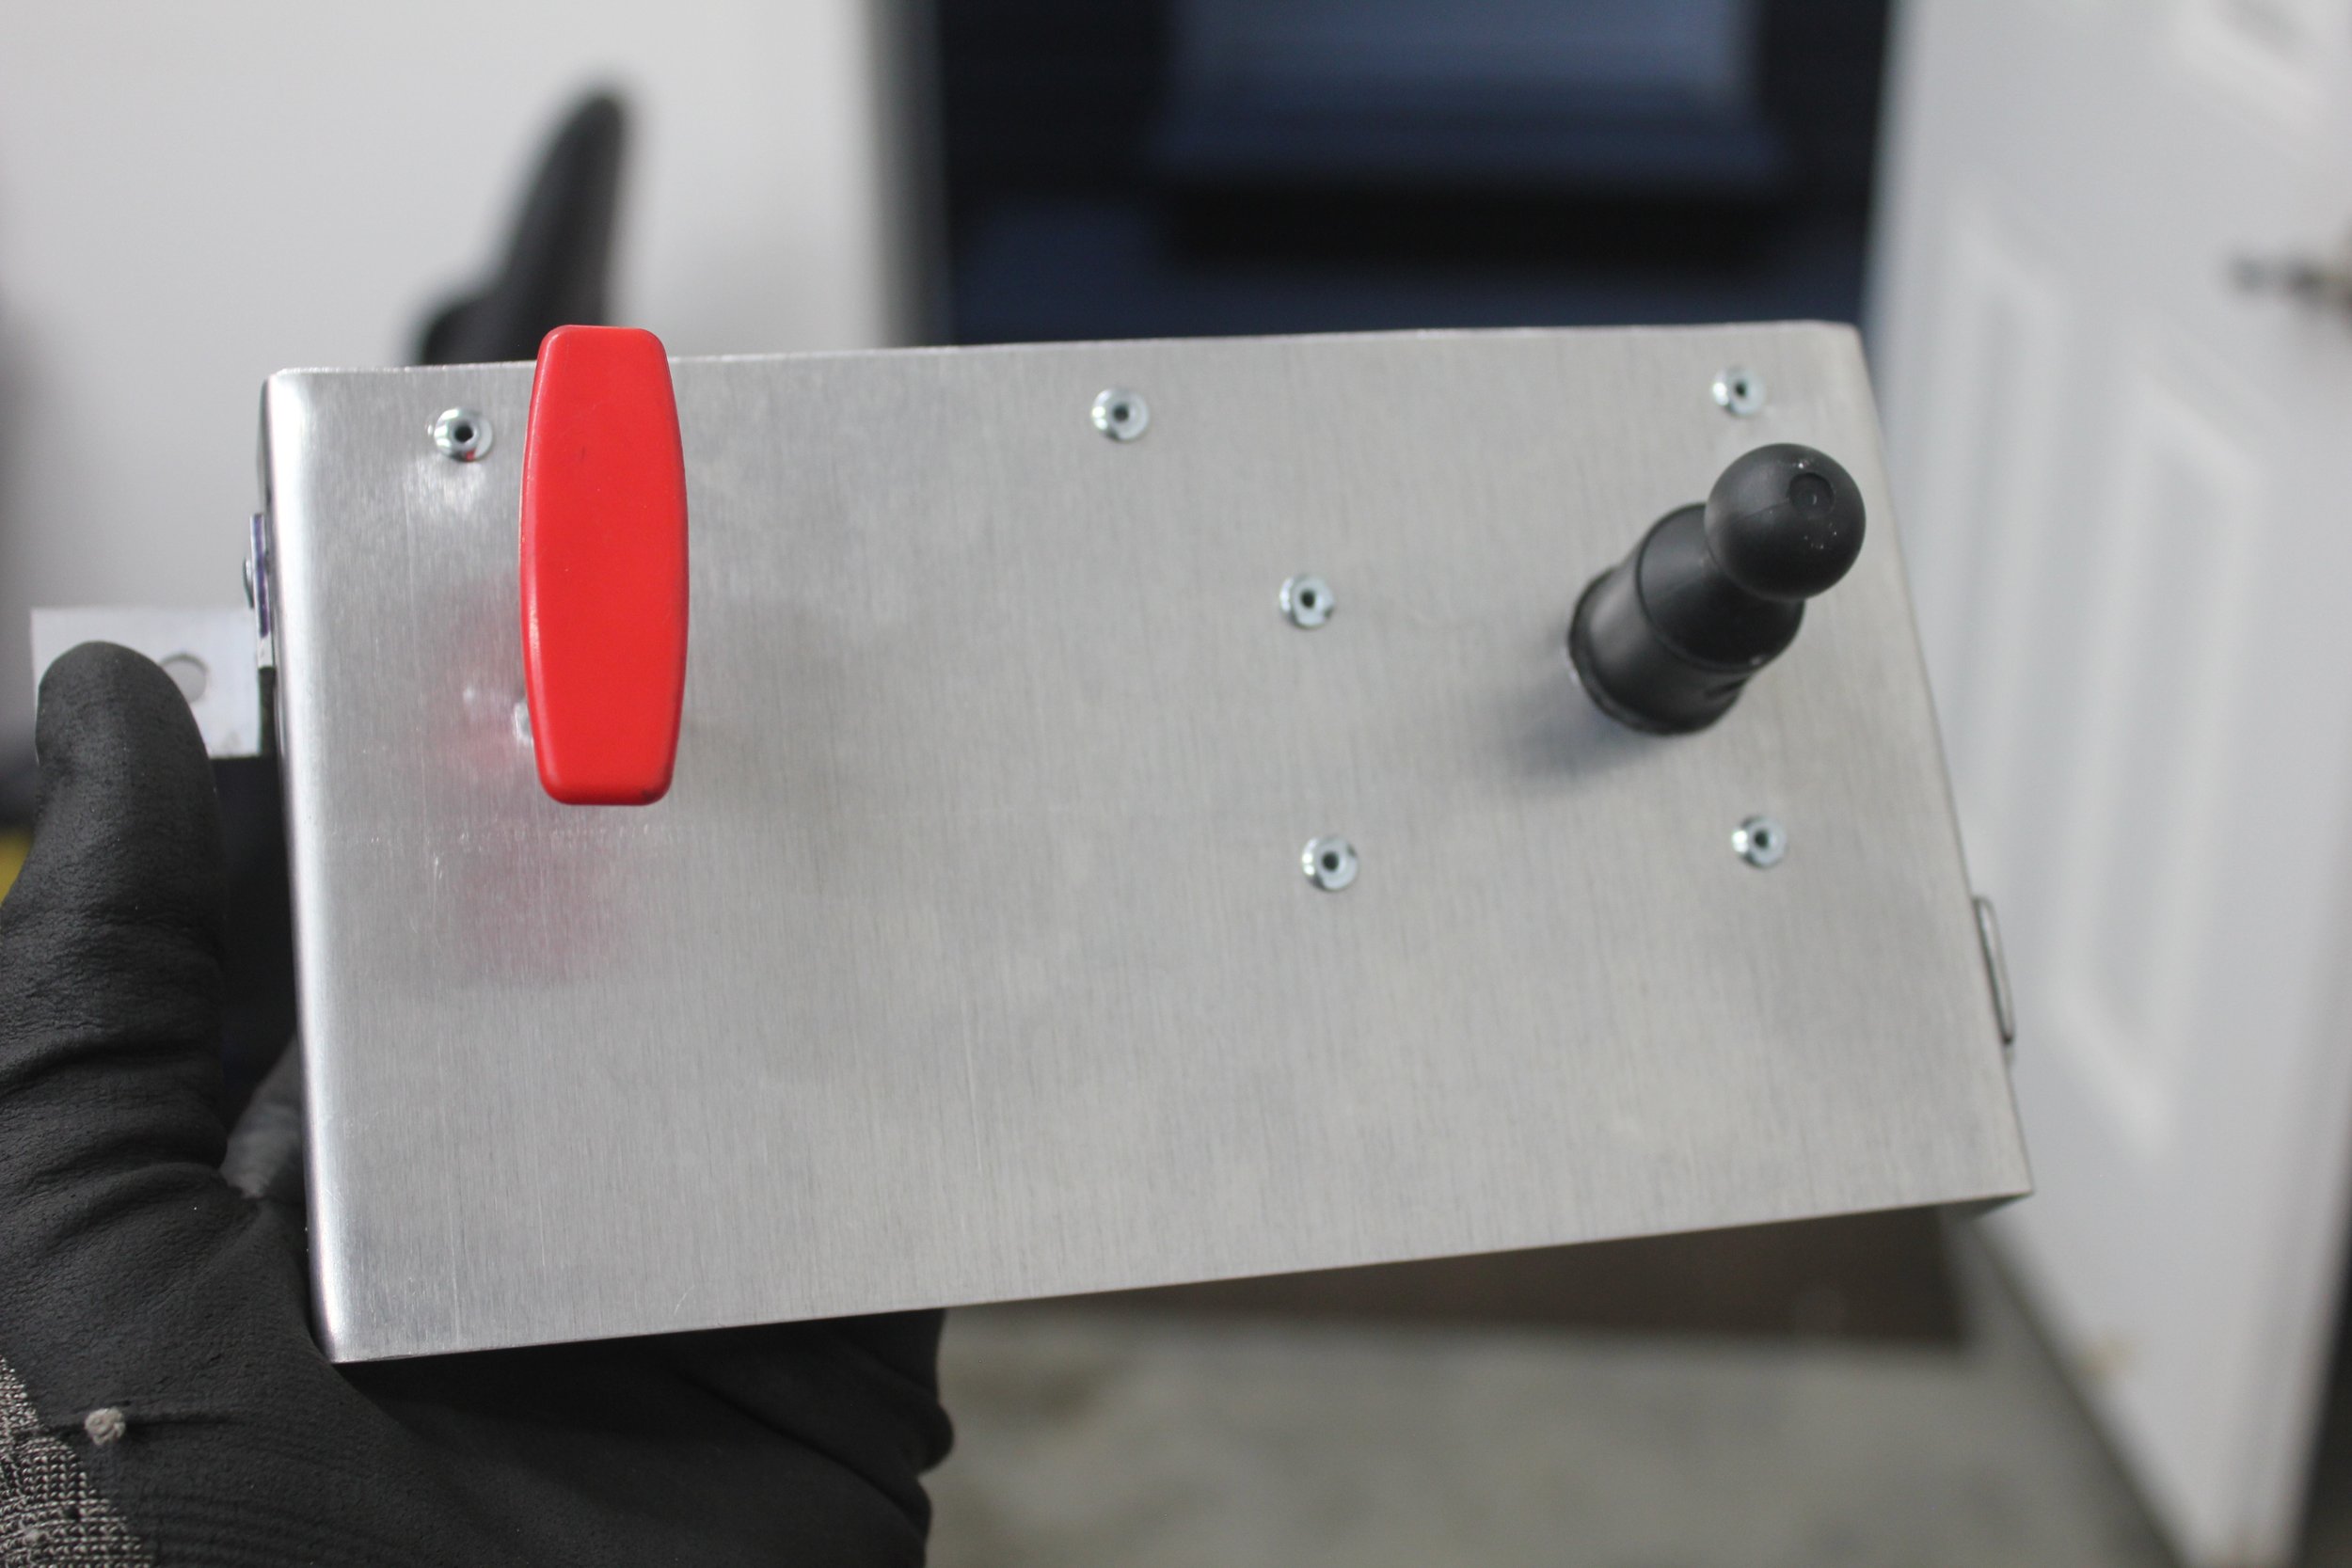
I made a simple aluminum double din block off plate awhile ago, and added the trigger to that. You also see my phone holder base riveted on. The trigger pull wire runs along the center console area up into the dash.
At this point, I was spending 4-5 hours a night on the car, I was very motivated to get the car back under it’s own power. I apologize for lack of detail pics on the rebuild… but this is a rebuild, so you can still see all this stuff how I did it the first time around in older posts.
With the suppression system in, engine bay repainted (Spray painted), I took a day to refresh all the rubber and paint the transmission. It cleaned up pretty well! But I still wanted a fresh coat of paint on it.


Once dry, I started seeing the light at the end of the tunnel.
I installed the refreshed flywheel and new clutch and the trans slipped right onto the new engine. (After some grinding of course)
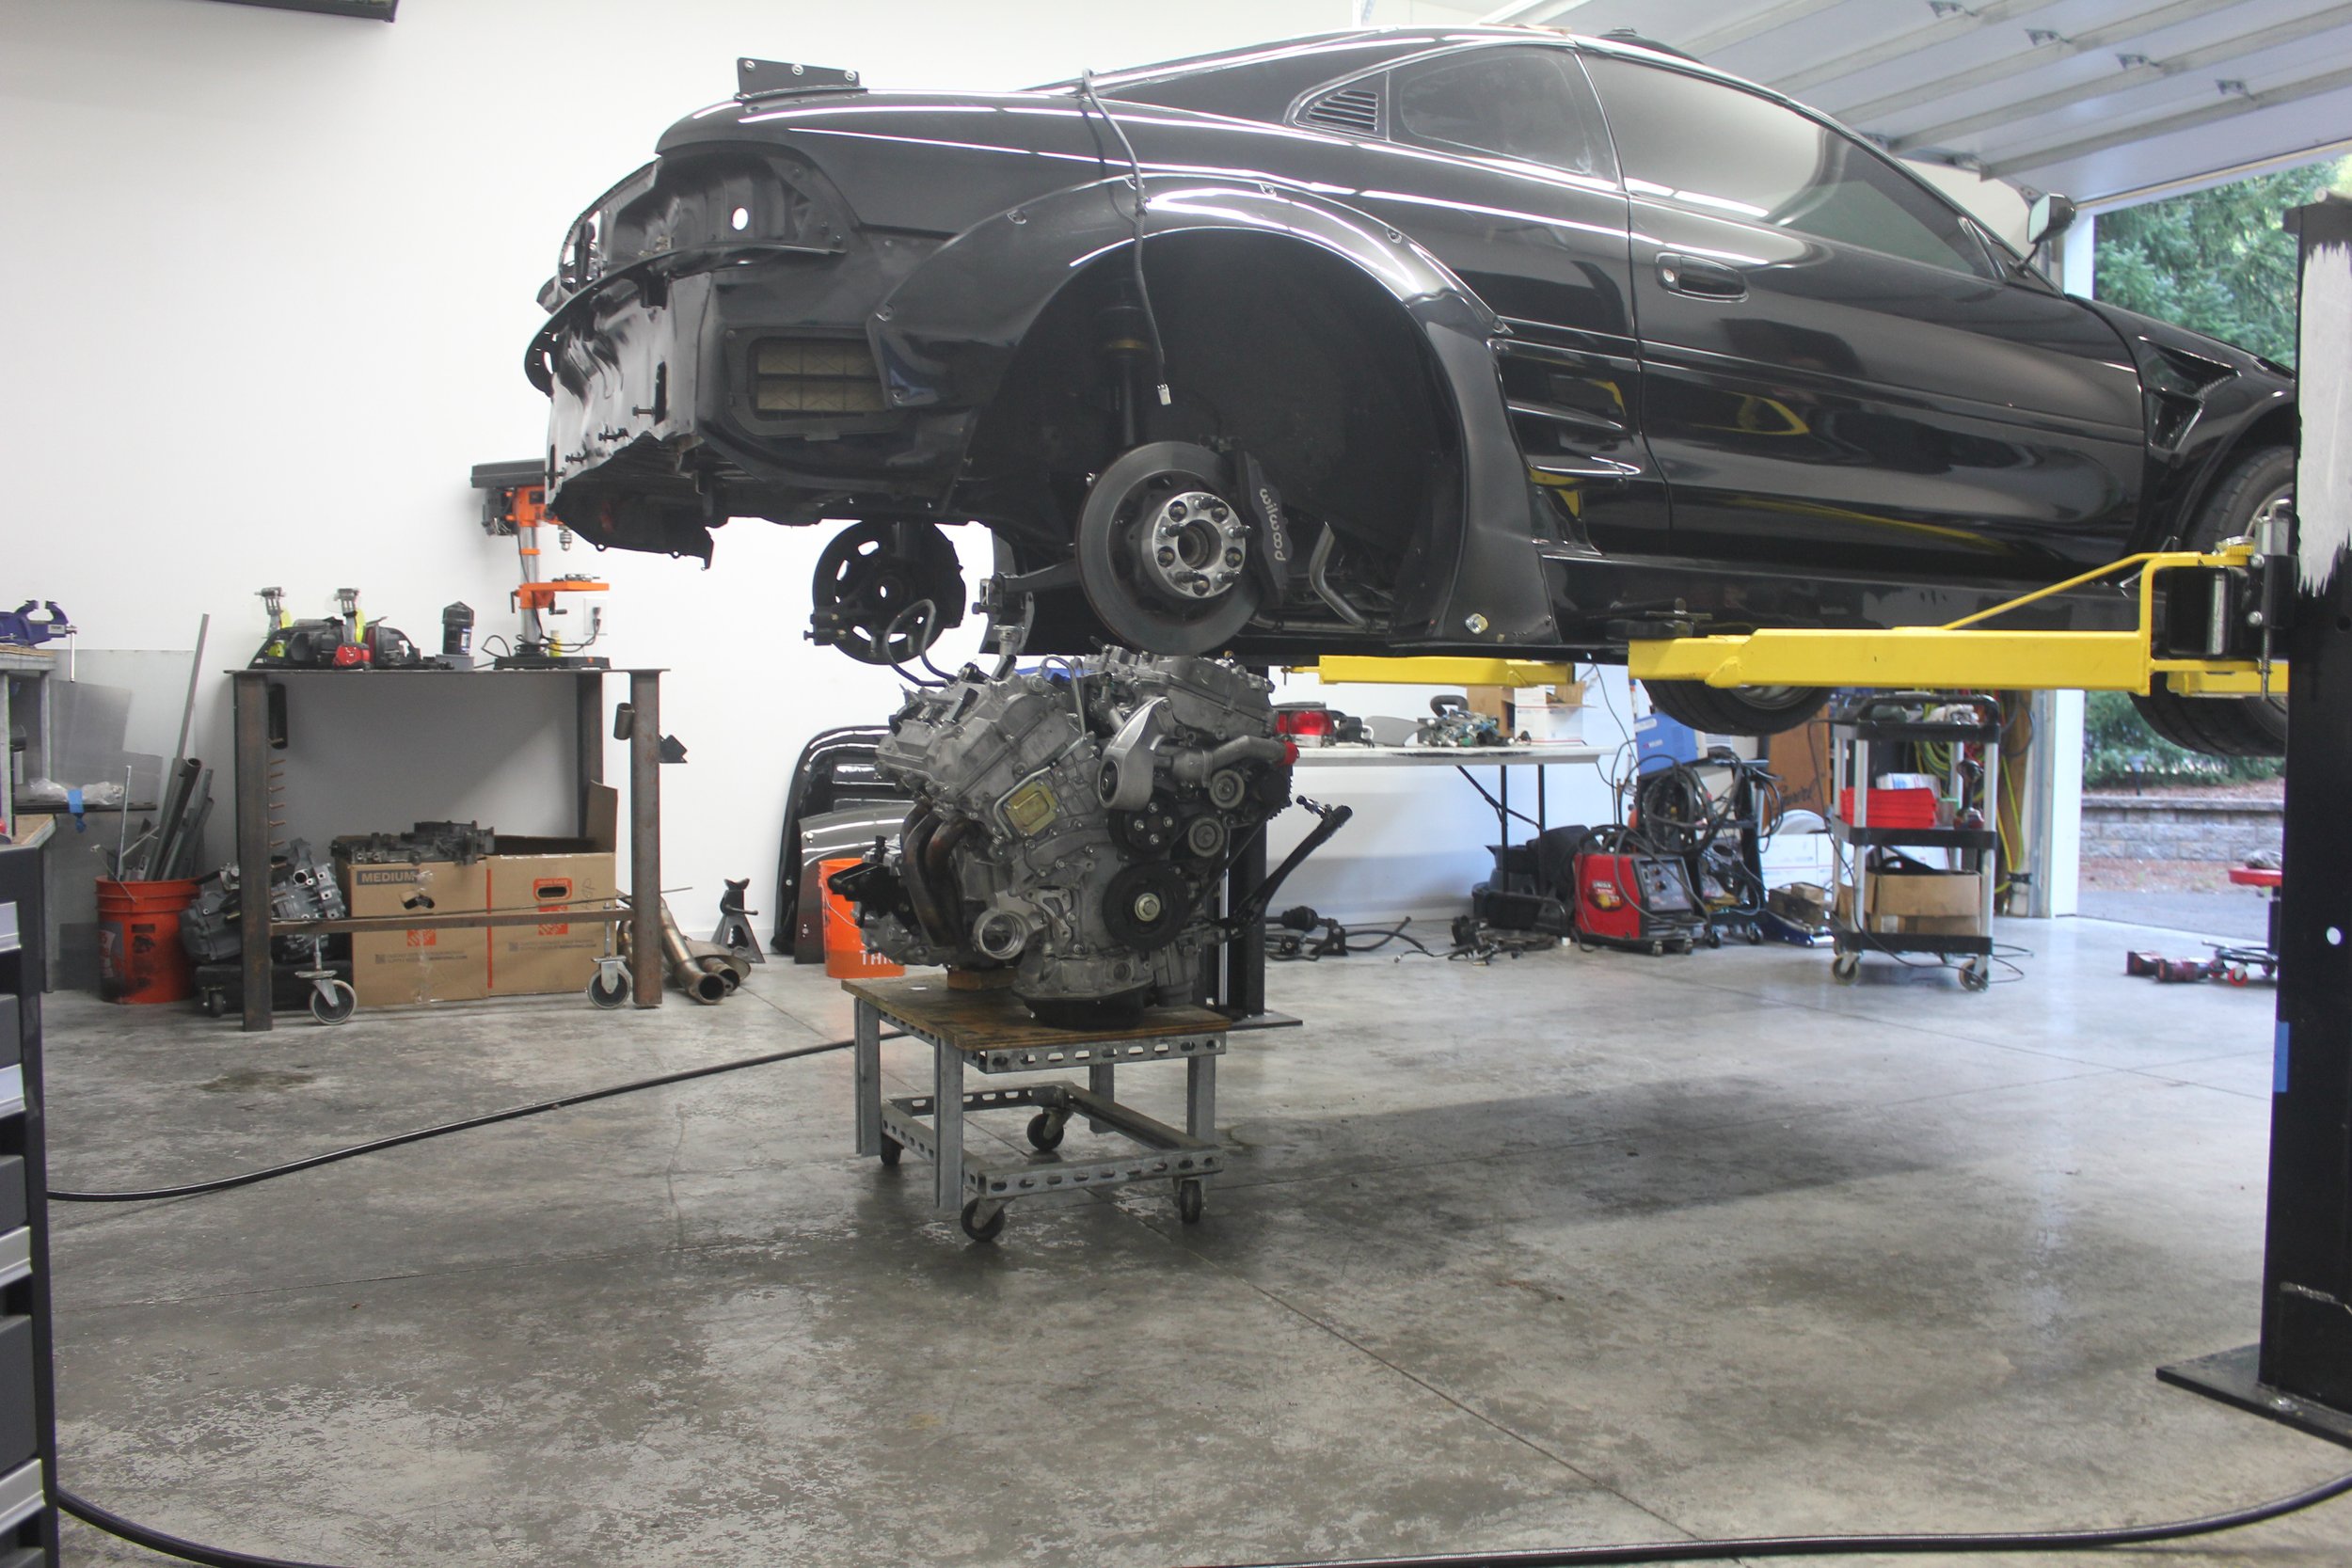
After a very long day wrenching, the engine was back in the car.
This was a serious boost in morale!

But wait, we needed to upgrade a few things right?! I had pulled the trigger on a full set of spherical bearing bushing replacements from Engineer Freely prior to the fire, so when they arrived I knew I had to install those.
“While you’re in there.”

Matts kit is really nicely designed. Using my cheap hydraulic press and some retaining compound, it was a fairly easy install.

Matt from Engineer Freely is making big waves in the MR2 world currently by developing (and succeeding!) a DQ250 dsg gearbox adaptor kit. He’s got a few guys running and testing them, and I will be driving one sooner than later I hope (Not mine, but an endurance MR2).
Eliminating the bushing friction in the suspension really changed how the car felt. Everything was more noticeable, grip, wear, and vibrations from the drivetrain. Overall a good benefit to get the true no-compliance out of your suspension.
With the kit installed in a day or so, I moved onto wiring.

And this my friends, is where I truly realized my limitations. While I had gotten my first 2gr swap to run using a Rav4 harness, it was a miracle. I had back-fed relays to power them incorrectly, and made a few stupid mistakes. I can connect A to B, but beyond that, I am in over my head. So, my buddy Shawn at Fazil Engineering decided to give me a hand in building a new engine harness from scratch for me.
This is literally one of the first times I’ve ever let someone else perform work on my car. I’m fairly picky when it comes to this ol’ 90s shitbox. While I’m painfully aware that my work is far from perfect, I know I did it to (mostly) the best of my ability.
To say I was impressed by Shawn’s work is a huge understatement.

He came over a few times before building the harness to get measurements, and gave me a hand with a few stupid tasks, like dropping the fuel tank (remember I had to replace all the hoses). Without Shawn, this car would still be in pieces in my shop.
The harness is fantastic. All new connectors, some cool 3d printed parts to help with install and routing, and most inportantly it’s been stripped of all unneeded wiring and sheathed. It’s 40% lighter than the OEM harness, saving 4-5 pounds where it matters most, the heaviest part of the car.
Shawn came over and we spent a long night installing the harness (in hindsight, I should’ve waited to install the engine until we had the harness on).

That night, we got the car to fire! Such a huge relief after 11 weeks of nonstop grinding.
I spent the next week getting the car back together enough for test driving.
I forgot to mention, it quickly became apparent it’d be easily to buy a hole ‘nother parts car to rob parts for the rebuild, so that’s what I did. Over the summer I also parted that car out to help pay for the rebuild on this car, which went better than expected… besides having to pull parts of a junk mr2 in my backyard in 90 degree heat every night after work.
So that’s why the rear bumper is now white, and tail lights no longer match. The parts car was a godsend for simple rubber hoses, brackets, and shift cables.
I only had about about a week to prep before the next time attack event, in Oregon.

After about 50 miles of test driving the car felt good! Before loading up for the next event I decided to change the oil as a precaution… when I discovered the filter was full of mostly ferrous material. Meaning it was magnetic, so most likely steel. I was perplexed and pissed off, and I didn’t really know what to do.
A buddy said to me “What are you going to do, pull and rebuild it?, you might as well just run it”
So, that’s exactly what I did.
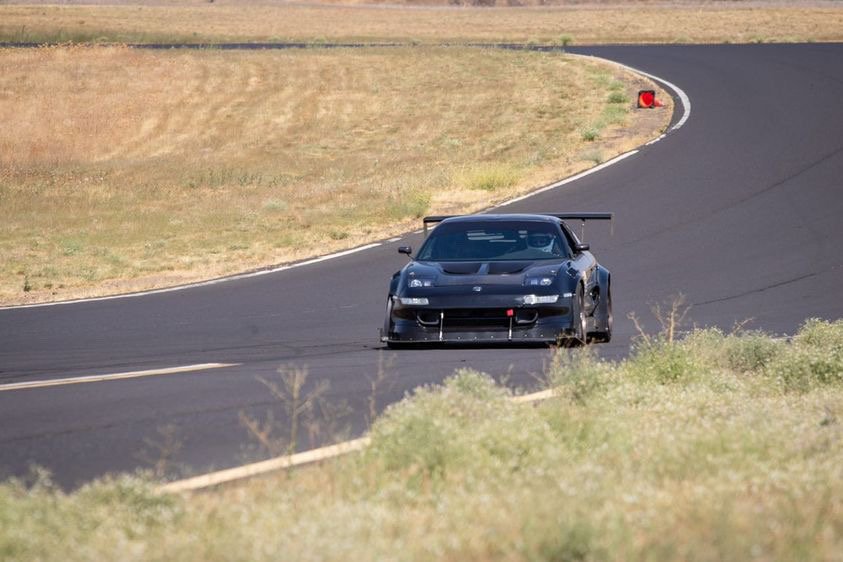
I changed the oil and filter and loaded the car up. I drove 4 hours south to Oregon Raceway park in the middle of nowhere Eastern Oregon. This was a track I’ve wanted to run for years but never gotten there.

I got in late the night before and bagged out in my truck. The light the next morning was sublime.
ORP is a track that definitely takes some laps to learn. For a slow learner like me, it took all day to get comfortable.
The day didn’t go super smoothly. I lost my acc belt the first session and had to get a tow back (water temps spiked to 260! without the pump spinning). Ambient temps were in the 90s, and I was thinking the new engine was going to die any lap.
But, we survived! I had a humbling day as a driver as the track felt like all blind corners so I was not very competitive in my class. The last session of the day I was ready to pack up and a buddy made me go out and follow him, which helped a ton. I dropped 4-5 seconds that session and ran a 1:58 which for my first time out was my goal, a sub2 lap.
I drove the car onto the trailer and felt relieved the car (and I) survived the day.
A wave of enthusiasm fell over me on the drive home. The highs and lows of racing are too hard to describe. After the biggest low of my career, I spent 12 weeks neglecting my family and credit card limit to get this thing back on the track. Even just finding that little bit of success, felt worth it.
We.
Were.
Back.