
The Cage, Part 1
Ok, lets go back in time about a year.
I had finished repairing and rebuilding the car after the fire. We had competed in a few events, and even won one! That was a great way to end the 2022 track season for me. I had not improved on my personal best lap from the spring, but we were coming back to top form quickly.
The fire was an eye opener. It was time to take my personal safety more seriously. Getting hurt, or worse, was not worth it for silly lap time bragging rights.
It was race car time. I am no longer concerned with “street-ability” of the car. I’ll keep plates on it for occasional street testing, but other than that, we’re going full stupid.
Rulebook? What rules? This car was built out of passion. I follow my heart when it comes to mods, never really worried about a rulebook. That has handicapped the competitveness of the car in time attack, but I don’t really care. This is all for fun, remember!
After my last event, I got the car on jackstands. This is where it be under the knife for the next 6 months.

Now, in case you can’t remember, I’m a total amateur. Especially when it comes to fabrication. But, that won’t stop me from learning! And probably screwing up some stuff! That’s right, I’ll be doing all the fab work. The loose plan is to rip out the rollbar, put in a full cage, lighten everything (I mean everything), and hopefully add reliability and simplicity to the car. Spoiler alert, there will be some scope creep.
Will this make the car faster? Well, it’ll be a little stiffer, and hopefully a lot lighter (while adding 100 pounds of cage), so that should help in theory.
Over a few nights, the car was stripped of everything not needed. This was the deepest I had ever gone into the interior of the car. For the sake of space in my shop, the engine was staying in. No real need to remove it for this phase.


The 93+ doors are HEAVY. Without speakers and lighter door cards they were almost 70 pounds each! We will do a full weight reveal at the end of this phase. I will try to refer to my notes taken on items lightened or removed for you guys throughout this build phase.

All the interior stuff that will not be returning. There was 50-60 pounds here alone.


With the interior stripping, out came the roll bar. I could have just added onto the rollbar to complete the cage. But, we are turning into weight wienies here at Apex Attack. The rollbar is 1.75” dom steel. My plans for the cage was to be safe, but light. 1.625” diameter, chromoly. With chromoly you can run with a thinner wall tubing with the same theoretical strength. This saves an estimated 40 pounds over traditional DOM tubing. It’s harder to work with and welding it can be trickier (it’s thinner, not as tolerant to heat), so I had a learning curve ahead of me. If this car was being built for wheel to wheel action, I would’ve gone with traditional DOM tubing, since car to car impact is much more likely.

With the rollbar cut out, I could finally eliminate the double firewall. Toyota made the rear firewall two sheets of metal with tar/sound deadener between. It’s a lot of work, but you can remove the inner part of the wall and sound deadener. Mine was pretty melty between because of the fire. Patience with a oscilating multi tool really works well here to scrape the tar off. All the deadener material and sheet metal saved 15 pounds!

My original roll bar was from Rhoades Racing. (link to build) It came pre bent, you have to do all the fitment and welding, but saves you from needing a tube bender. It fit well enough for me, so I thought I’d buy their complete 10 point roll cage kit for this.

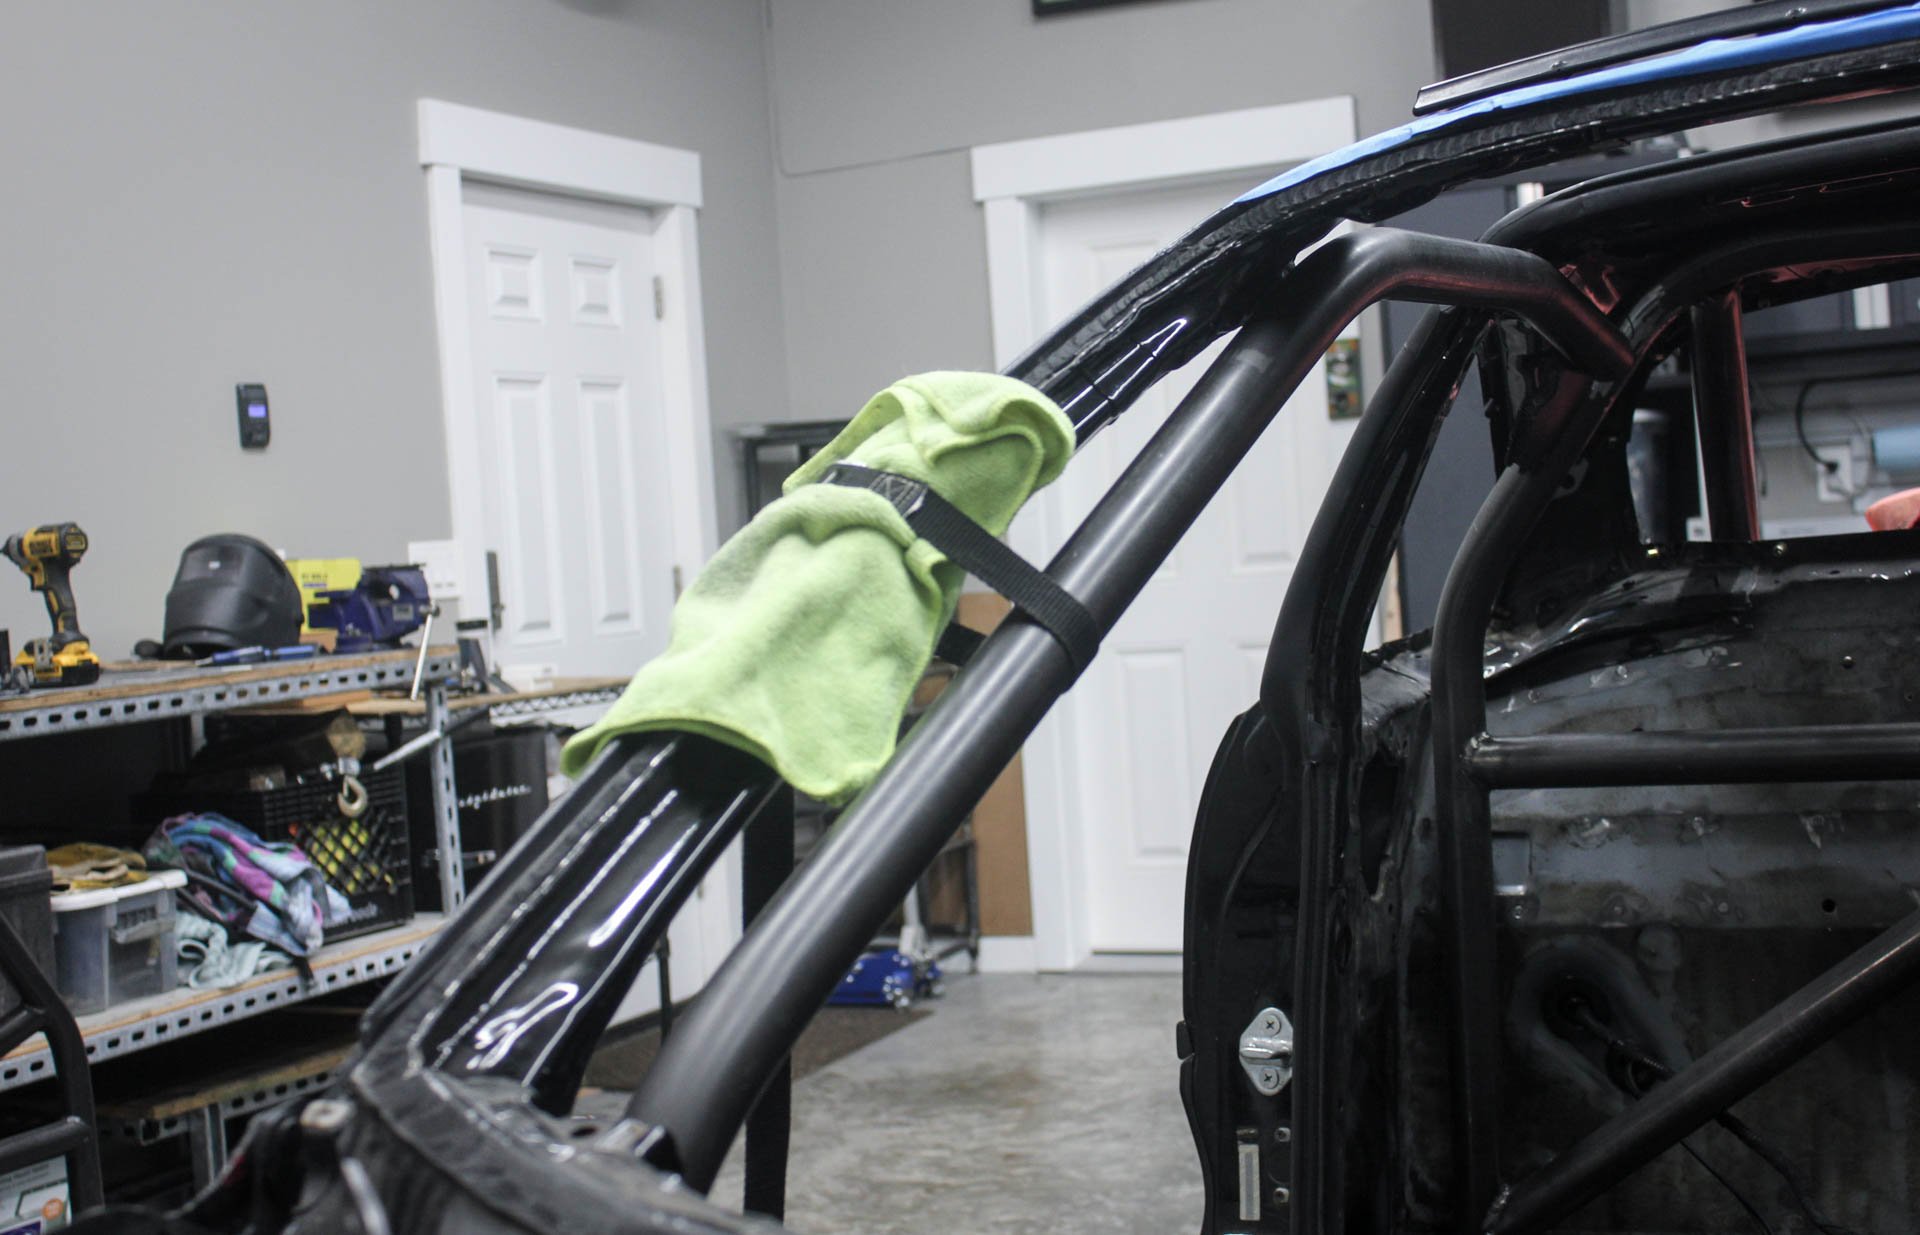
The main hoop needed a bit of spreader bar action to fit the mount plates I had on the frame rails. I had this experience with the rollbar so I knew it was coming. Nothing some 2x4s and a holesaw couldn’t mend. I spaced it out like this and tacked it to the frame rail plates. Then I could build and tack in the harness bar and diagonal. Then, remove it from the car to weld up.

I made sure to have the car set up as level as possible on jackstands. Borrowing a line laser from work helped set up for the harness bars. The diagonal bar needs to be one piece. You want it going towards the drivers head for strength in a roll over.
Since I rarely have passengers these days, I opted for the lighter weight option of just one diagonal.

Since I would be doing A LOT of notching for the joints on this project, I treated myself to this tool. You buy in the OD size of your tubing. Set it up as so, and then transfer that to your pipe to mark the notch.

It works pretty well. I chose to hand notch all these pipes mostly with a grinder. I have a cheap harbor freight tube notcher and it works decently on smaller bore pipe (1-1/4” or so), but struggles to work well on this larger pipe. Lots of time with a grinder and flapper wheel.

The new main hoop next to my old rollbar. The new hoop was something like 12 pounds lighter than old! We were moving in the right direction. At this point I welded up the main hoop completely and re-installed it into the car.

Onto the rear down bars. For the cage, these were going to tie into the rear suspension chassis points. Another trick I tried using, was scrap copper from my work (thanks, job!) to make complete practice pieces before cutting up the expensive chromoly. Both were 1-5/8” od, so my notch tool fit. This sort of worked. By the end I just winged it with the chromoly pieces. You can also see I used my engineering scale to mark reference lines on the tubing to cutting and bending references.

Every tie in point of the cage needed a plate welded first, 1/8” thick. The SW20 sheetmetal is pretty thin. If the cage were ever put into use (I run out of talent), you have to spread the load points of the cage as much as possible, or the tubing will just shishkabob the chassis providing no support.

Here’s one of the more difficult welds I’d have to do eventually. I thought long and hard about what weld process to do for this. I did a lot of research as well. Ultimately I found out with the correct wire (ER80S-D2) and shielding gas, MIG welding a chomoly cage was accepted by pretty much all road racing organizations. I’m decent with a metal glue gun, and still a beginner with a TIG torch. With welds like this in my future, I decided to just MIG weld the cage. In the end I feel safer with these welds than I would have with some of my TIG welds.

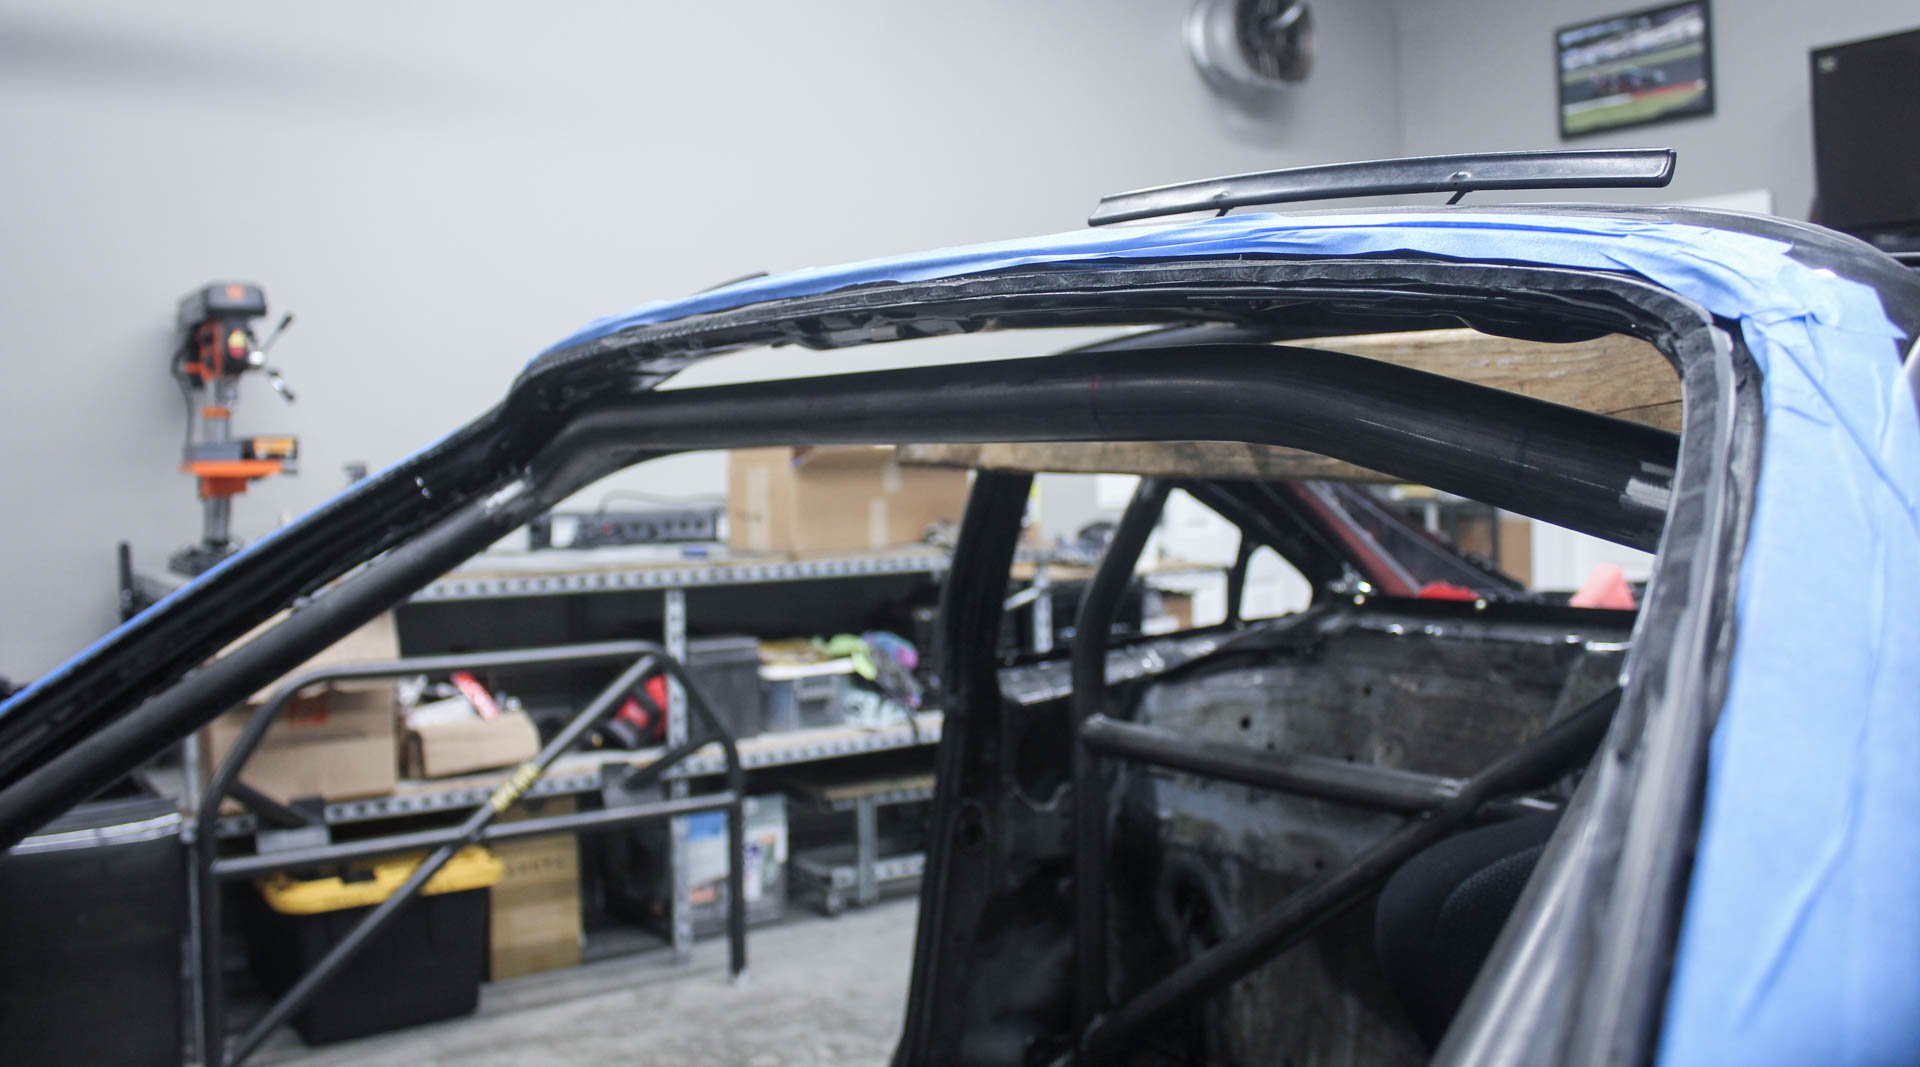
Rear bars in! The pink stuff you see is welding blanket to keep all the sparks, dust, and debris out of every nook and cranny in the engine bay. It helped, sort of. The rear window cut outs is a future-me problem.

As you can see, sometime you have to get creative to get things to fit in fabrication work. The rear main hoop wasn’t bent perfectly straight, and once welded out with the harness and diagonal bar, it was a little worse. So, a ratchet strap was clutch in straightening it out to fit the rear down bars how I wanted them.
With the rear half cage complete, it was time for the main halo. There are two ways to build a cage it seems. With a main halo loop welded to the top main hoop and goes all the way to the windshield, or run bars from the main hoop all the way along the roof to the windshield and bend them down the a-pillar to the frame rails in the kick panel area.

Halo style cage.

A-pillar down bar cage.
On the left is a halo style cage, like I bought. On the right is a a-pillar down bar style. Both work well when built correctly.
(Both these cages have some terrible design flaws that would not pass a half-ass inspection IMO, I’m just trying to illistrate the differences in the top design)
My Rhoades racing halo piece…. was garbage. It wasn’t even close. The bar pretty much ran through where my head would be when sitting in the car. It wasn’t even worth trying to tweak to fit. So… after a lot of bad words and a few beers, I did what I was trying to avoid doing this whole time… buy a tube bender.

I went with the Speedway motors tube bender. I borrowed a friends Harbor Freight pipe bender but it couldn’t handle the chromoly without kinking. This was about $500 delivered with a die, about a third the price of a legitimate bender you mount to the floor used by professional fabricators. For my use, it worked. If I were planning to build a lot more cages in my life, I probably would’ve coughed up the big buck tool. As long as your are patient and slow with bending I got nice smooth bends.

I made sure my fab table was perfectly level, and bolted the bender to the table. Using a digital angle gauge I’m able to get pretty accurate bends. If you want a perfect 60 degree bend, you typically have to bend the piece to 64-65 degrees, it will have some memory in the steel. You see the witness marks on the die and tube to help prevent any slipping.

The chromoly is almost $20 per foot, so I had to be very careful with my bends. A mistake will cost a lot of money on these 6’ a-pillar down bars. The small cinch straps were helpful keeping things where I wanted them, as close to the body as possible. These pieces were compound bends with multiple bends and angles. Remember we need critical clearance where my head and helmet is when driving the car.

Not bad! There was a gap between the actual a-pillar and the down bar, but we can tie those together later with gussets.

Once I liked the down bar fitment, I had to weld in frame rail mount plates. Again, spreading the potential load as much as possible. Lots of racing organizations have minimum sizes here. I went larger than most.

As you can see, we have another difficult weld ahead of us on the main hoop.

Replicating the down bar for the driver side was more difficult than I anticipated. I used reference marks on the original to make sure my bends were the same angle at the same spots on each side.
Many hours went into this! Maybe the beers weren’t helping?
Once the down bars were tacked in I built the upper windshield bar. It was a headache to build. Another difficult piece to get right and have the notching work well. This was as close as I could get to the chassis. More gussets here to tie things together.

With these bars in, I mocked up the seat. Lots more room than the halo bar I was supplied. Much safe. Very headroom.

With the down bars in, time for side impact protection, door bars! With all things with this cage, I started with the passenger side, because it’s less critical than drivers side. I will rarely have passengers from now on, and if I do, I won’t be driving at 10/10ths. So the passenger side was my learning side, and then refined the fabwork for the driver side to fit best as possible.
The cross bars were fairly simple. Lots of notching. String helps figure out pipe centerline lengths.
My cage kit originally was only going to have the diagonal down bar seen tacked in above. Not good enough for me. So I was going to be adding these anyways.

As you can see, these bars just run straight from the rear main hoop to the front a-pillar bar.
With the passenger door bars in I mocked the seat in on the passenger side. Not ideal. It was a very tight squeeze. For the drivers side I was going to have to do something different to get more space and protection for the driver.
FIA door bars.

Why not NASCAR style? Well, again, this car will not see wheel to wheel racing. If it was, I would likely go with that style, but NASCAR style door bars require a lot more fab, are heavier, and likely safer. This style does work for the FIA, so it will work for me.
This style uses two bars, bent like shown, but they also bend out away from the driver.

As you can see, the bar bends way out over the lower sill. Giving myself another 4-5” of space.

With the upper bar installed, you can seen how it all fits together. Much safer, and my seat fits along with room for my elbow and leg. It’s also a lot easier to get in and out of the car, something that can be crucial if we have another fire.
I never took pictures, but we also have the dash bar in as you can see. Nothing special there, just a straight bar across the front to keep the a-pillar bars tied together. The dash will sit right on it… hopefully.
You probably noticed that the inner door had to be cut up to fit the FIA door bars. You’re right. But did you notice those aren’t OEM doors?

That’s because they aren’t, they’re carbon doors. With legitimate side impact protection we are able to ditch the OEM doors and run these! Pretty phsyced!

These doors aren’t full motorsport light, they’re the typical fiberglass with one layer carbon build. But, they’re still stupid light. I’m not running the windows any more, these will just have basic latch mechanism. They weigh 11 pounds each, about 15 pounds with OEM handle, latch, and hinges. One, five… fifteen. The OEM doors were 120 pounds together. That’s 90 pounds saved. Which basically makes the cage a free mod in terms of weight!
Now I had the cage 95% in, but we were just starting this crazy phase of development in the car. We had gusseting, bracketry to fab, a new defog system, new power steering, new radiator ducting, steering column, instrument and button layout, re-wiring the entire damn car. There was A LOT more to do in part 2, coming soon (ok, maybe not that soon).