
Duncan's Back!
You guys remember Duncan, our friendly Canadian tuner from the North, eh? Well, he's back from a Hortons run with another guest blog spot. I'll let him get right into it:
It was a long, dark, cold winter in Edmonton this year… the longest in 40 years! Seven months of snow, ice and sideways driving action, so it’s not all bad. However, that meant shop-time was limited until the thaw hit in April and then it was a scramble to get the car ready for track time.

Data Gathering and Analysis
As promised before winter, I now have some basic manual and automated data measuring and logging tools to gather data and to conduct analysis with. Yeah! Science! Engineering!
The first couple of tools we’ll look at are a tire pressure gauge and a pyrometer with a tire probe. These will provide the basic tools for determining what’s going on with the most important part of the car… the tires!

The theory goes: in order to have the most mechanical grip available from your tires, on average, you want the tires to be as flat as possible during cornering, braking and acceleration. One way to determine if this is occurring is to measure the temperature of the tires along their surfaces at three key points: near the outside, in the middle and near the inside. If the temperatures at these three points across the surface are equal, it’s a good indication that the car is setup to maximize the grip available from the tires. This will also promote even tire wear. One of the challenges with this, however, is as the tires heat up their pressure will increase and this will change their shape and contact patch. With a tire pressure gauge and pyrometer I can now measure and record tire pressures and temperatures after each session, allowing me to adjust pressures, suspension settings and alignment in order to get the maximum grip out of the tires. That’s right kids, buckle up because this shit’s getting serious!

For a more wholistic look at car and driver performance, I have installed the Autosport Labs Race Capture Pro Mk 3 (RCP3) lap timing and data logging system. That’s right, a computer to record, analyze, and tell me how terrible my driving is…
This is a significant step-up in data gathering and analysis capabilities from using a common smart-phone GPS-based app. Right out of the box, the RCP3 has an integrated high-frequency GPS system (up to 50Hz, vs the 1Hz GPS sensors used in a smart-phone) with external antenna, a 3-axis accelerometer and a 3-axis gyro (pitch/roll/yaw). It integrates into the Race Capture smartphone/tablet/computer app for real-time data display and can log data to a smartphone/tablet or an SD card for future analysis. As part of the real-time data display capabilities, it can also provide lap timing and predictive timing to give immediate feedback on your performance while on track. Between track sessions the recorded data can be accessed in order to analyze and compare performance between laps and sessions.

While the capabilities of the RCP3 listed above are similar to many of the data logging systems available, I selected it for a few reasons:
1. It’s not dependant on OBDII. While it can integrate with OBDII, it’s not required, which is critical with older cars such as MR2s. Most of the data systems out there that I could find are really focussed on being “plug-and-play” on OBDII equipped cars which is not at all useful on an MR2.
2. It’s not a closed system. It has a few key sensors built in to get you started, and from there it has enormous expansion capabilities. It can utilize numerous analog, digital and CAN bus inputs to add additional sensors and of data channels and it can also control a few outputs. Additionally, as an option you can get a cellular telemetry package for real-time relaying of data.
3. It supports scripting, so that provides an extra layer of control over the inputs and outputs and can do neat things like automatically turn your camera on.
4. In addition to having built-in track maps and auto detection, you can build your own circuits and point-to-point courses (for rally/autocross/testing).
5. The developers are actively involved in continuing to expand the capabilities of the system and in providing support to the user community, so help is available if you need it. This is an important point, as development of the system continues and some knowledge is required to fully utilize its capabilities.
As I haven’t added any other sensors yet, it was a simple matter of providing a 12V power and ground to the system with the supplied harness and finding a suitable place to mount it. Orientation didn’t matter as the sensors can be calibrated to be “zeroed” in any orientation. It tucked right into the CD storage box and with some velcro to lock it down it made for a clean, hidden install.

RCP3 Install. I just cut up a perfectly good MR2 part… I cried a little. On the inside.

The GPS antenna is a magnetic puck stuck to the top of the car and it was a quick task to route the cable through the car and into the back of the CD storage box. The software and firmware setup processes were a breeze as the Race Capture app just walks you straight through it.

The last piece of the data collection system is a GoPro HERO5 Session… a tiny camera cube! I’ve mounted it to the left side of my helmet (right hand drive car…) at eye level in order to track what I’m looking at while I’m on track in order to provide feedback to my driving technique.

Where do you load the tape?
The data recorded by the RCP3 and the video recorded by the GoPro can be integrated into video for analysis. There are a variety of software packages out there that can accomplish this so it’s currently still under testing.
Driver Equipment and Car Modifications
To get the car and the driver for a new season racing a few items had to be addressed… new toys and mods! Woo!
First was a new helmet, as my old one’s SA rating had expired (SNA 2005 is no good anymore, time to TREAT YOSELF to a newer helmet). I just kept it simple with a Bell K1 Pro. I liked that it has the capability for a head and neck restraint system and has an integrated chin spoiler. I’d like to try karting and a formula car at some point in the future so that’s a bit of planning ahead. I ordered it online so it’s always a bit of a gamble hoping the size you ordered actually fits. In this case, it did!
It’s a comfortable helmet and fits snugly so it doesn’t move at all. The one issue I have noticed, however, is that with the visor fully closed it fogs up very quickly… not an issue in a closed car as you can just leave the visor cracked but if I get into an open cockpit car it may be an problem, depending on how effective ventilation is on the front of the helmet. There is a breath deflector available but they’re currently out of stock… when I can find one I’ll give it a try.

(Editor's edit: What a cool sticker! Where can I buy one?? Why, HERE of course!)
Now, on to the car… new tires, new brake pads, new master cylinder and new engine mount bushings and rear subframe inserts! The old tires and brake pads were worn out and required replacement and the master cylinder and bushings are to tighten up the control of the car.

The new tires are the Nankang AR-1s, a new 80 treadwear/R-compound tire on the racing scene. While I was initially looking for more 200 treadwear tires to replace the Falken Azenis RT-615Ks I had before, I stumbled across these and given their low price I decided to give them a try. While the initial feedback online is scant, what I could find was positive and indicated that they were an excellent value. However, as the 215/40/17 was unavailable for the fronts, I decided to take a chance on the 215/45/17 and discovered just how tight the front wheel wells are… there is some rubbing that would likely not be present with the 40 series tire. No issues with the 235/40/17 rear.

New grip.

Too much grip. Rubbing on the left is due to the larger 45 series tires. Rubbing on the right is due to the Wilhelm Geometry Kit and was also present with the previous 40 series tires. This is the front right wheel well.
The new brake pads are the Porterfield R-41, a newer racing pad designed for vintage racing. What caught my eye, aside from the fact that they were one of the few pads that had sizes that fit both the front and rear calipers (#modifiedlife…), is that they have a wide temperature range and have a significantly higher coefficient of friction than any of Porterfield’s other pads across their entire temperature range, especially compared to the R-4S pads I had had on before… these could possibly be a good pad for the demands of street, autocross and lapping.
What struck me about the old pads was that the fronts were only down to about 50%, but the rears were almost down to the backing plates… good to know that the rear is doing its share of the braking! The brake rotors themselves still have life left in them, which is impressive after five years of street driving, road trips, autocrosses and lapping… here’s hoping they last a while longer, as they’re not cheap!


Front and rear Grippers.
The new master cylinder has a larger cylinder bore than stock (1” vs 15/16”). It’s from a 95 – 00 Tacoma 4x4 (w/ ABS) and aside from the larger cylinder bore looks and fits the same as stock. (You can buy it HERE) Installation wasn’t complicated but it was messy… I recommend you do not bench bleed a master cylinder on an MR2, at least for the ABS cars, as they’re fiddly to hook back up and that means brake fluid spilling everywhere and making a terrible mess while you fight with the fittings on the hard lines to get them lined up and screwed in. Brake fluid was changed to ATE Type 200 from ATE Super Blue, as the ATE Super Blue is no longer available in North America. Because it’s blue. Yep.

Installation of the Speed Source polyurethane engine mount bushings was a simple matter… removed old mounts, cut/pry old rubber bushings out and drop in polyurethane bushings and sleeves and reinstall on the car.
The RacerX rear subframe inserts were similarly a simple install.
That was really it for my "mods" this winter, now it was time to make sure we were ready for some hot laps.
On the next post (coming sooner than the last post!), we take a look at how all these changes made the car feel, along with our first track day of the year.
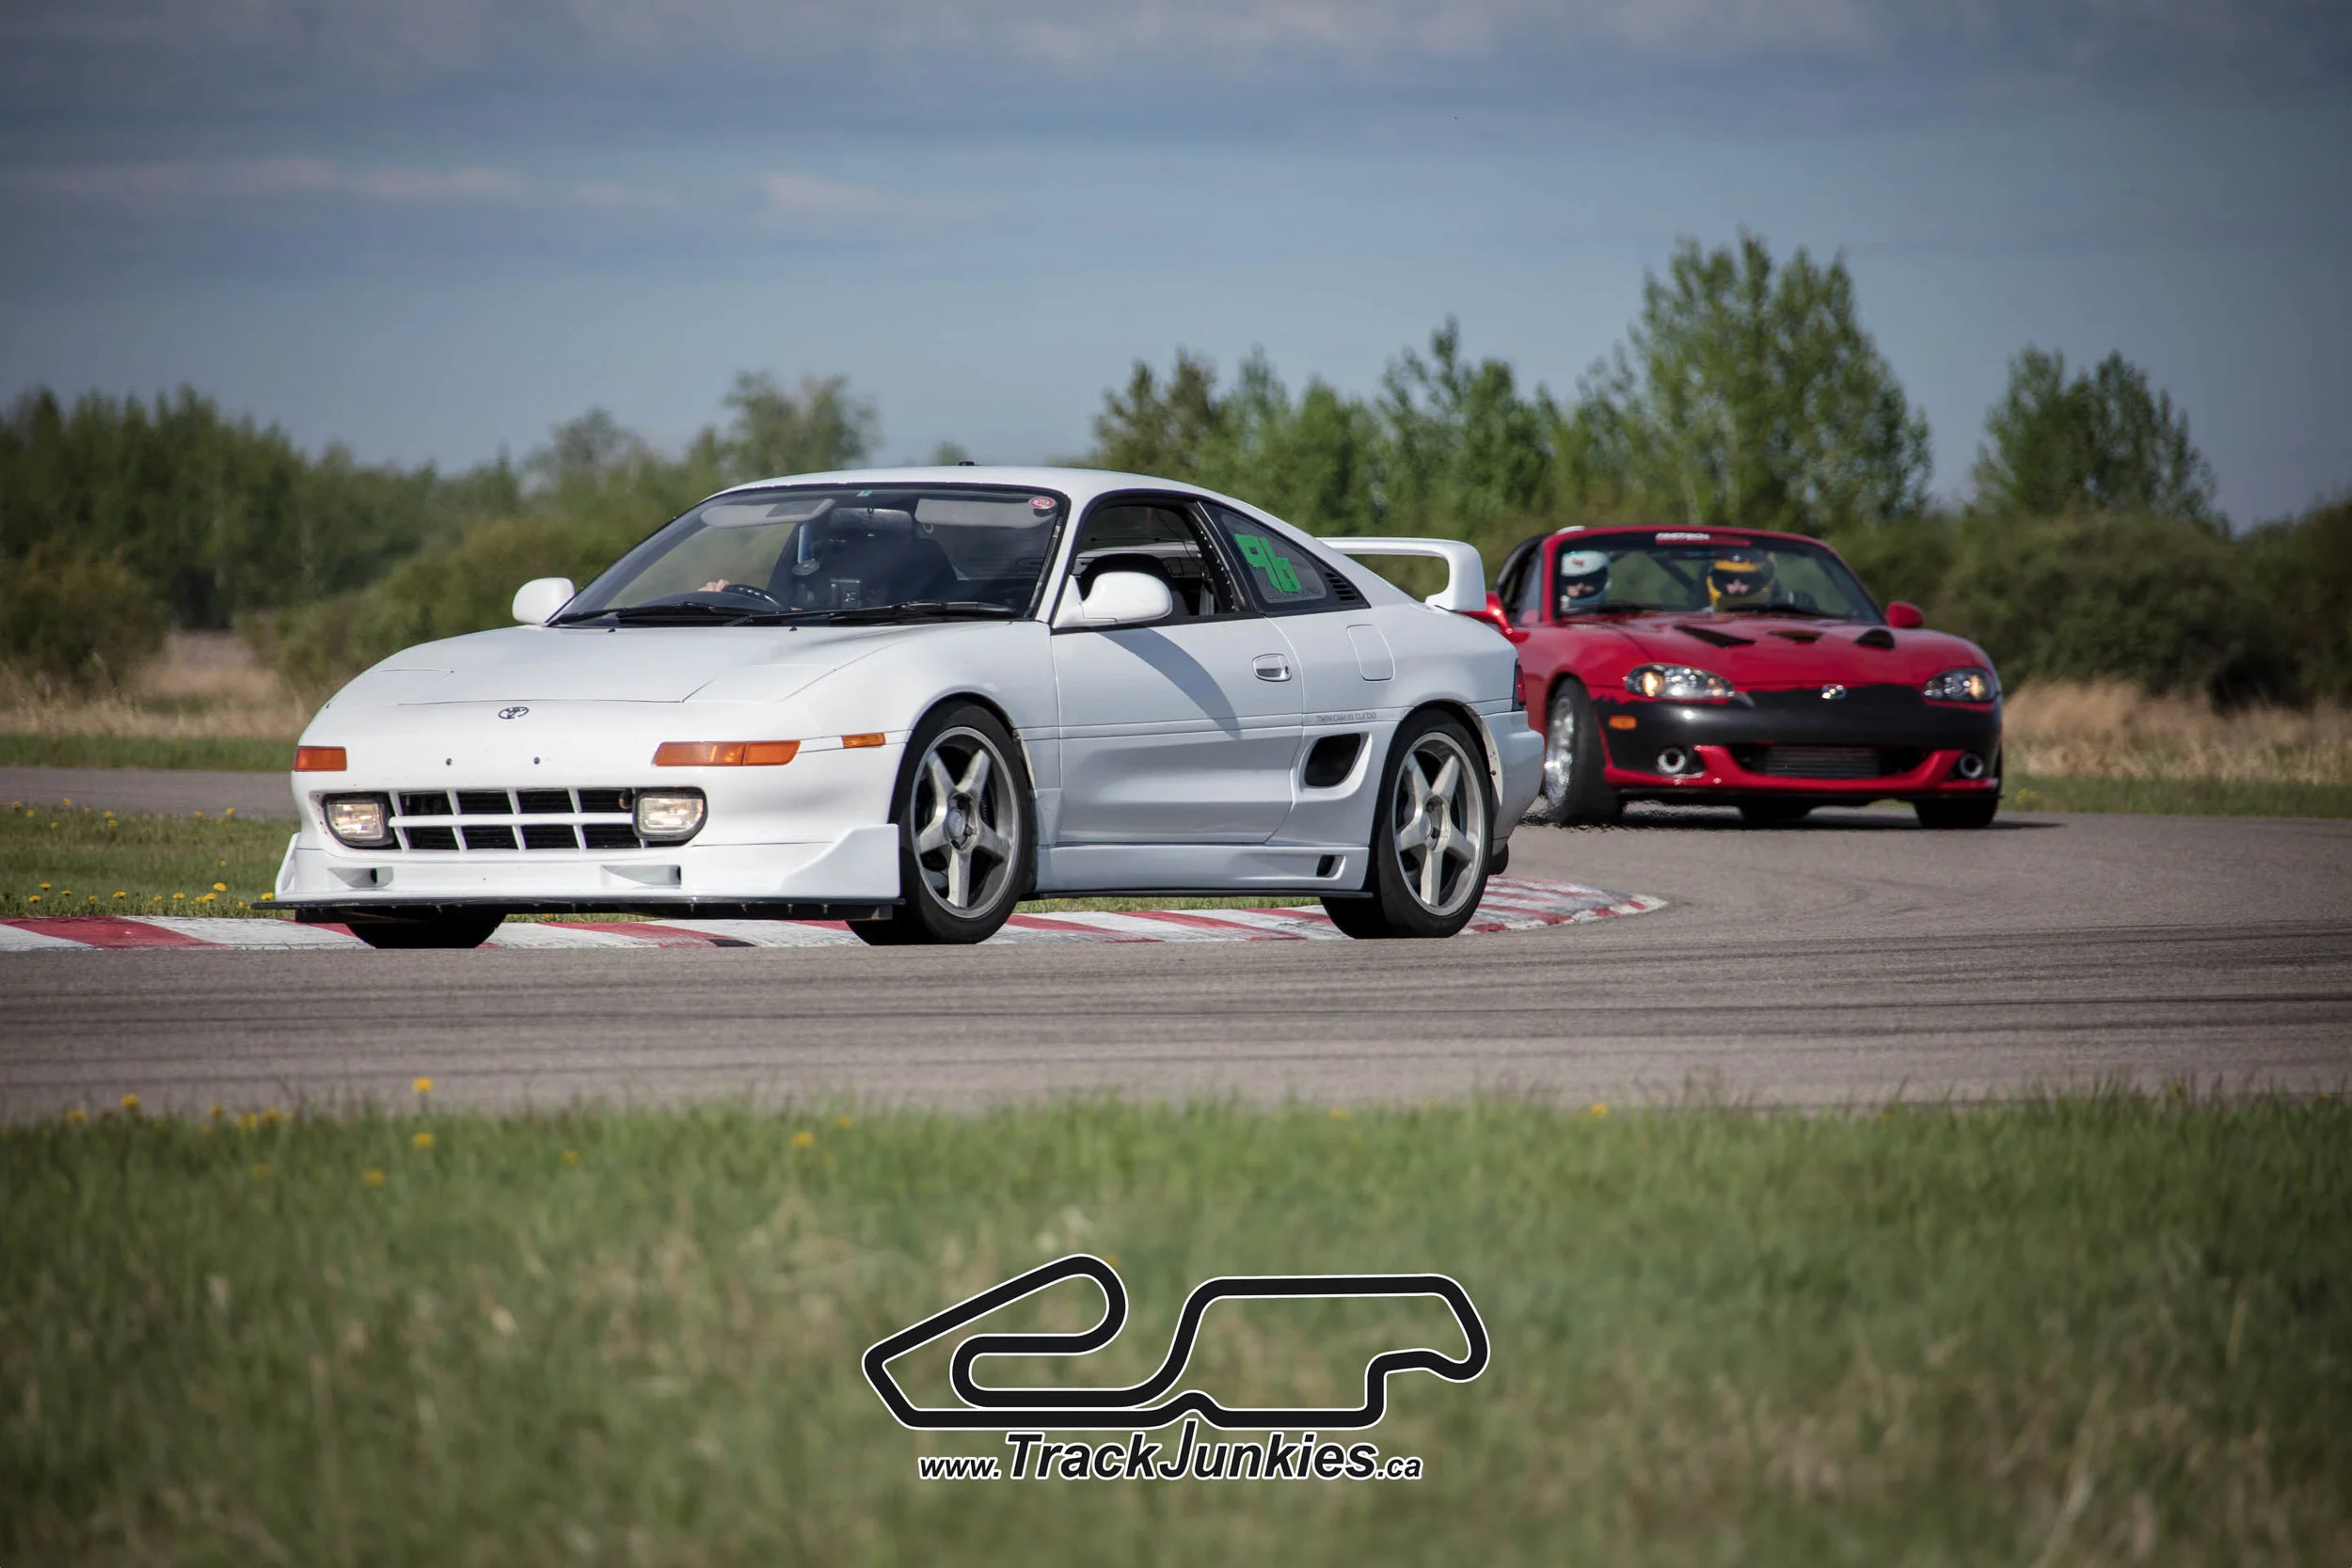
Here's a quick teaser pic, more to follow!